Solarized Linux
Table of Contents

I like very much Ethan Schoonover Solarized color palette. So I decided write a guide, howto get Solarized colors to most commonly used Linux terminals (Gnome-Terminal, Konsole, XFCE Terminal, Mate-Terminal), Text editors (Gedit, Vim) and IDEs (Eclipse, NetBeans). These are not my projects, so the greatest honor belongs, of course, these projects owners and Ethan Schoonover.
- 1. Install Needed Tools (git, mercurial, 7-zip)
- 2. Create and Change to Solarized Directory
- 3. Solarized Terminals
- 4. Solarized Editors
- 5. Solarized IDEs
1. Install Needed Tools (git, mercurial, 7-zip)⌗
This is normally easiest do with you package management system, like:
## Fedora, CentOS, Red Hat (RHEL), Scientific Linux (SL) ##
yum install git
## needed only with Eclipse ##
yum install mercurial
## needed only with NetBeans ##
yum install p7zip

## Debian, Ubuntu, Linux Mint ##
aptitude install git
## needed only with Eclipse ##
aptitude install mercurial
## needed only with NetBeans ##
aptitide install p7zip

## Gentoo ##
emerge --ask --verbose dev-vcs/git
## needed only with Eclipse ##
emerge --ask --verbose dev-vcs/mercurial
## needed only with NetBeans ##
emerge --ask --verbose app-arch/p7zip
2. Create and Change to Solarized Directory (as normal user)⌗
mkdir ~/solarized

cd ~/solarized
3. Solarized Terminals⌗
3.1 Solarized Gnome-Terminal⌗
1. Get Solarized Gnome-Terminal⌗
Run following command on ~/solarized directory.
git clone https://github.com/sigurdga/gnome-terminal-colors-solarized.git
2. Set Solarized Dark or Light Theme⌗
## Set dark or light Solarized theme ##
gnome-terminal-colors-solarized/install.sh

## Then select dark or light and profile ##
3. Screenshots⌗


Check GitHub repo page.
3.2 Solarized Konsole (KDE terminal)⌗
1. Get Solarized Konsole (KDE terminal)⌗
Run following command on ~/solarized directory.
git clone https://github.com/phiggins/konsole-colors-solarized.git
2. Copy Solarized Dark or Light Theme⌗
cp konsole-colors-solarized/*.colorscheme ~/.kde/share/apps/konsole/

## OR ##

cp konsole-colors-solarized/*.colorscheme ~/.kde4/share/apps/konsole/
3. Select Solarized Dark or Light Theme⌗
Open Konsole and select Settings -> Manage Profiles -> Edit Profile -> Appearance
4. Screenshots⌗


Check GitHub repo page.
3.3 Solarized Terminal (XFCE Terminal)⌗
1. Get Solarized Terminal (XFCE Terminal)⌗
Run following command on ~/solarized directory.
git clone https://github.com/sgerrand/xfce4-terminal-colors-solarized.git
2. Create ~/.config/Terminal Directory⌗
Just make sure that Terminal directory exists.
mkdir ~/.config/Terminal
3. Copy Solarized Dark or Light Theme⌗
## Copy Solarized Dark Theme ##
cp xfce4-terminal-colors-solarized/dark/terminalrc ~/.config/Terminal/

## Copy Solarized Light Theme ##
cp xfce4-terminal-colors-solarized/light/terminalrc ~/.config/Terminal/
4. Screenshots⌗
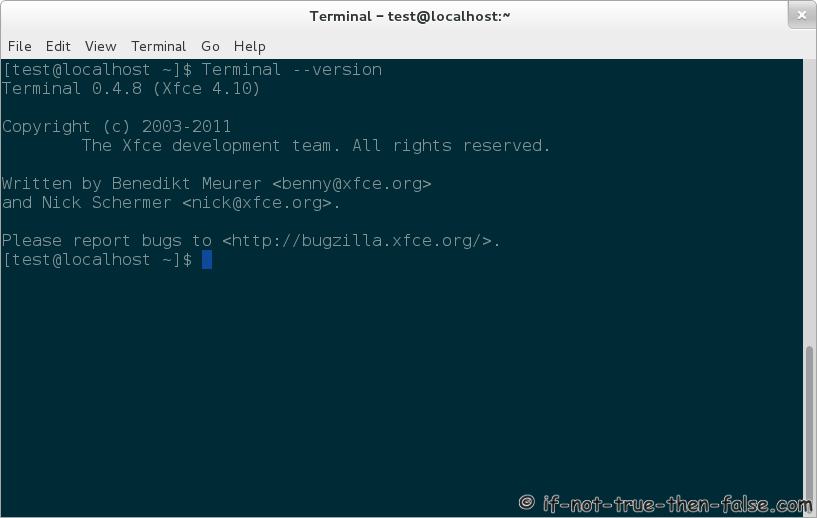
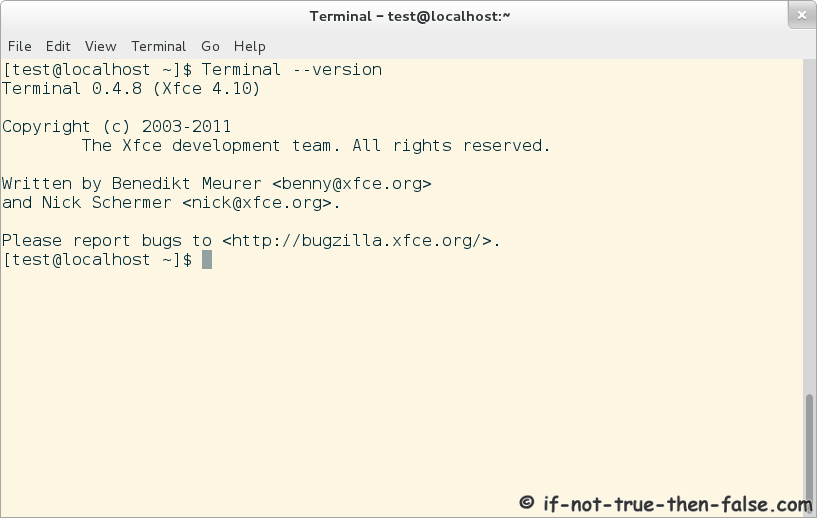
Check GitHub repo page.
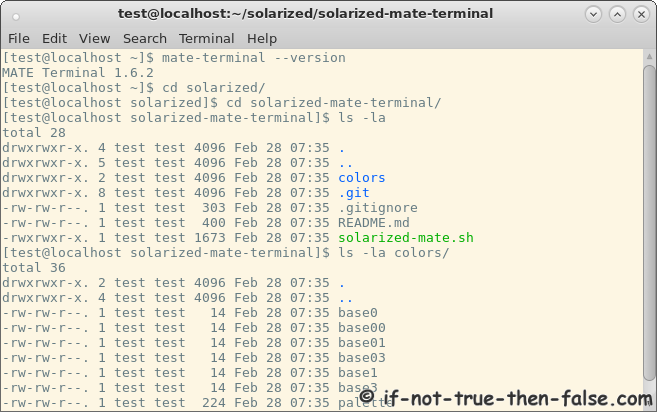
3.3 Solarized Mate-Terminal⌗
1. Get Solarized Mate-Terminal⌗
Run following command on ~/solarized directory.
git clone https://github.com/oz123/solarized-mate-terminal.git
2. Change solarized-mate-terminal Directory⌗
cd solarized-mate-terminal/
3. Set Solarized Dark or Light Theme⌗
You can create new profile(s) or use existing profile(s). I use here default profile as example.
## Set Mate Terminal Solarized Dark Theme ##
./solarized-mate.sh dark default

## Set Mate Terminal Solarized Light Theme ##
./solarized-mate.sh light default
Restart your terminal.
4. Screenshots⌗

Check GitHub repo page.
4. Solarized Editors⌗
4.1 Solarized Gedit⌗
1. Get Solarized Gedit⌗
Run following commands on ~/solarized directory.
git clone https://github.com/craig552uk/solarized-gedit.git
2. Install Globally (all users)⌗
cp solarized-gedit/*.xml /usr/share/gtksourceview-3.0/styles/
Select your dark or light Solarized theme in Gedit Edit > Preferences > Font & Colors
3. Install Locally (one user)⌗
- In Gedit Go to Edit > Preferences > Font & Colors
- Browse to Solarized Directory
- Click Add (+ sign)
- Select Dark or Light Solarized Theme xml File
4. Screenshots⌗


Check GitHub repo page.
4.2 Solarized Vim⌗
1. Get Solarized Vim⌗
Run following command on ~/solarized directory.
git clone https://github.com/altercation/vim-colors-solarized.git
2. Copy Vim Solarized Color Theme⌗
First make sure you have ~/.vim/colors/ directory
mkdir -p ~/.vim/colors

cp vim-colors-solarized/colors/solarized.vim ~/.vim/colors/
3. Add following to ~/.vimrc⌗
Dark
syntax enable
set background=dark
colorscheme solarized
Light
syntax enable
set background=light
colorscheme solarized
4. Solarized Vim Screenshots⌗

 Check GitHub repo page.
5. Solarized IDEs⌗
5.1 Solarized Eclipse⌗
1. Get Solarized Eclipse⌗
Run following command on ~/solarized directory.
hg clone https://bitbucket.org/LukeHoersten/eclipse-solarized-color-theme
2. Install Eclipse Color Theme plugin⌗
Use Eclipse Market Place or download it from Eclipse Color Theme Plugin site.
3. Import Solarized theme XML files⌗
Go to Preferences > General > Appearance > Color Theme.
Select Import and browse xml files.
4. Solarized Eclipse Screenshots⌗

 Check Bitbucket repo page.
5.2 Solarized NetBeans⌗
1. Get Solarized NetBeans⌗
Run following command on ~/solarized directory.
git clone https://github.com/fentie/netbeans-colors-solarized.git
2. Create Solarized zip file⌗
Make sure that you have 7zip installed, then run following commands:
cd netbeans-colors-solarized/

7z a solarized.zip config/
3. Import solarized.zip file⌗
Open NetBeans and select Tools > Options and select Import from lower left.
Browse your solarized.zip file from ~/solarized/netbeans-colors-solarized/ directory.
Restart NetBeans.
4. Select Solarized theme⌗
Open NetBeans and go to Tools > Options > Fonts & Colors and select profile.
5. NetBeans Solarized Screenshots⌗

 Check GitHub repo page.