Fedora NetInstall (Net Install) with gPXE and BFO (boot.fedoraproject.org)
Table of Contents

This is guide with screenshots, howto install Fedora (currently Fedora 13) with gPXE and BFO (boot.fedoraproject.org). BFO combines a series of recent technologies to produce a new boot stack. The glue that holds everything together is gPXE. Boot method is similar to PXE Boot. It uses very small images (iso, floppy, disk) to bootstrap a machine that then contacts a remote server for boot information.
Why Should Use BFO Instaed of Normal Installer Image?⌗
The BFO downloads are very small and once you have them, you’ll rarely have to download more. Even as more versions of Fedora come out, you just boot from your iso and they will appear. Users with fast internet connections will have the best experience with BFO. They basically replace having to regularly download large CD/DVD ISO images and burn them to disk. gPXE supports following techniques HTTP, DNS, TFTP, AoE, iSCSI, bzImage, COMBOOT, ELF, Multiboot, PXE, PXEXT.
Download Installation Image⌗
Installer images found here.
ISO DVD/CD Image⌗
Simply burn CD/DVD with your favourite program
USB Image⌗
Add it to USB storage, with following command:
cat bfo.usb > /dev/sdX

## OR ##

dd if=bfo.usb of=/dev/sdX
Floppy Image⌗
Add it to floppy disk, with following command:
cat bfo.dsk > /dev/fdX

## OR ##

dd if=bfo.dsk of=/dev/fdX
Boot with GRUB⌗
Download lkrn image as root, with following command:
wget -O/boot/bfo.lkrn http://serverbeach1.fedoraproject.org/pub/alt/bfo/bfo.lkrn
Add to GRUB using Grubby, with following command:
grubby --add-kernel=/boot/bfo.lkrn --title="Boot BFO"
This guide uses basic BFO ISO image (bfo.iso, size 626 kB), but this works with any other option too.
Howto NetInstall (Net Install) Fedora with gPXE and BFO (boot.fedoraproject.org)⌗
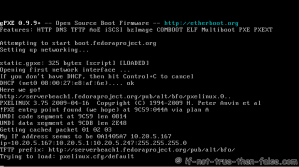
1. Booting with BFO image⌗
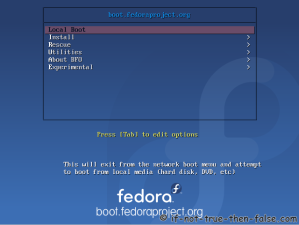
2. BFO main boot menu⌗
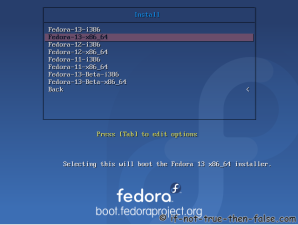
3. BFO boot menu – Select install image⌗
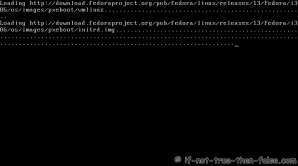
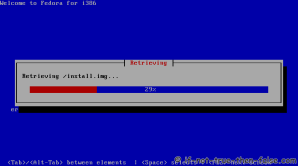
4. Downloading installation media⌗
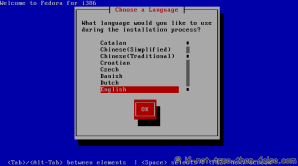
5. Select language⌗
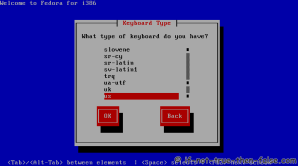
6. Select keyboard layout type⌗
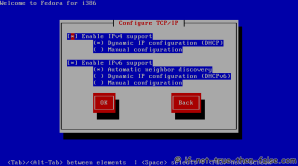
7. Configure TCP/IP settings⌗
8. Downloading Fedora install images⌗
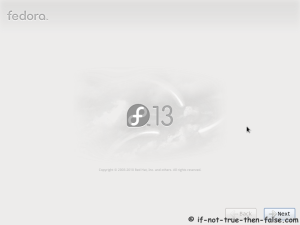
9. Anaconda installer started using downloaded images, select next⌗
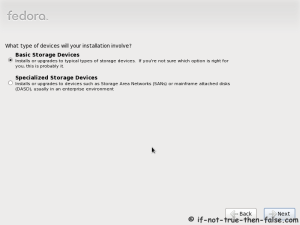
10. Select storage devices⌗
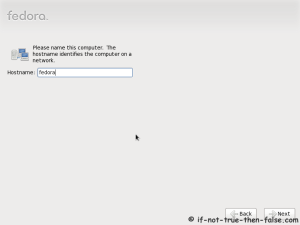
11. Insert computer hostname⌗
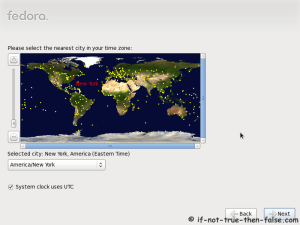
12. Select time zone⌗
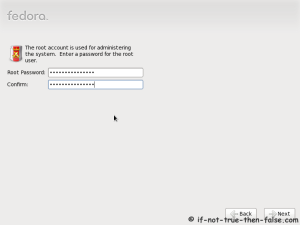
13. Enter a password for root user⌗
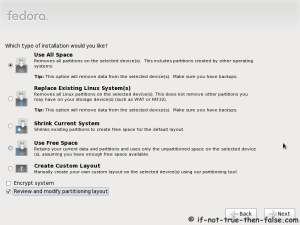
14. Select type of installation⌗
Read every options info carefully. And select encrypting if needed and option to review and modify partition layout.
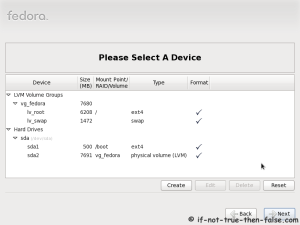
15. Review partition layout⌗
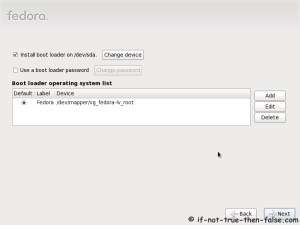
16. Configure boot loader options⌗
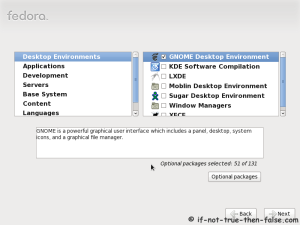
17. Select softwares to install and enable repositories⌗
Select customize package selection, if you want customize it.
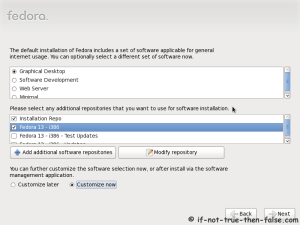
18. Customize package selection⌗
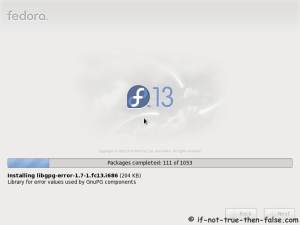
19. BFO Starting Installation Process⌗
This take while, depending on package selection and Internet connection speed.
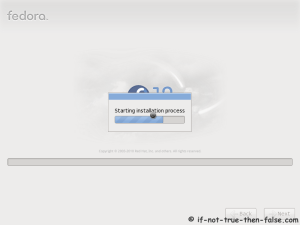
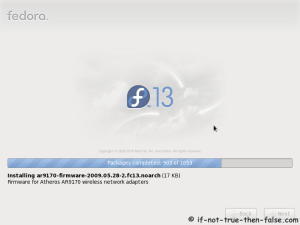
20. Installing packages⌗
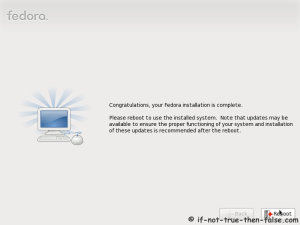
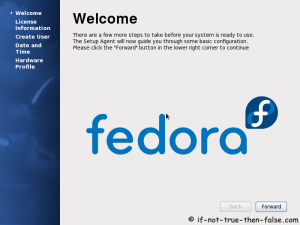
21. Installation is complete⌗
Click reboot computer and remove installation media.
