Upgrade Fedora 22 to Fedora 23 Using DNF (F22 to F23)
Table of Contents
![]()
This is guide, howto upgrade Fedora 22 to Fedora 23 using DNF.
I have tested this method on several machines, but if you have problems, please let me know. Always remember backup, before upgrade!
1. Before Upgrade⌗
1.1 Backup Your Data⌗
Before doing anything, do full system backup or backup at least your important data: documents, pictures, videos, config files, log files, databases etc. This is very important step, because if something go wrong and you have to do fresh install, then you can easily restore your data.
2. Upgrade Fedora 22 to Fedora 23 using DNF⌗
2.1 Change root user⌗
su -
## OR ##
sudo -i
2.2 Update Fedora 22 Packages⌗
dnf update
2.3 Reboot Your System⌗
Just make sure that you are running latest kernel.
reboot
2.4 Install/Update dnf-plugin-system-upgrade package⌗
It’s probably installed already.
dnf install dnf-plugin-system-upgrade --best
2.5 Start Upgrading Using DNF⌗
dnf system-upgrade download --releasever=23
When this finish, check if there is any errors. You might need
--best
and
--allowerasing
options to get all packages downloaded.
2.6 Start (F22 to F23) Upgrade Process⌗
dnf system-upgrade reboot
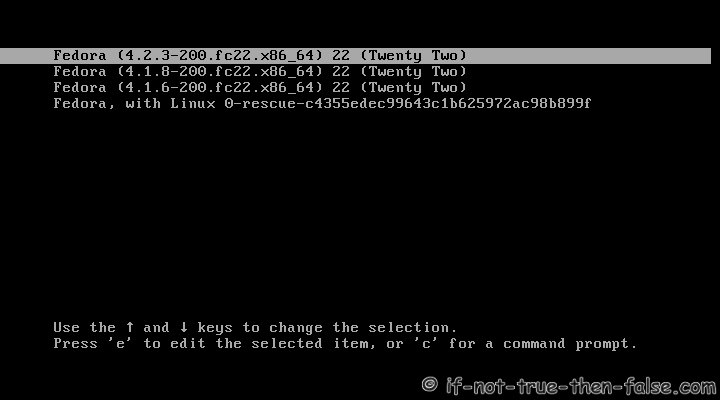
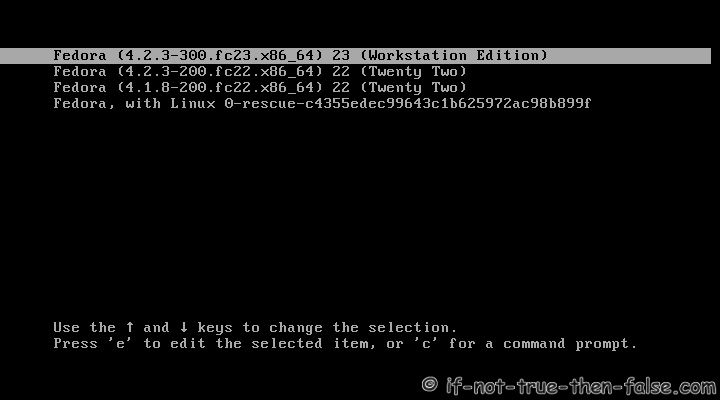
2.7 Grub 2 Menu Boot with Latest Kernel⌗
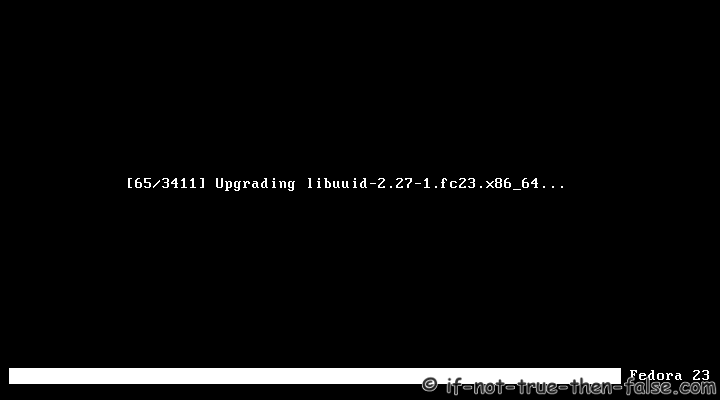
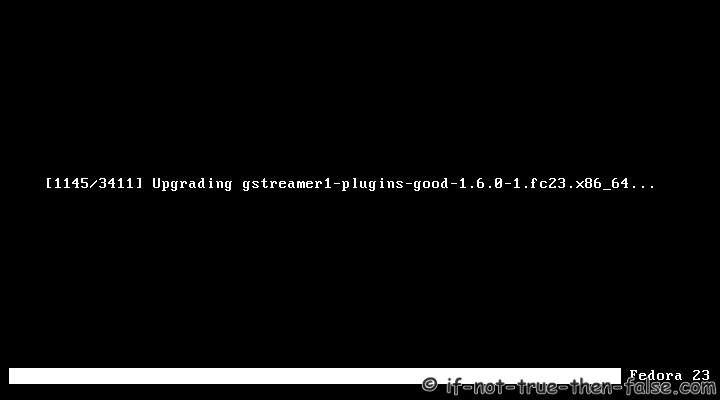
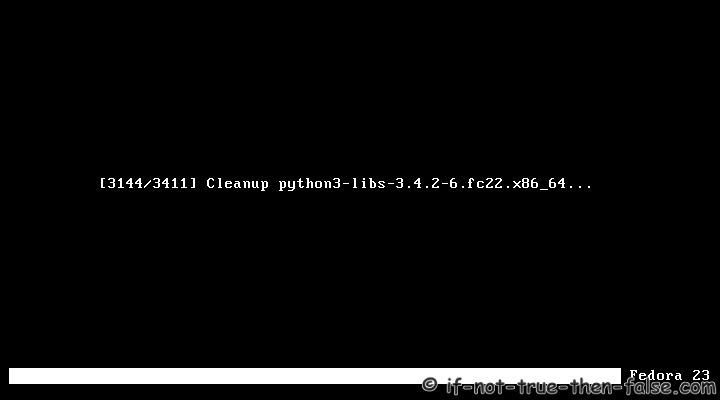
2.8 Starting System Upgrade⌗

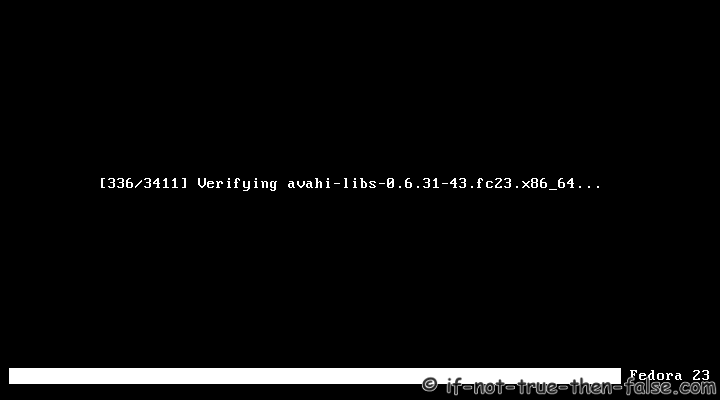
2.9 dnf-plugin-system-upgrade Upgrading Fedora 22 to Fedora 23⌗

2.10 Boot Upgraded Fedora 23⌗

3. Fedora 23 Screenshots⌗
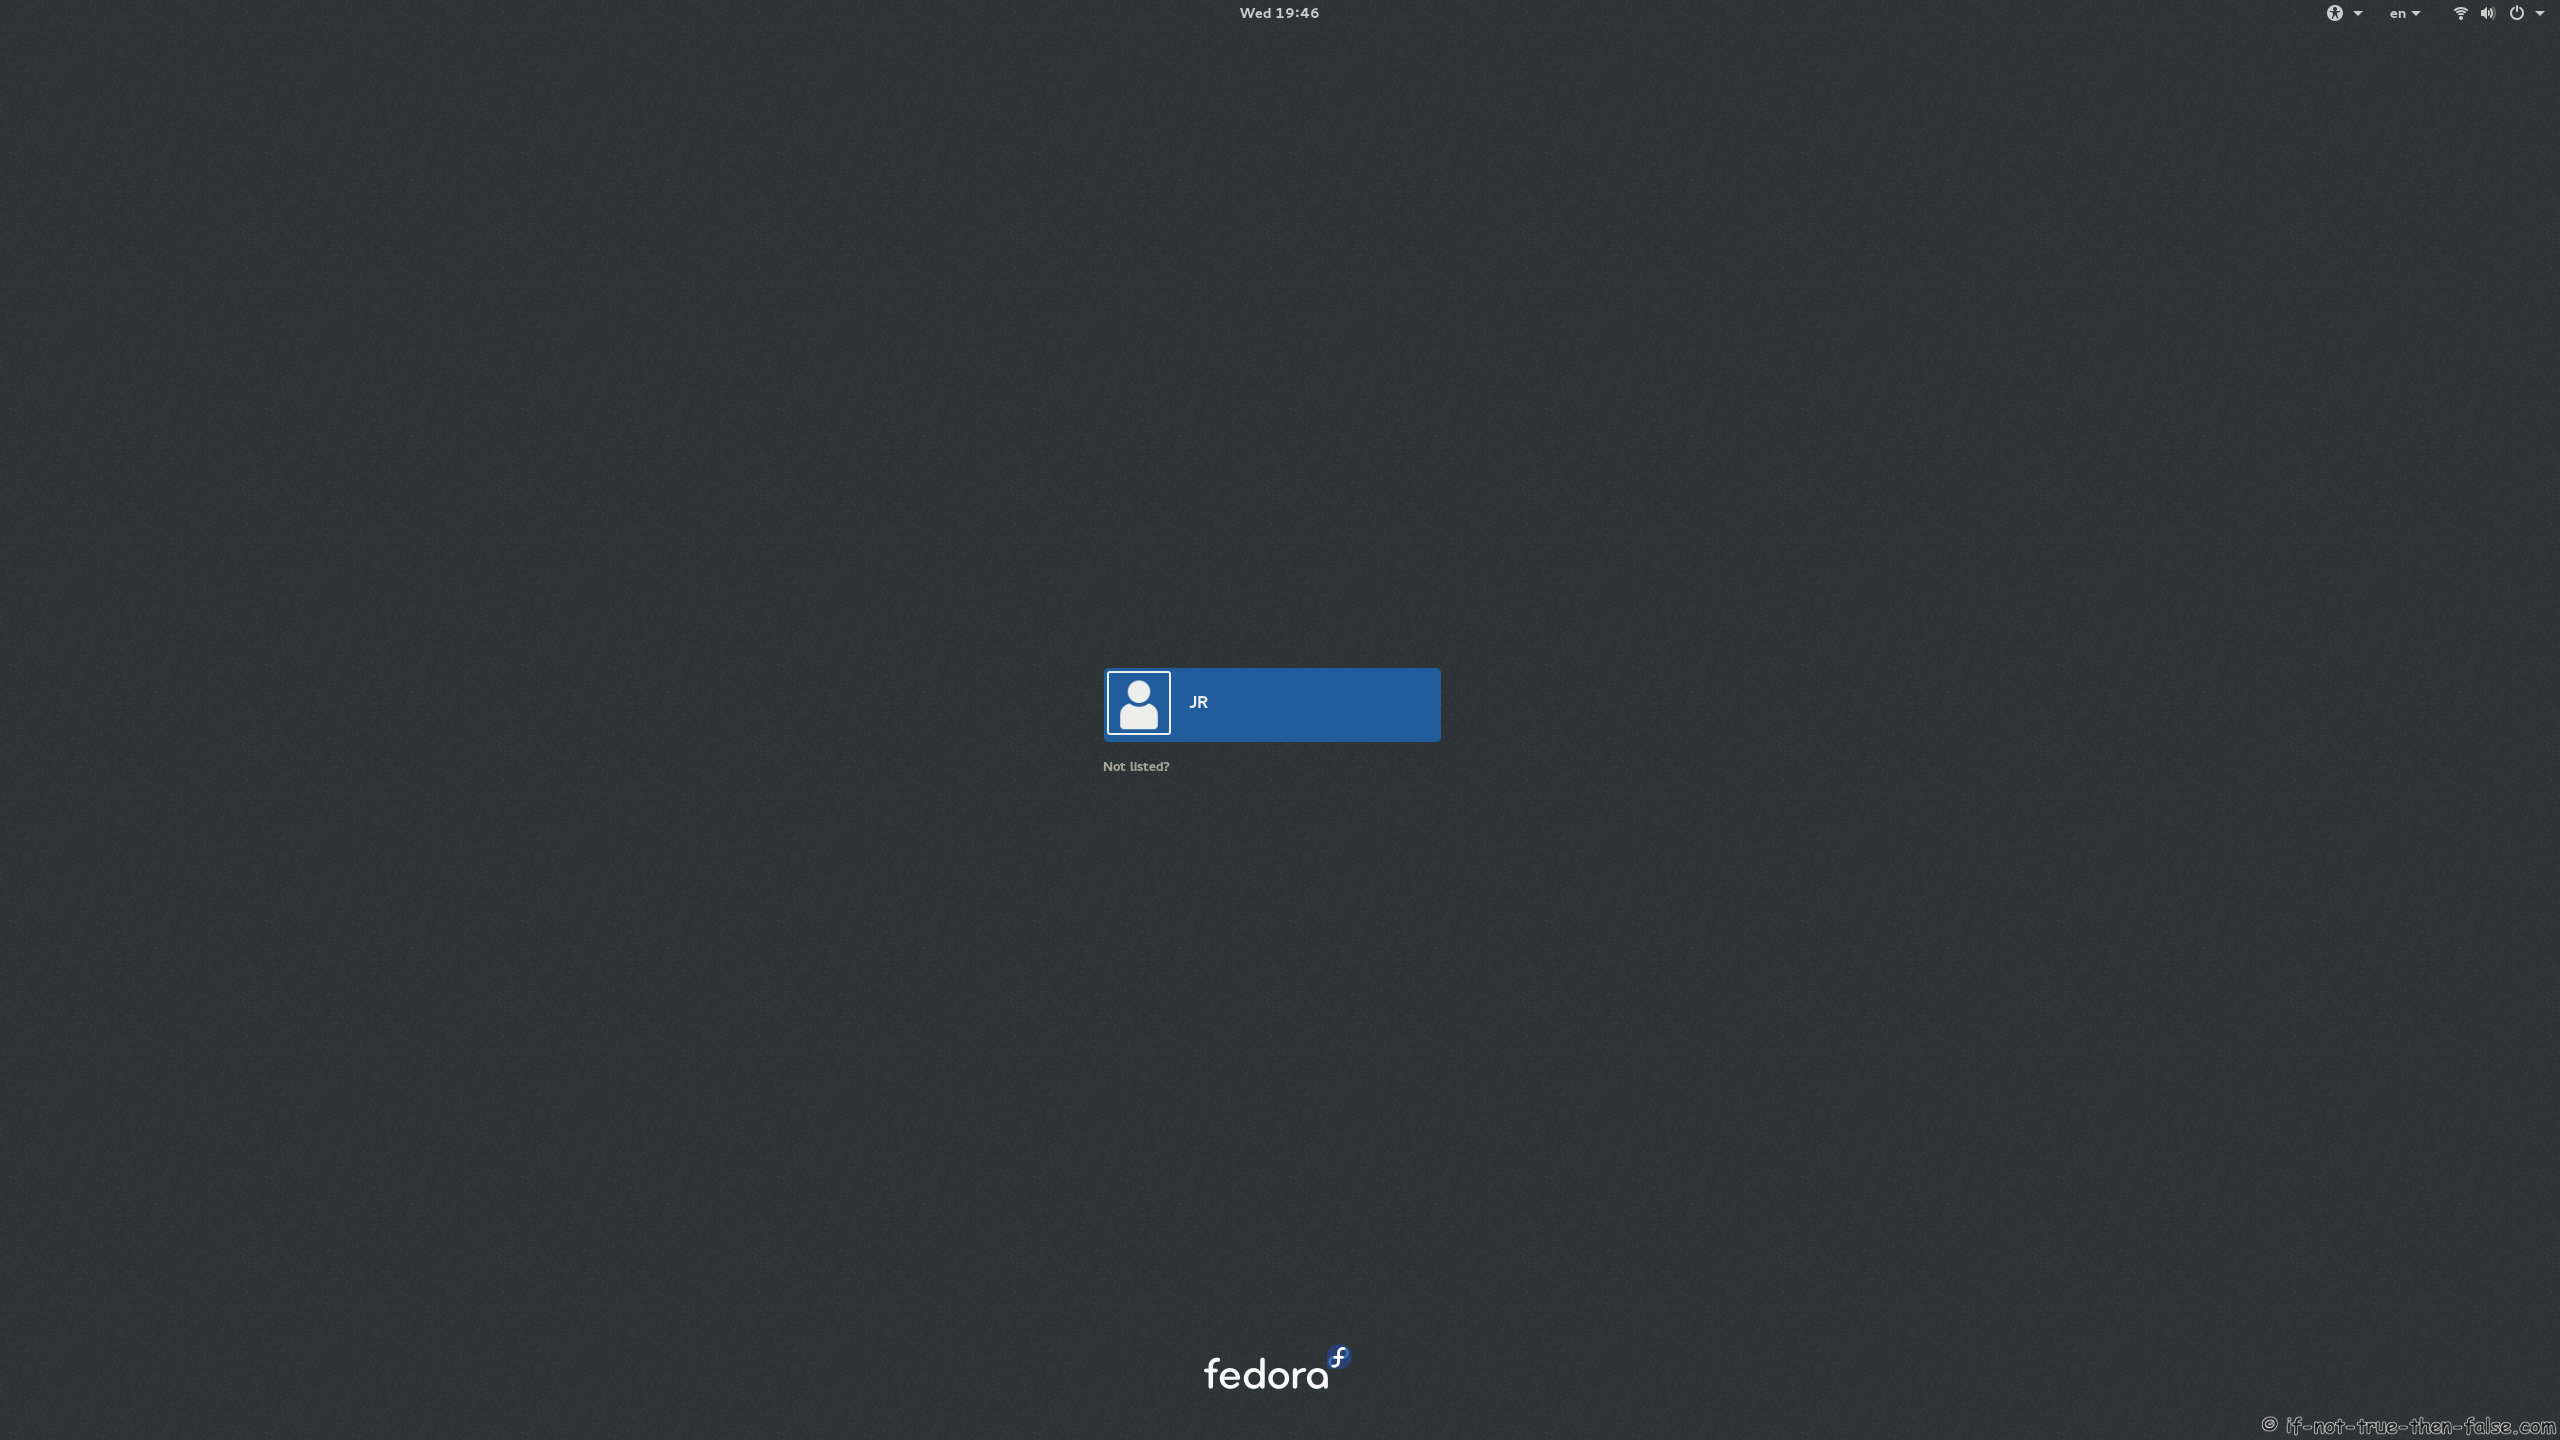
3.1 Fedora 23 GDM Login Screen⌗
3.2 Fedora 23 Plain Desktop Gnome Shell 3.18.1⌗

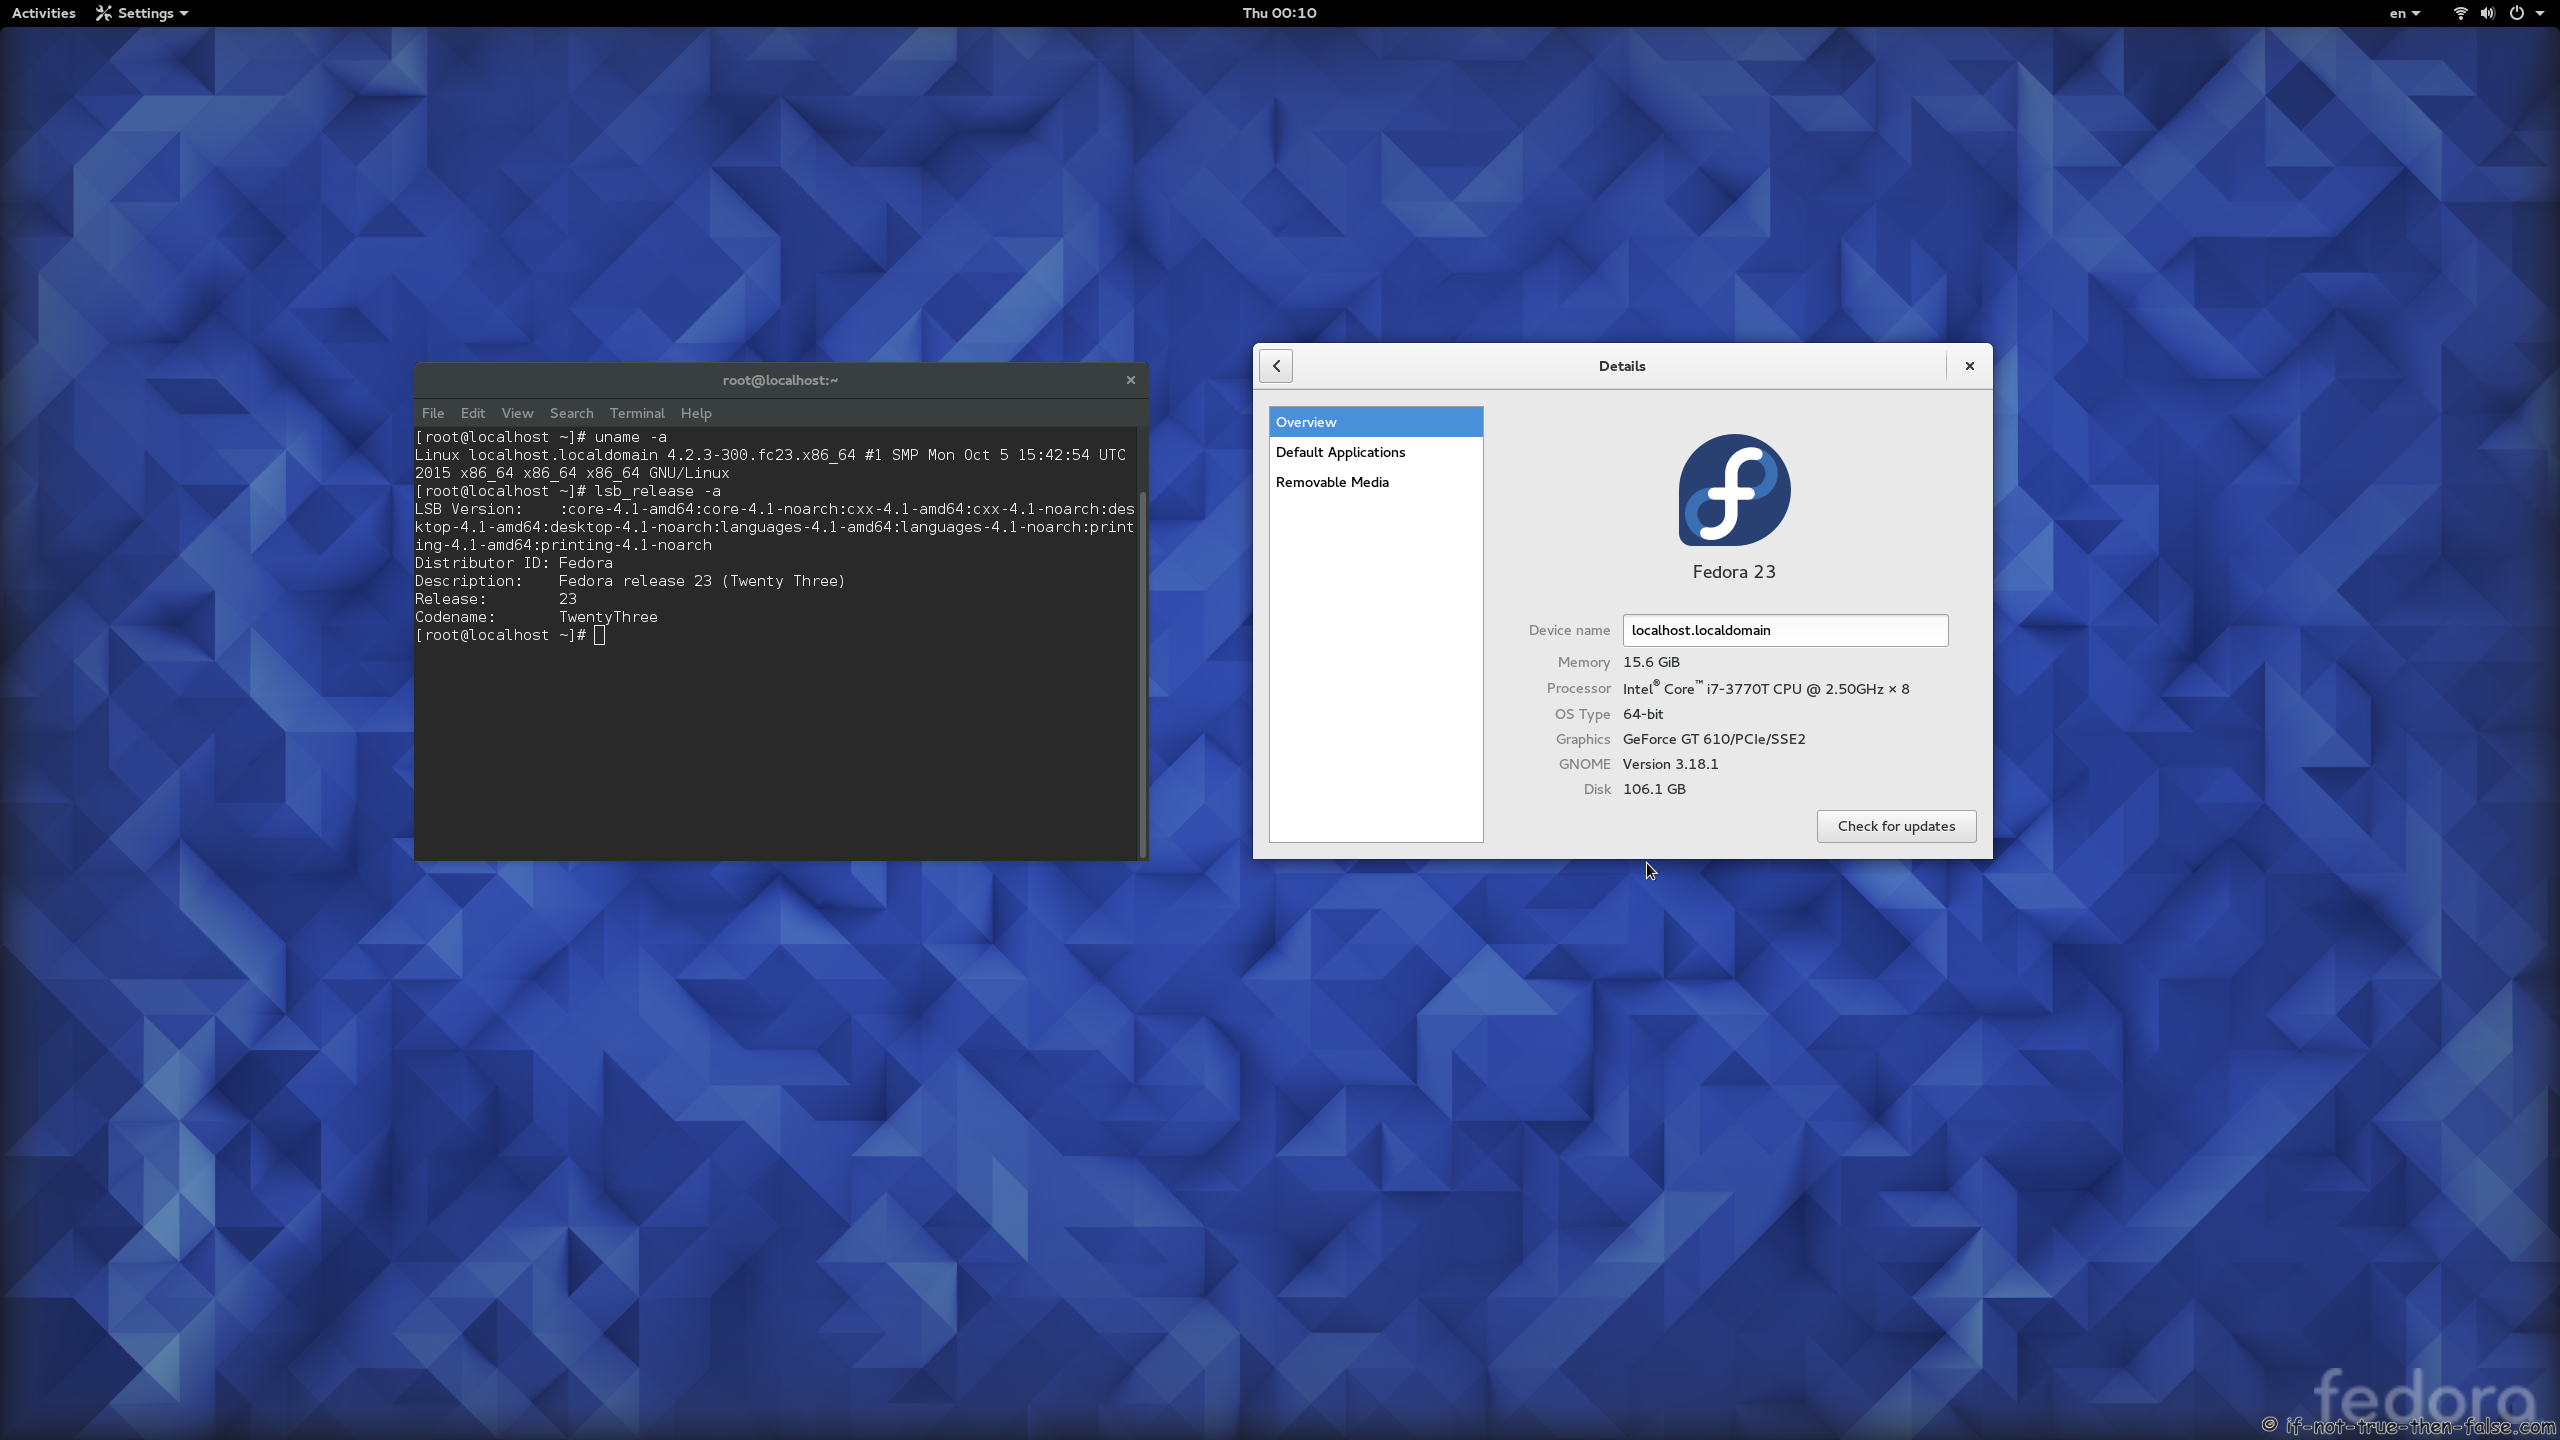
3.3 Fedora 23 and Gnome 3.18.1⌗
4. Fedora 22 Clean Up Post Upgrade (as root user)⌗
4.1 Rebuilding the RPM DB⌗
rpm --rebuilddb
4.2 Do Distro Sync⌗
dnf distro-sync --setopt=deltarpm=0
4.3 Check All Your Config Files⌗
Use rpmconf to find .rpmnew, .rpmsave and .rpmorig files. You can keep current version, place back old version, watch the diff or merge.
dnf install rpmconf

rpmconf -a