CentOS 7.7 Netinstall Guide – Network Installation Screenshots
Table of Contents
![]()
This step-by-step walkthrough with screenshots, howto install CentOS (The Community ENTerprise Operating System) 7.7 Linux with Network installation (NetInstall).
CentOS 7.7 is released and it brings all Red Hat (RHEL) 7.7 goodness to all CentOS 7.7 users.
Want just CentOS 7.7 Netinstall mirror URL?
Goto CentOS 7.7 Netinstall URL
1. Download CentOS 7.7 Net Install (NetInstall) image⌗
Select mirror here:
CentOS 7.7 x86_64 version
Select ISO image
CentOS-7-x86_64-NetInstall-1804.iso
Note: only 64-bit (x86_64) image is available.
2. Burn CentOS 7 Image to CD and Boot Computer or Create Bootable USB Stick⌗
Check CentOS image MD5 sum and burn image to CD with your favorite CD burner or create bootable USB stick. And boot computer using CentOS installation media.
3. CentOS 7.7 installation⌗
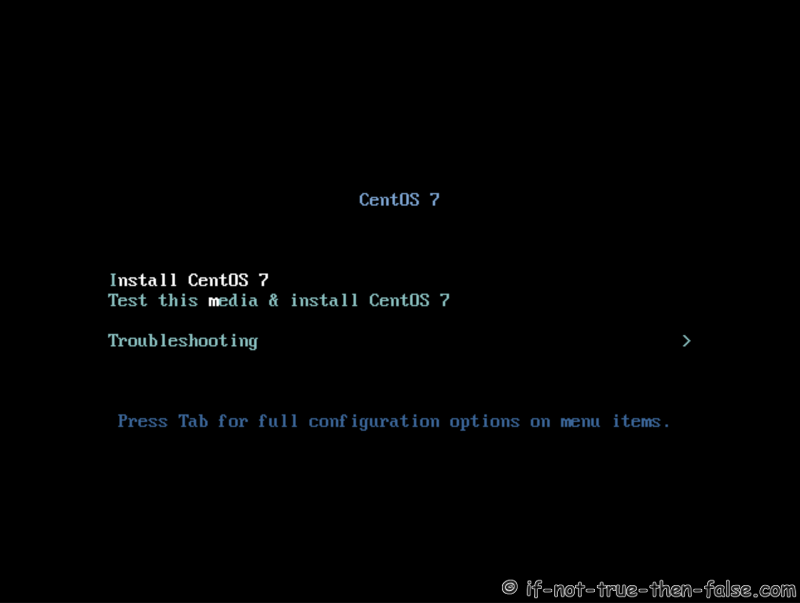
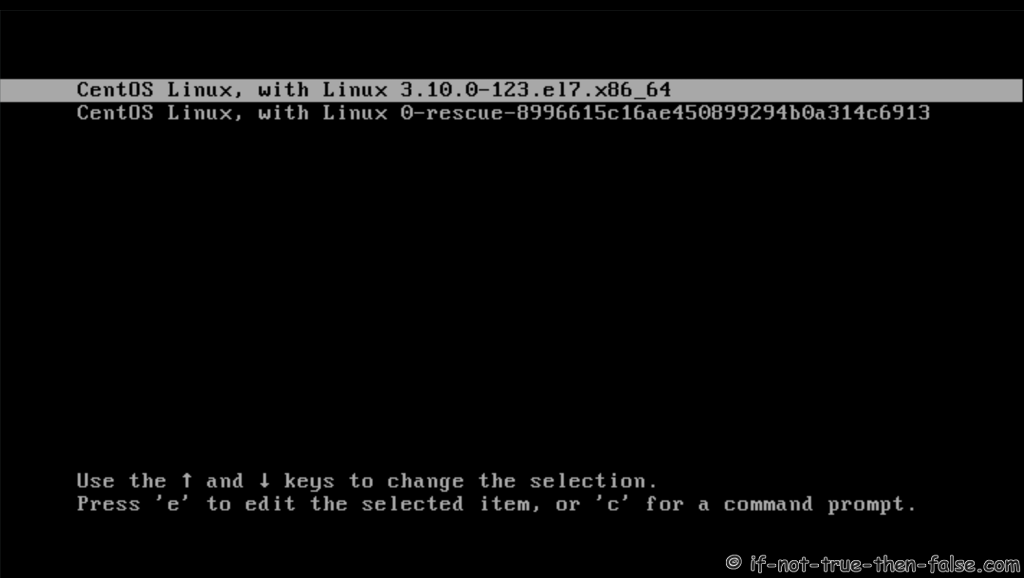
3.1 CentOS 7 Grub menu -> select Install CentOS 7⌗
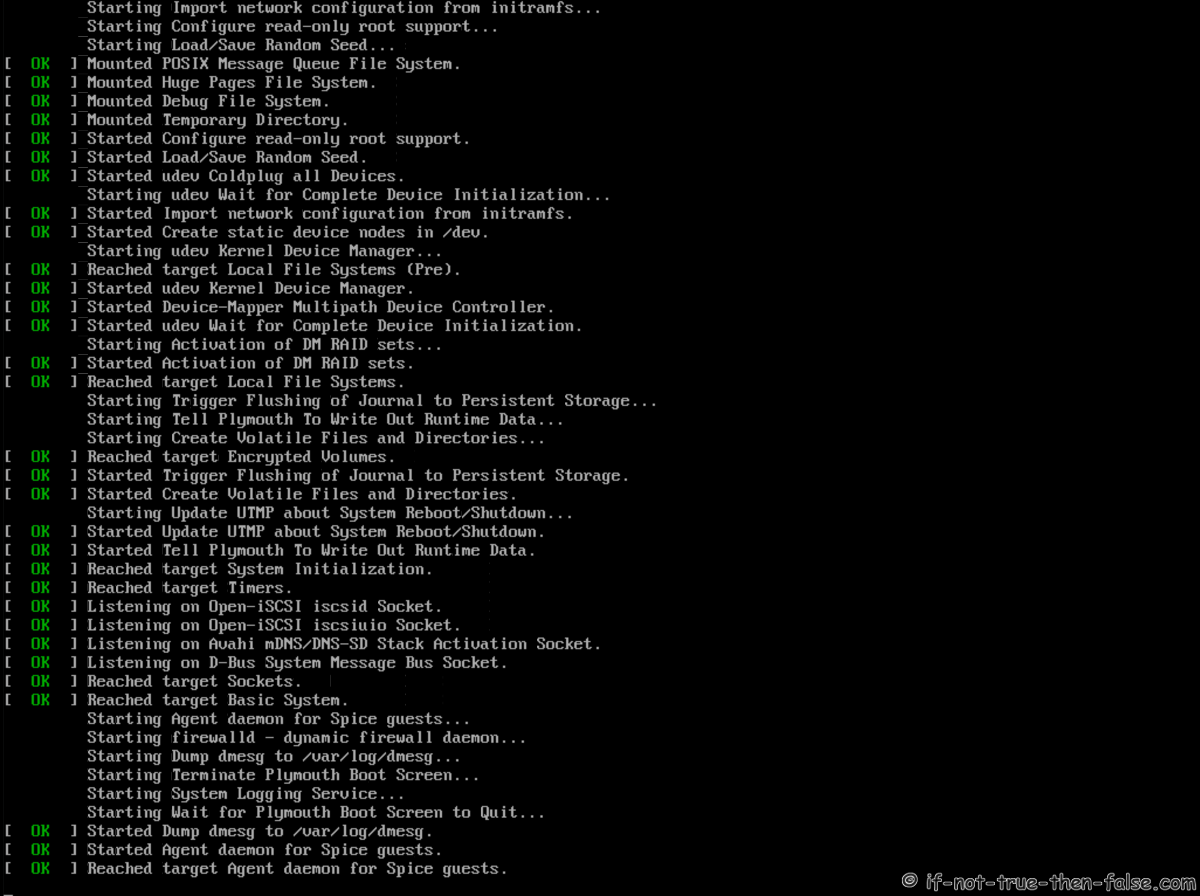
3.2 Booting CentOS 7.7 Installer⌗
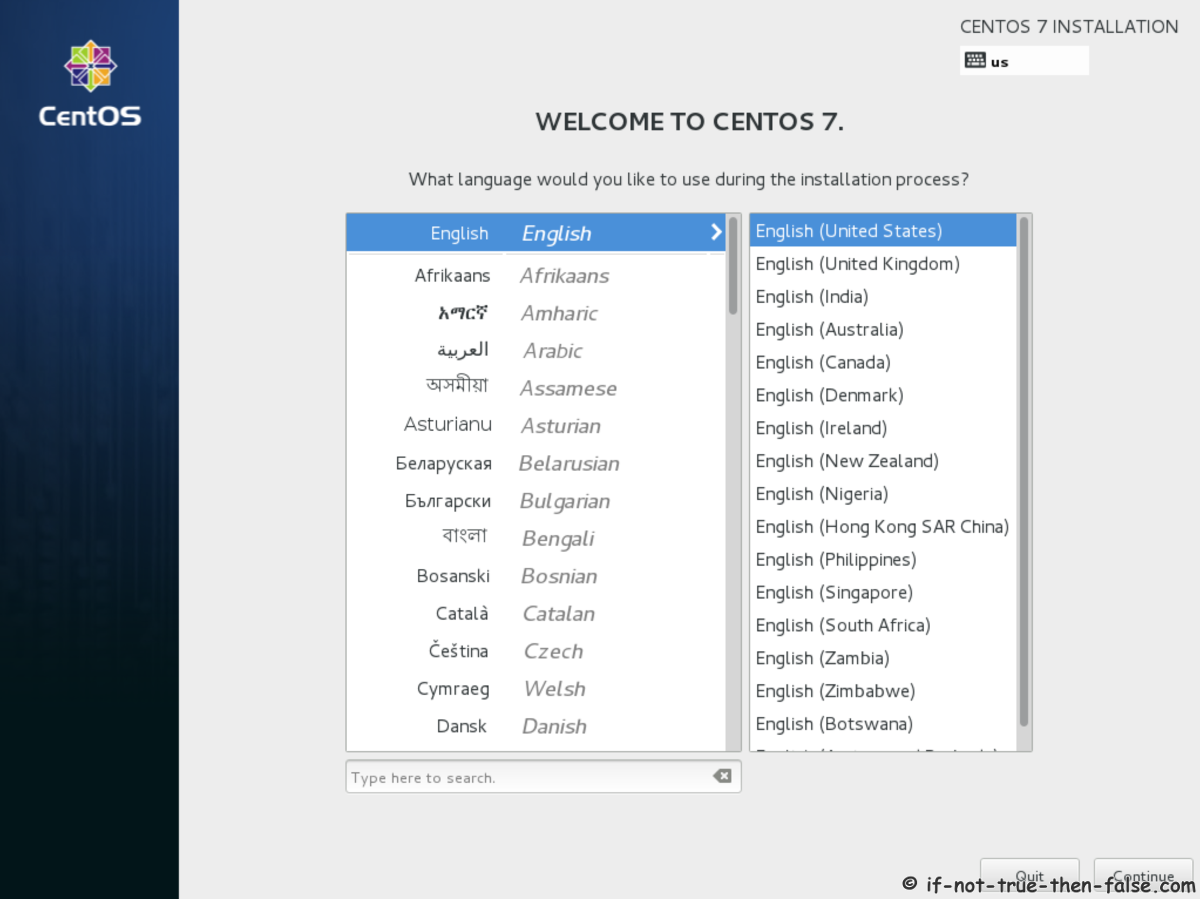
3.3 Select Language⌗
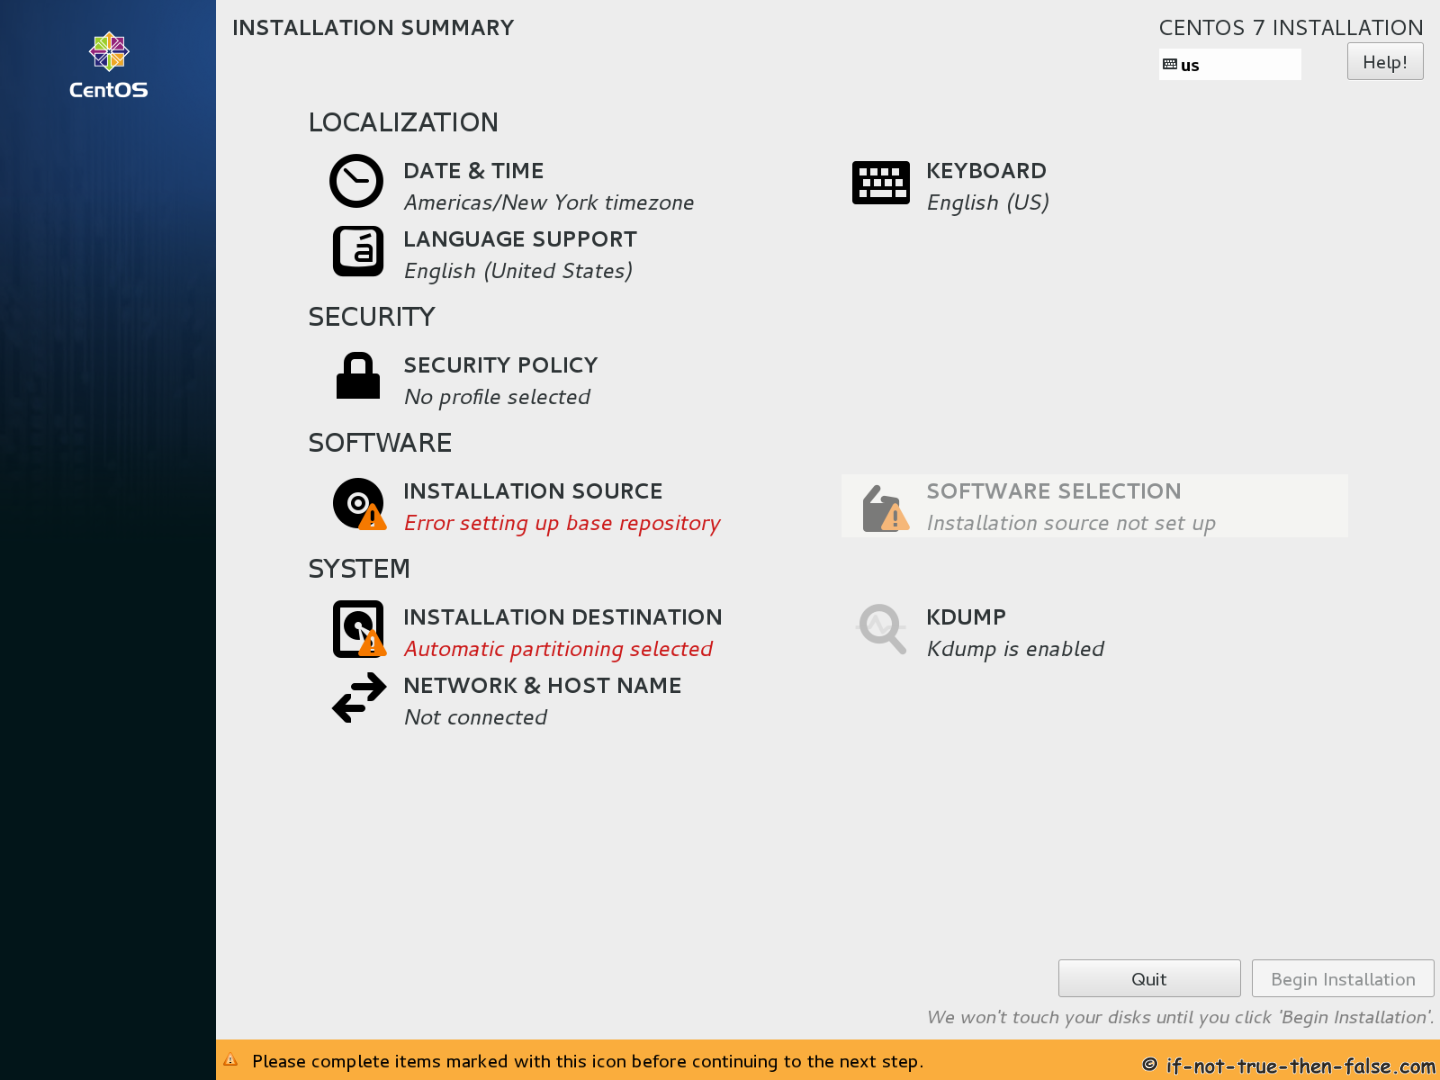
3.4 Installation Summary⌗
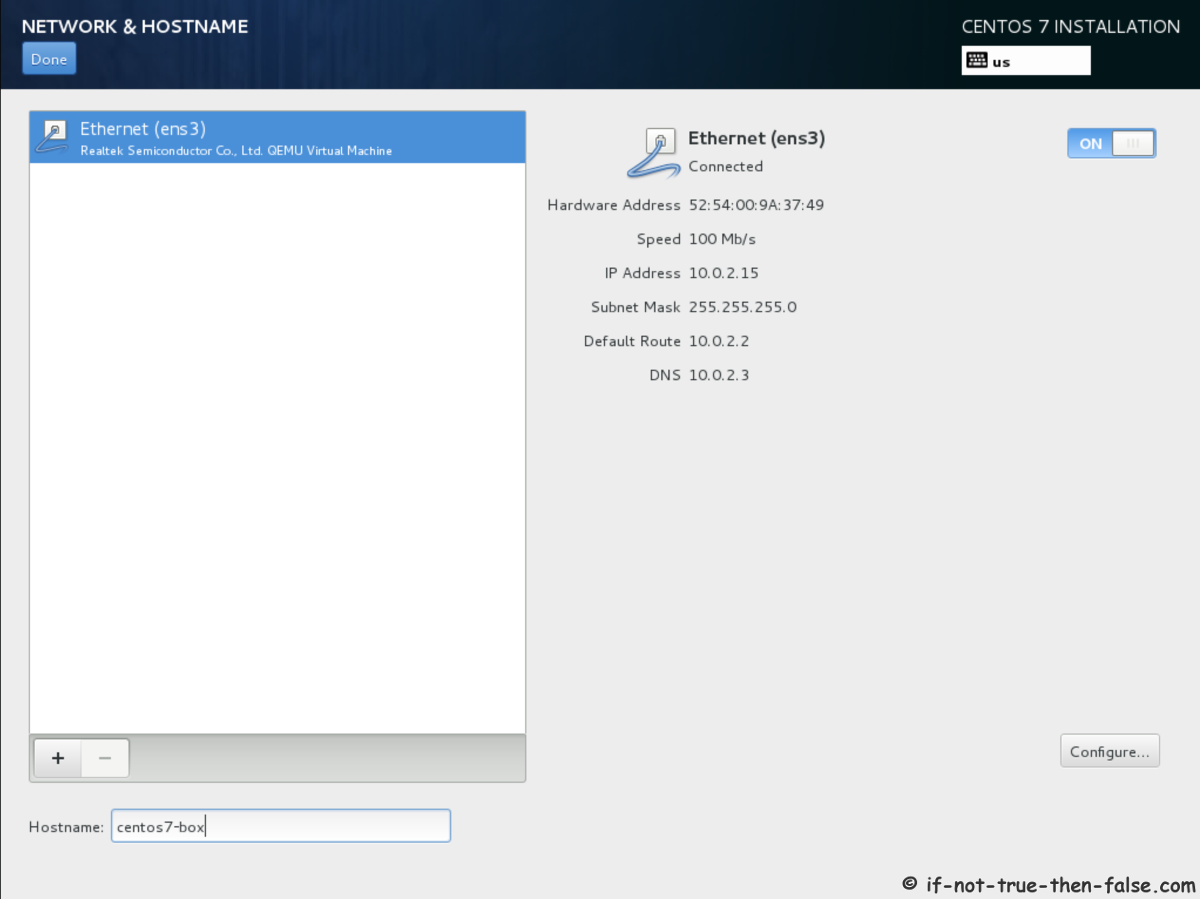
3.5 Setup Network and Hostname⌗
This is best to do first, because network is really needed on NetInstall.
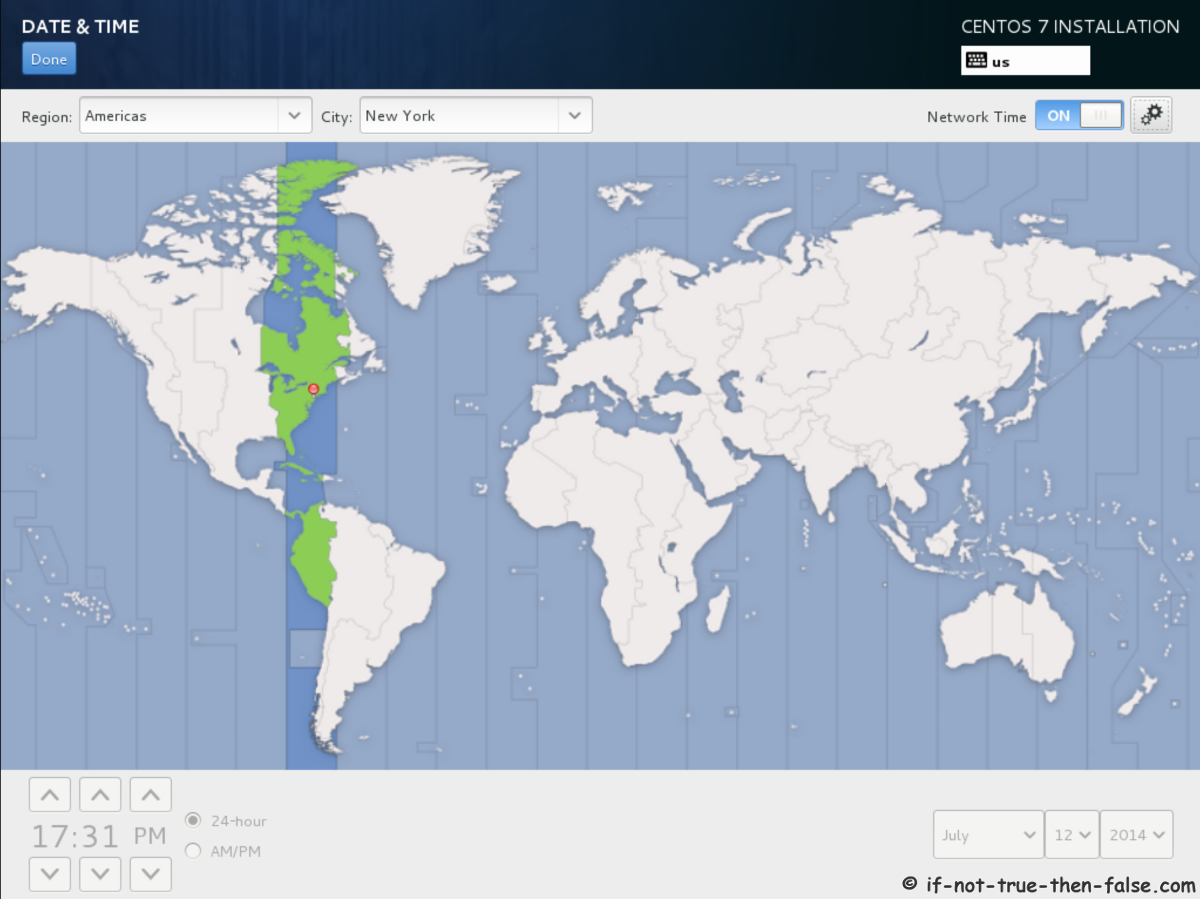
3.6 Setup Date and Time⌗
If you have network connection, then easiest way to keep time everything sync, is use NTP (Network Time Protocol).
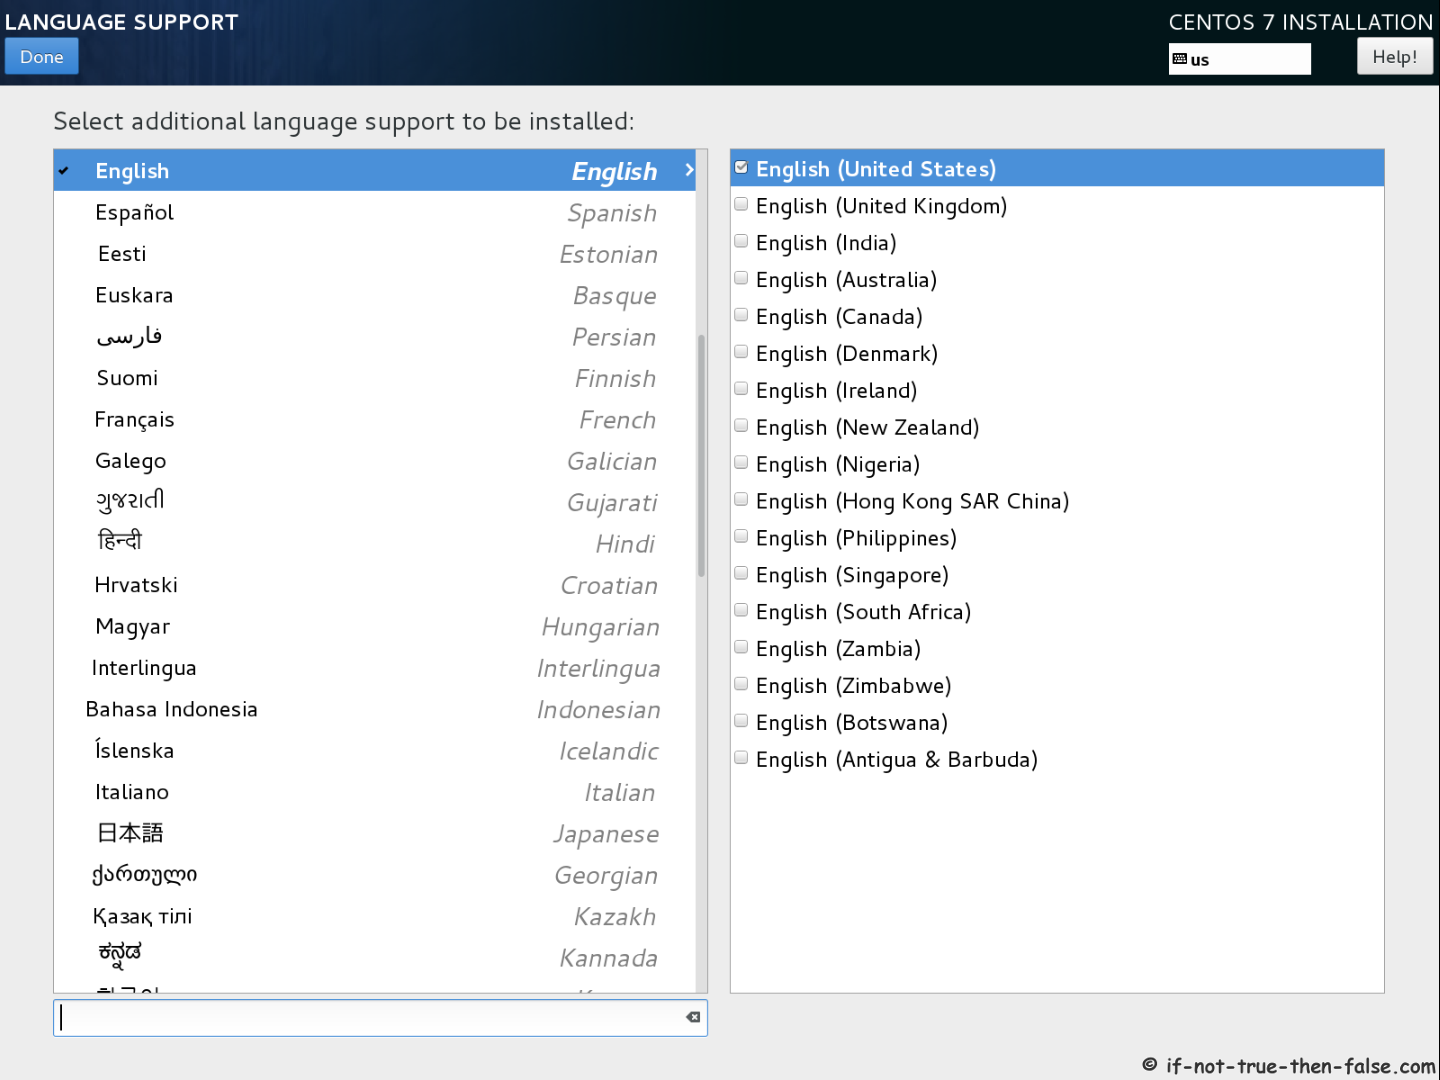
3.7 Language Support⌗
3.8 Select Keyboard Layout⌗

3.9 Security Policy⌗

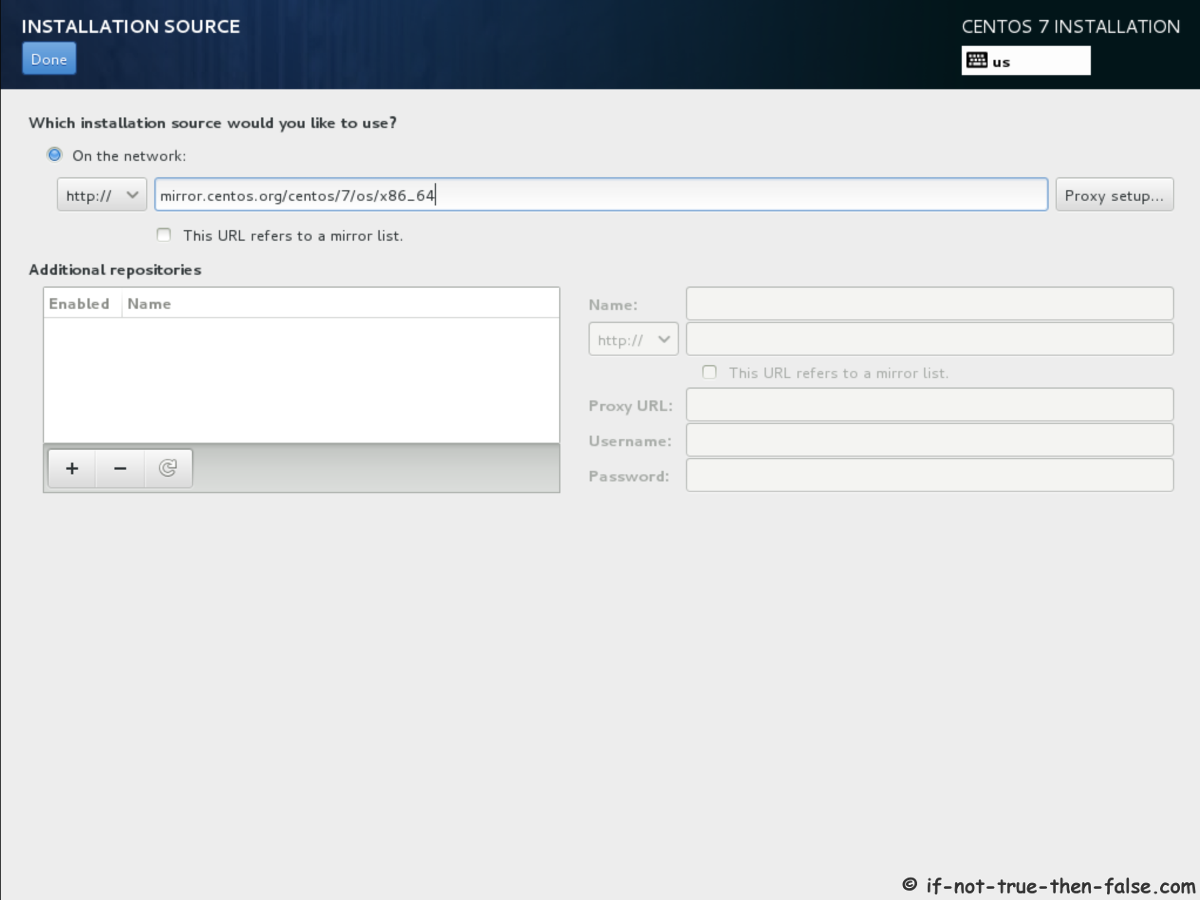
3.10 CentOS 7.7 NetInstall URL (Installation Source)⌗
| Example mirrors.sonic.net | Alternatively use CentOS own mirror |
|---|---|
| http://mirrors.sonic.net/centos/7/os/x86_64/ | http://mirror.centos.org/centos/7/os/x86_64/ |
| http://mirrors.sonic.net/centos/7.7.1908/os/x86_64/ | http://mirror.centos.org/centos/7.7.1908/os/x86_64/ |
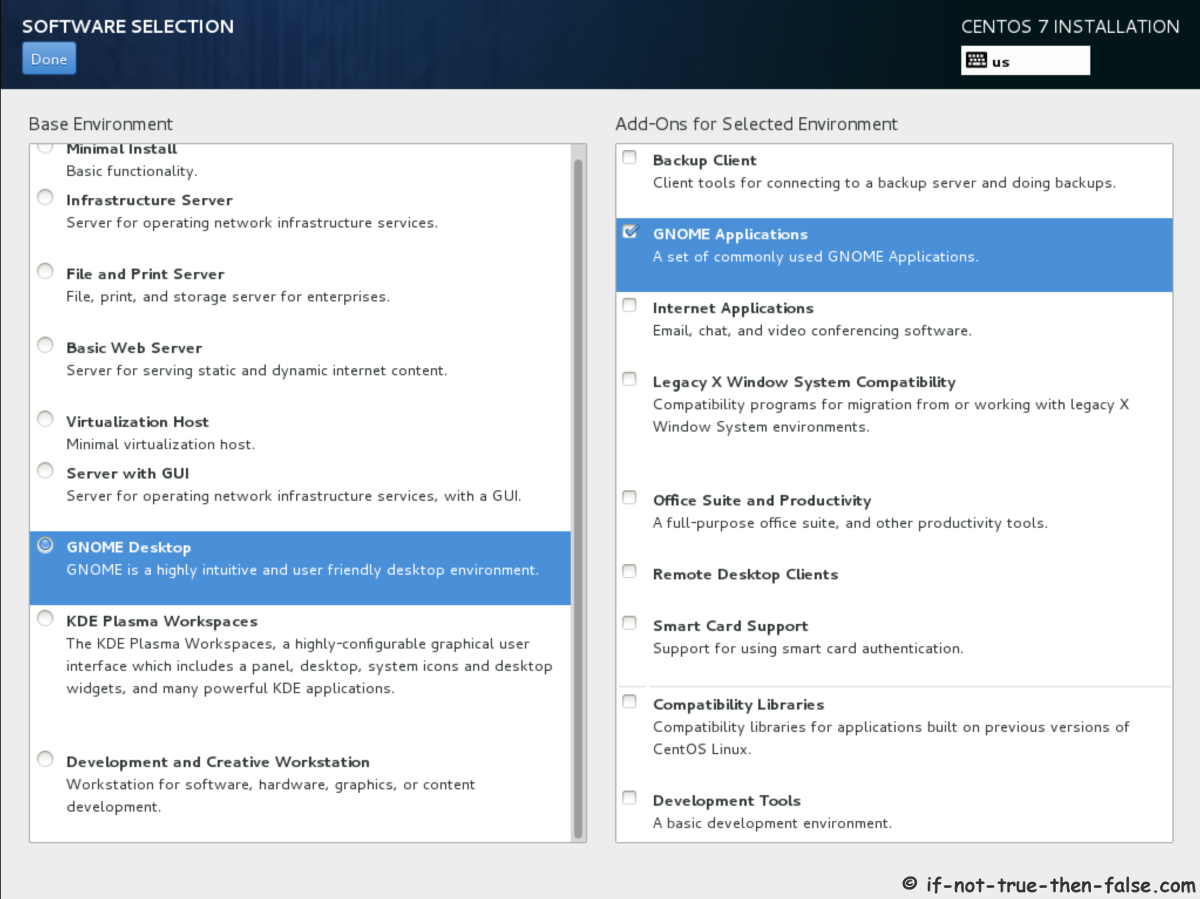
3.11 CentOS 7 Software Selection⌗
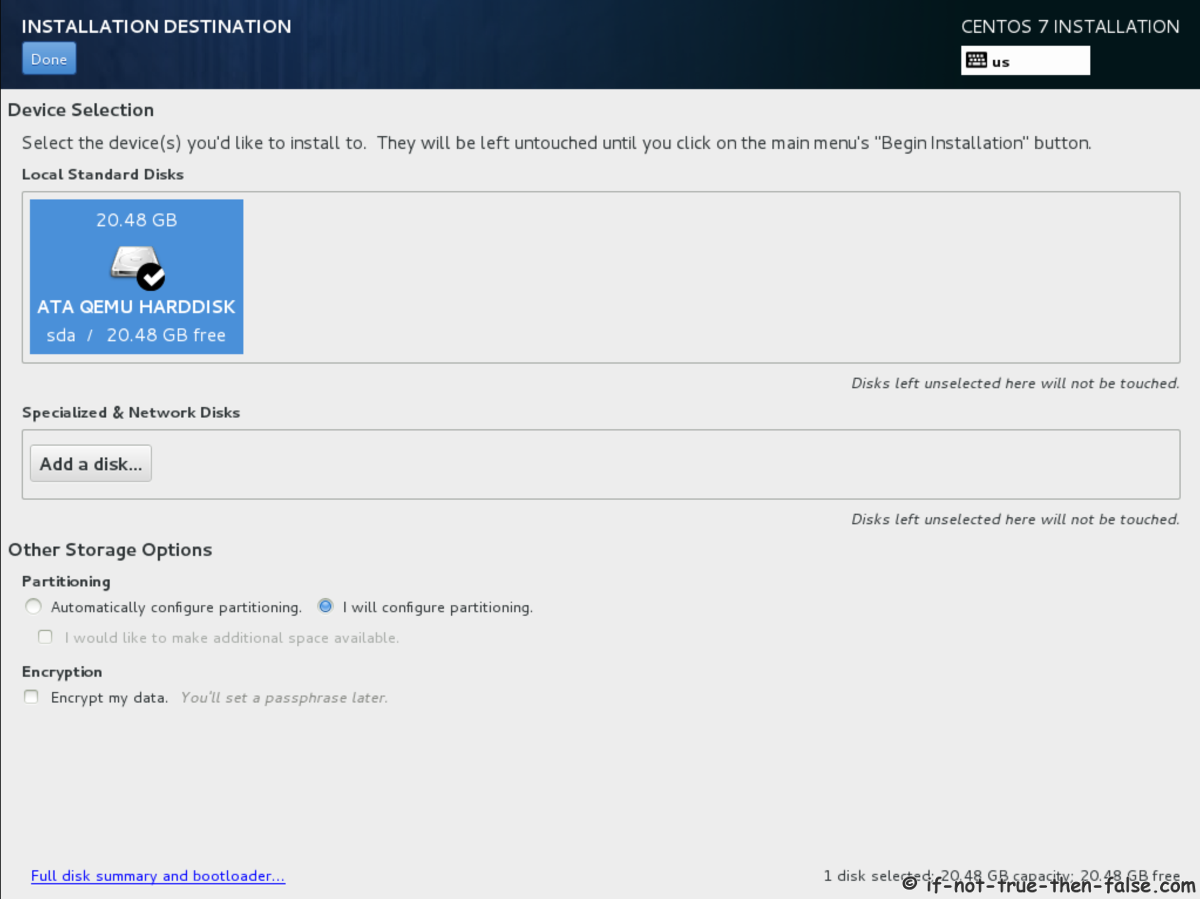
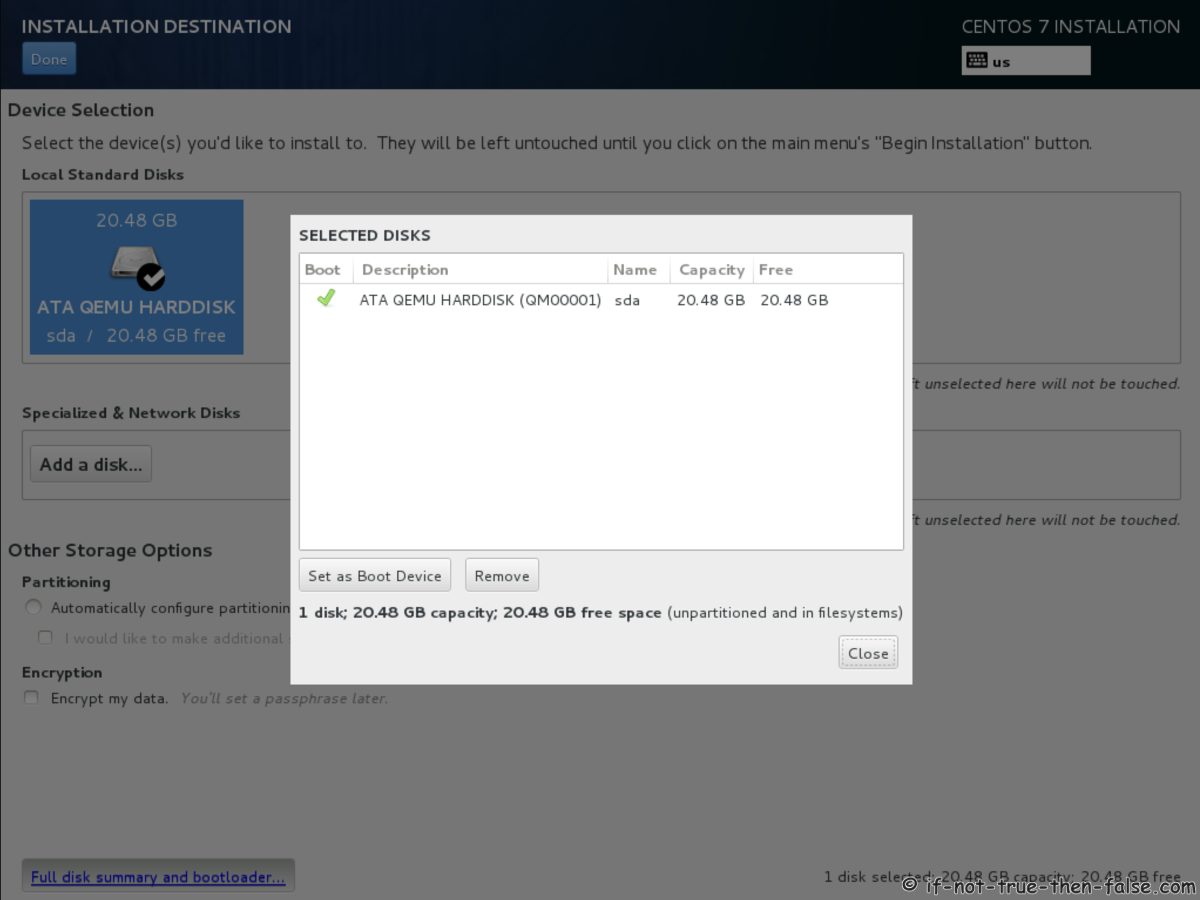
3.12 Installation Destination⌗
Select disk(s) what you want to use for installation. Then you can also select partitioning type (automatic or manual) and encryption. I selected manual partitioning without encryption.
Selected disk(s).
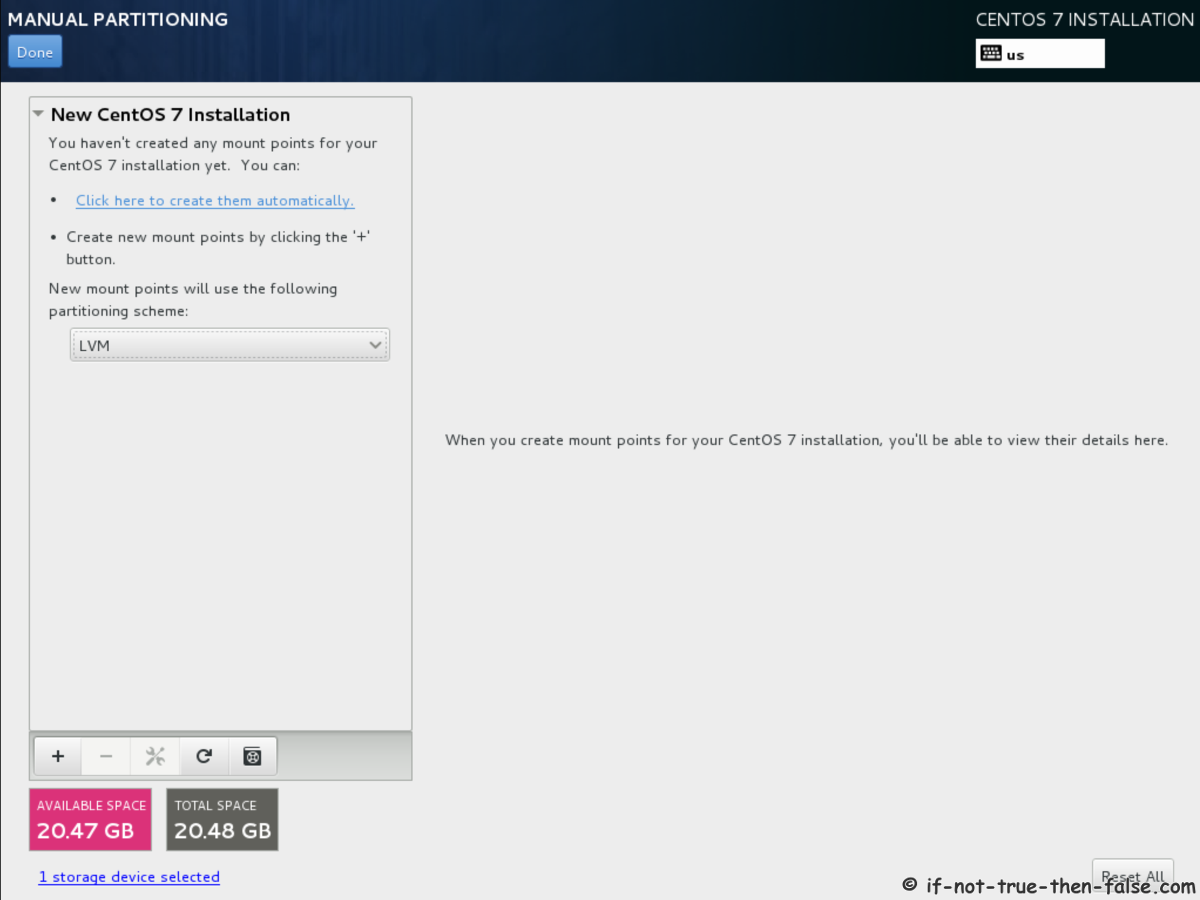
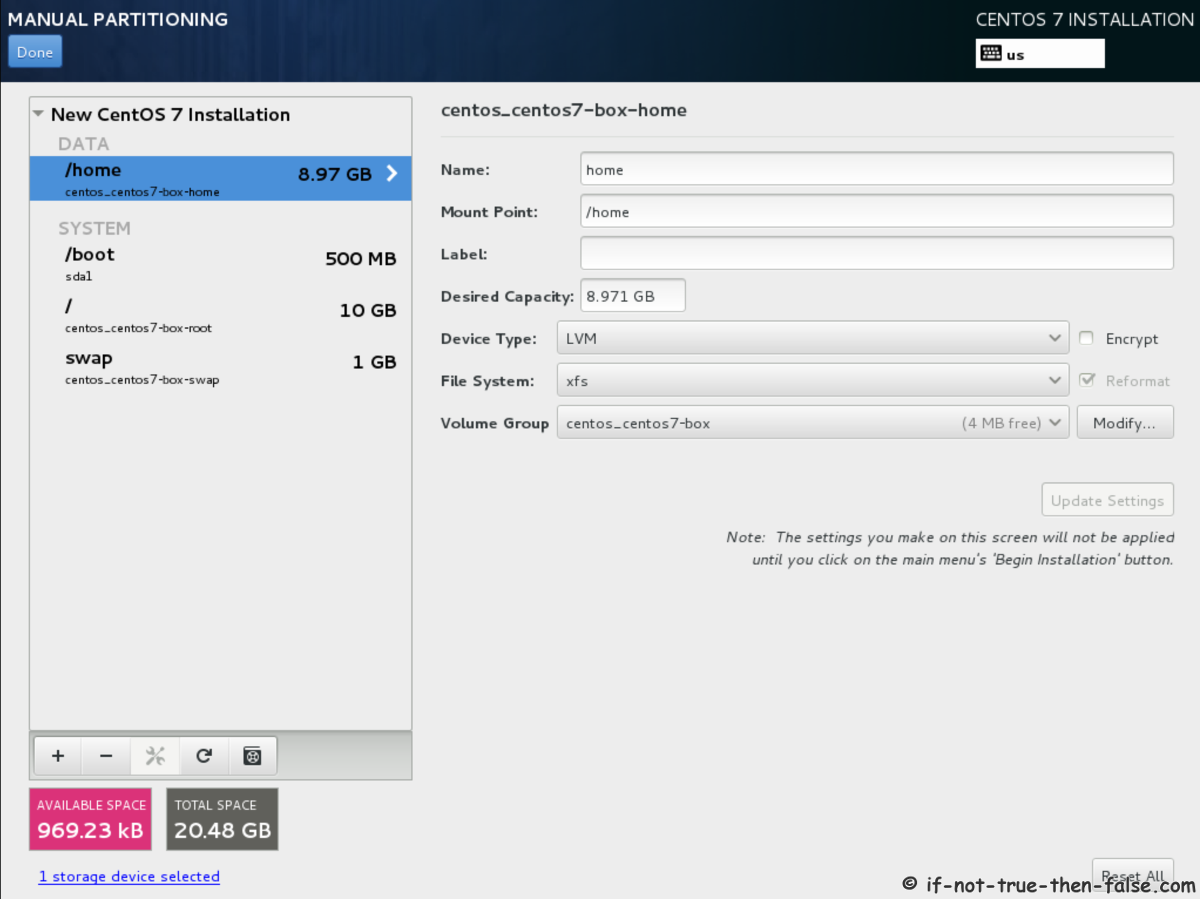
3.13 Manual Partitioning⌗
You can add partitions when you click +-sign on bottom left
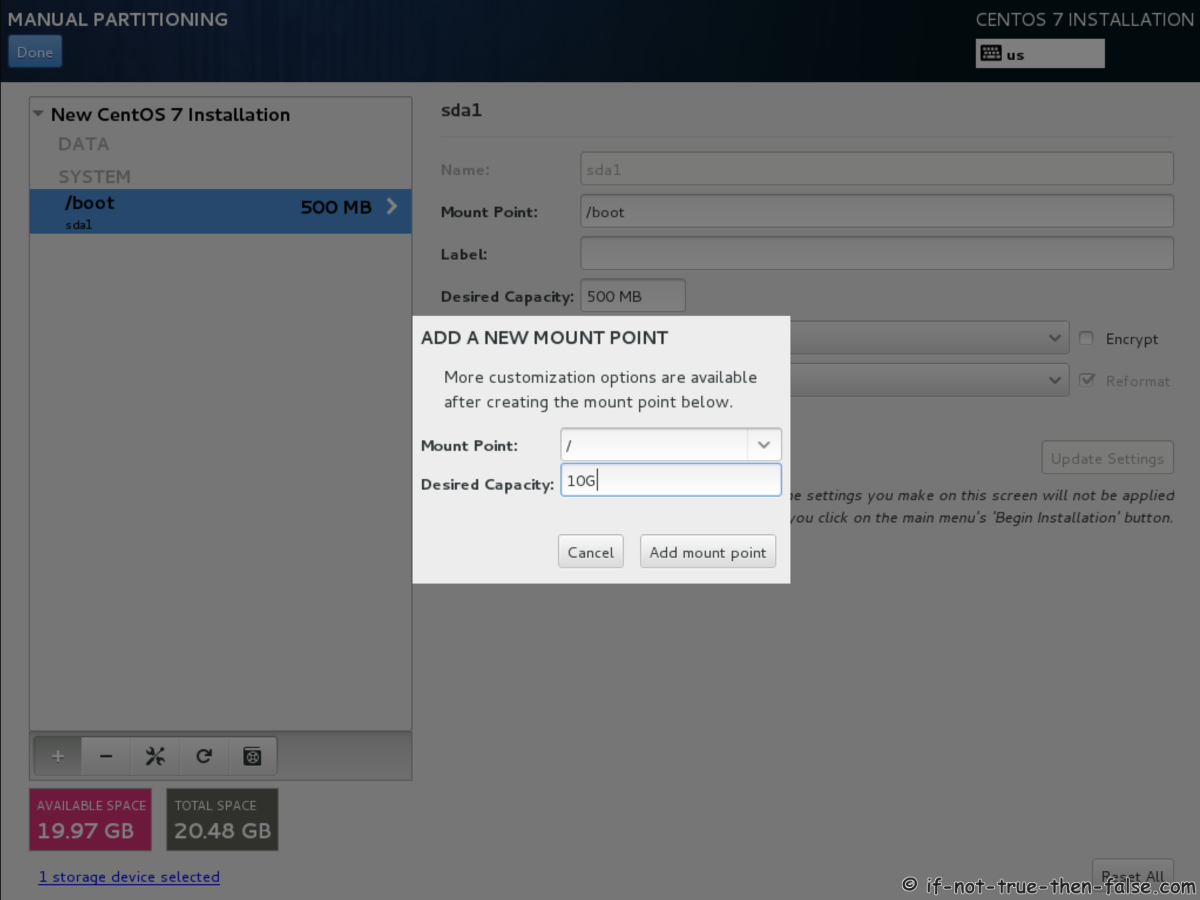
Add Boot Mount Point

Add Root Mount Point
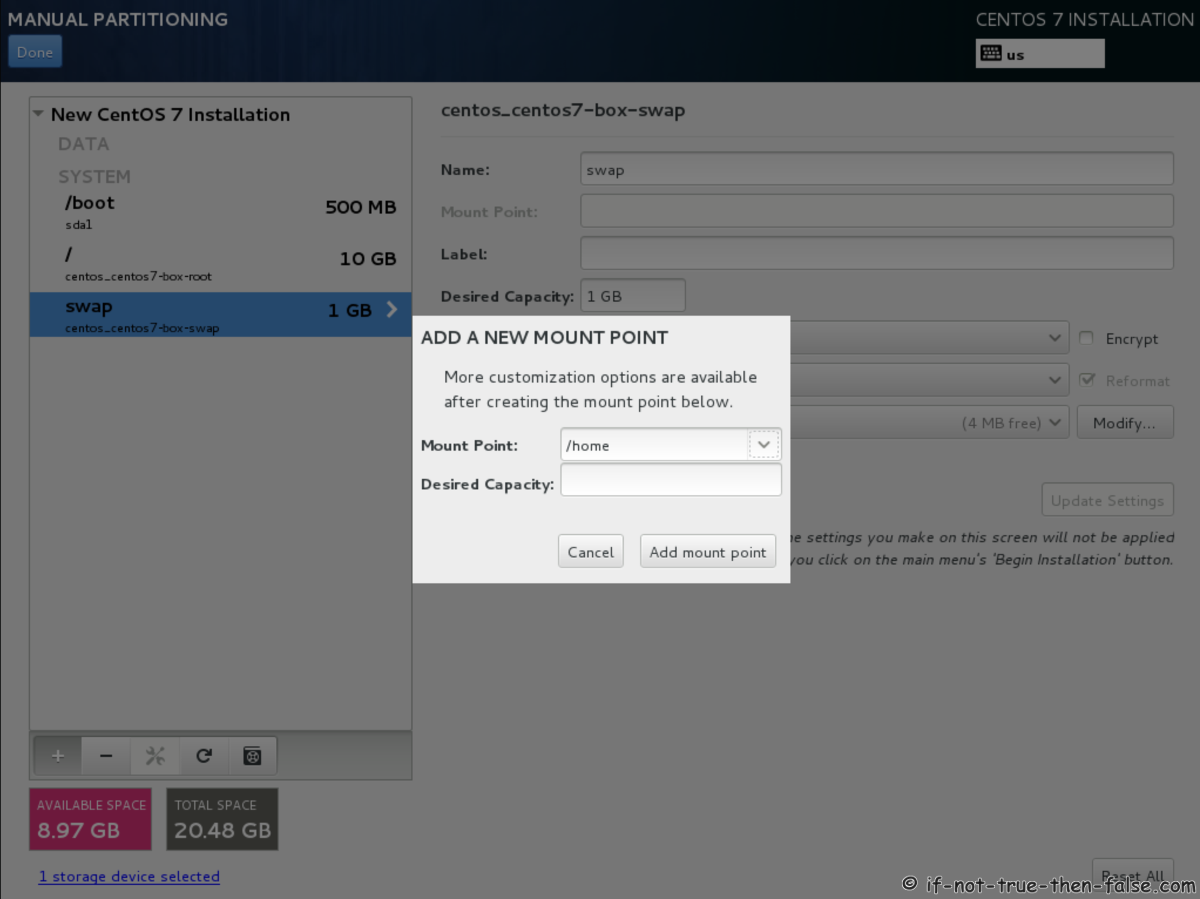
Add Swap Mount Point

Add Home Mount Point
CentOS 7 Manual Partitioning Ready
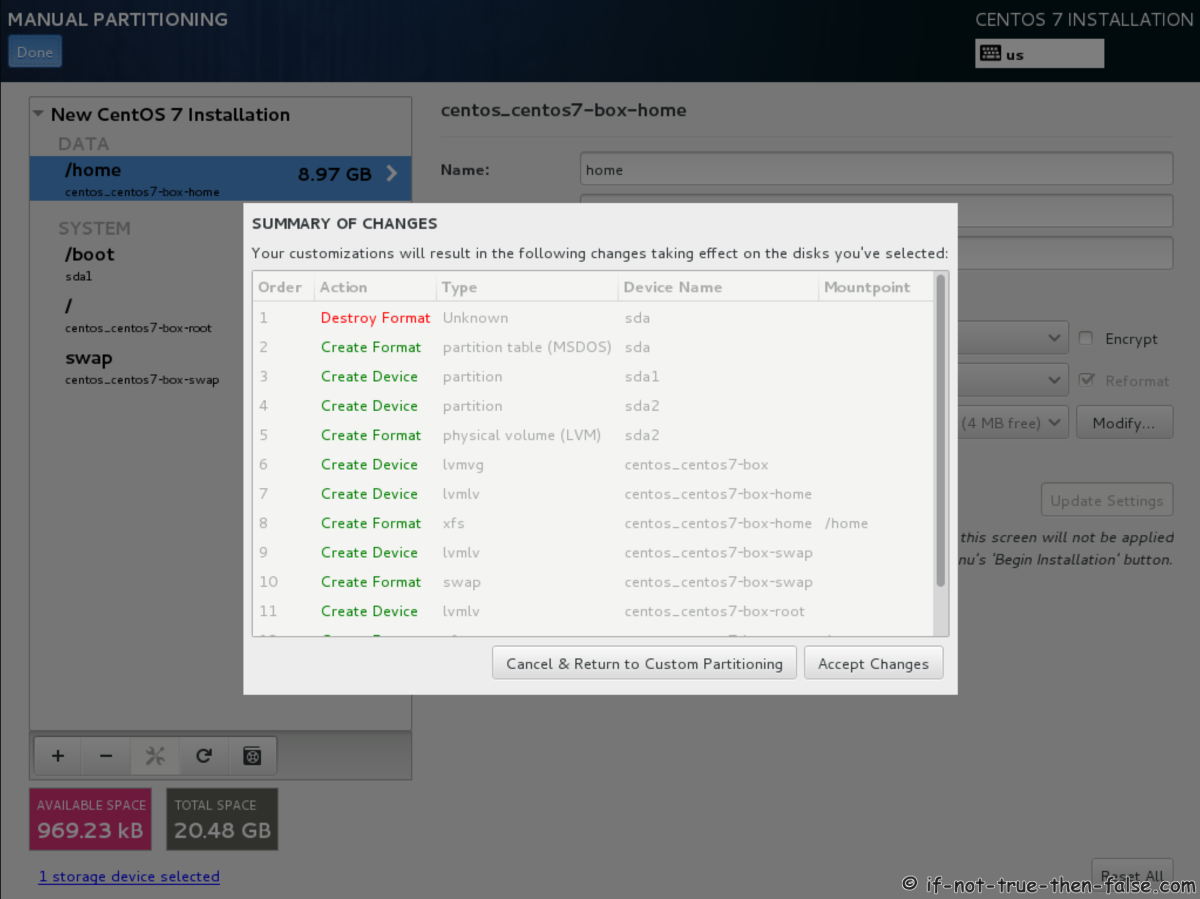
CentOS 7 Summary of Changes
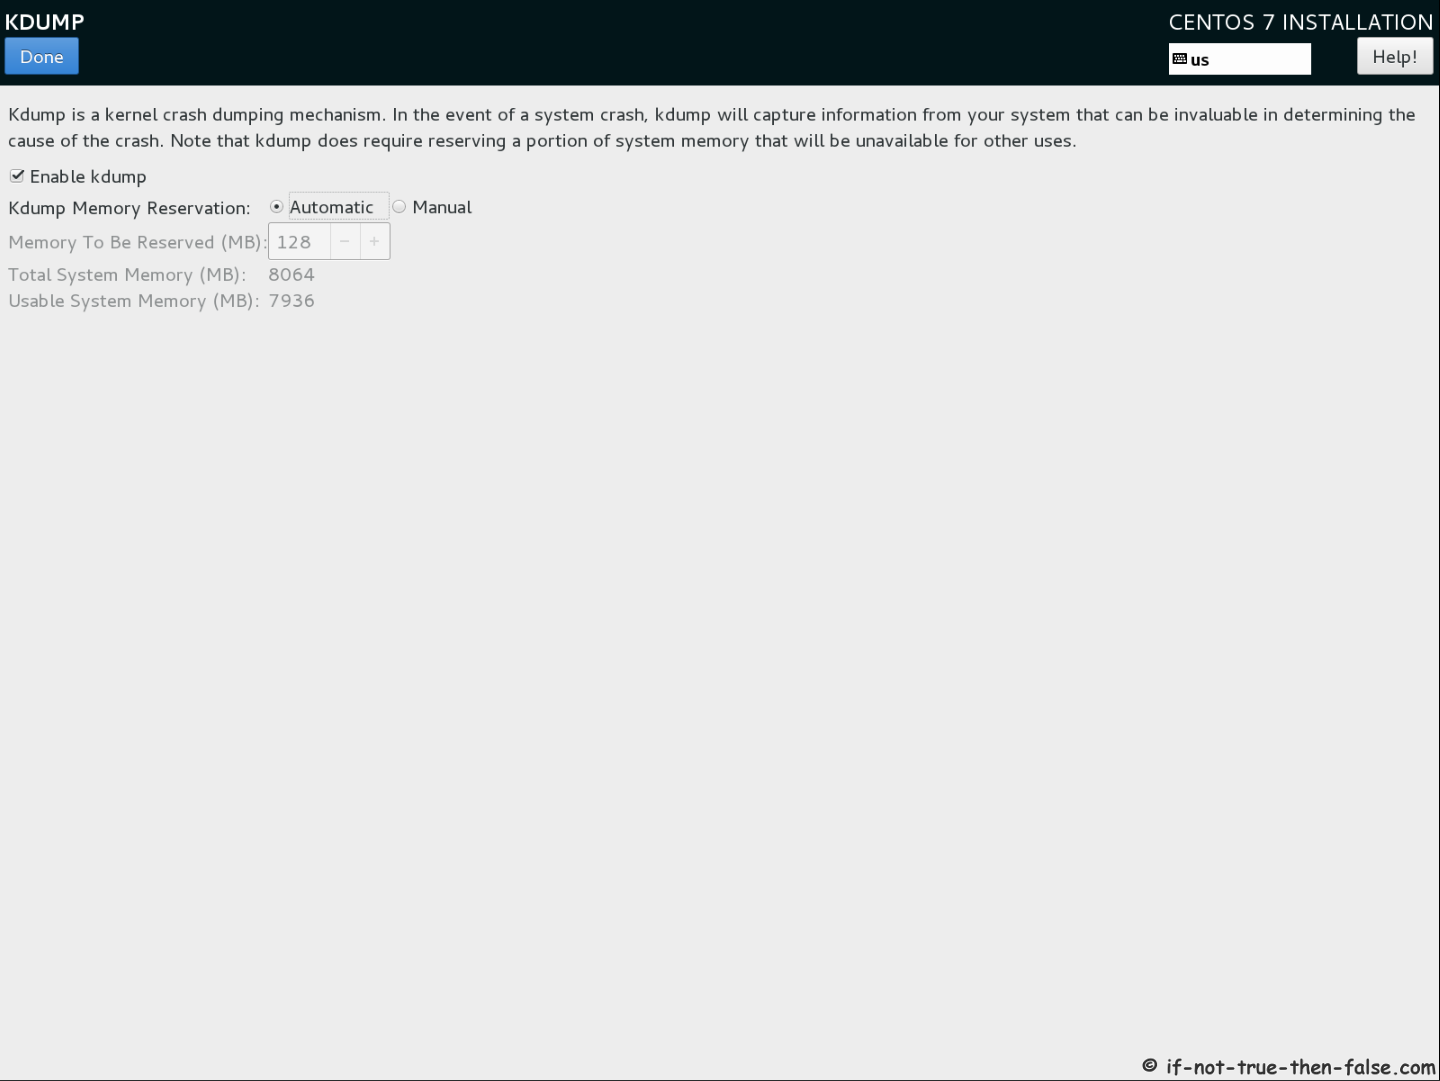
3.14 Enable or disable Kdump⌗
3.15 CentOS 7.7 All Done Begin Installation⌗

3.16 CentOS 7.7 Installer Starts⌗
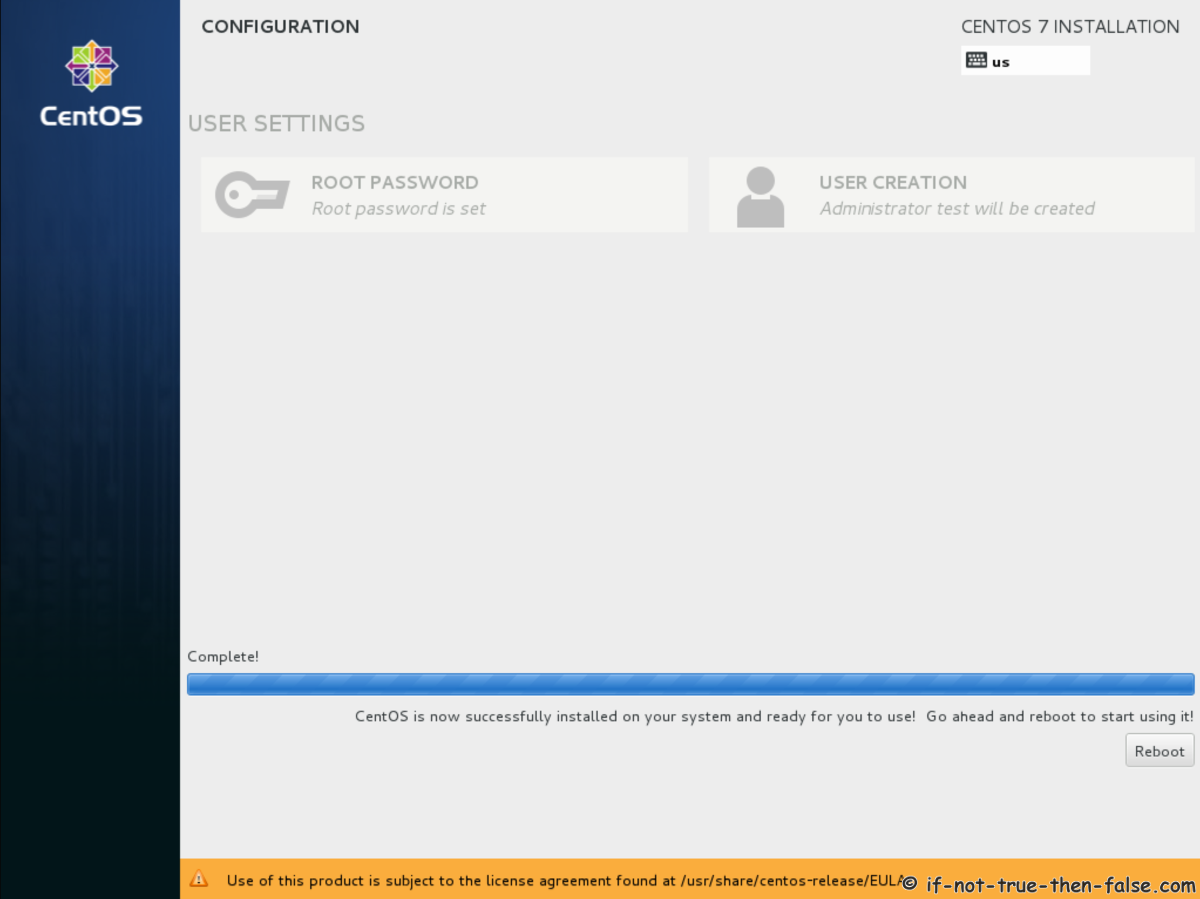
While installer create partitions and install packages it’s time to set root password and create user account.
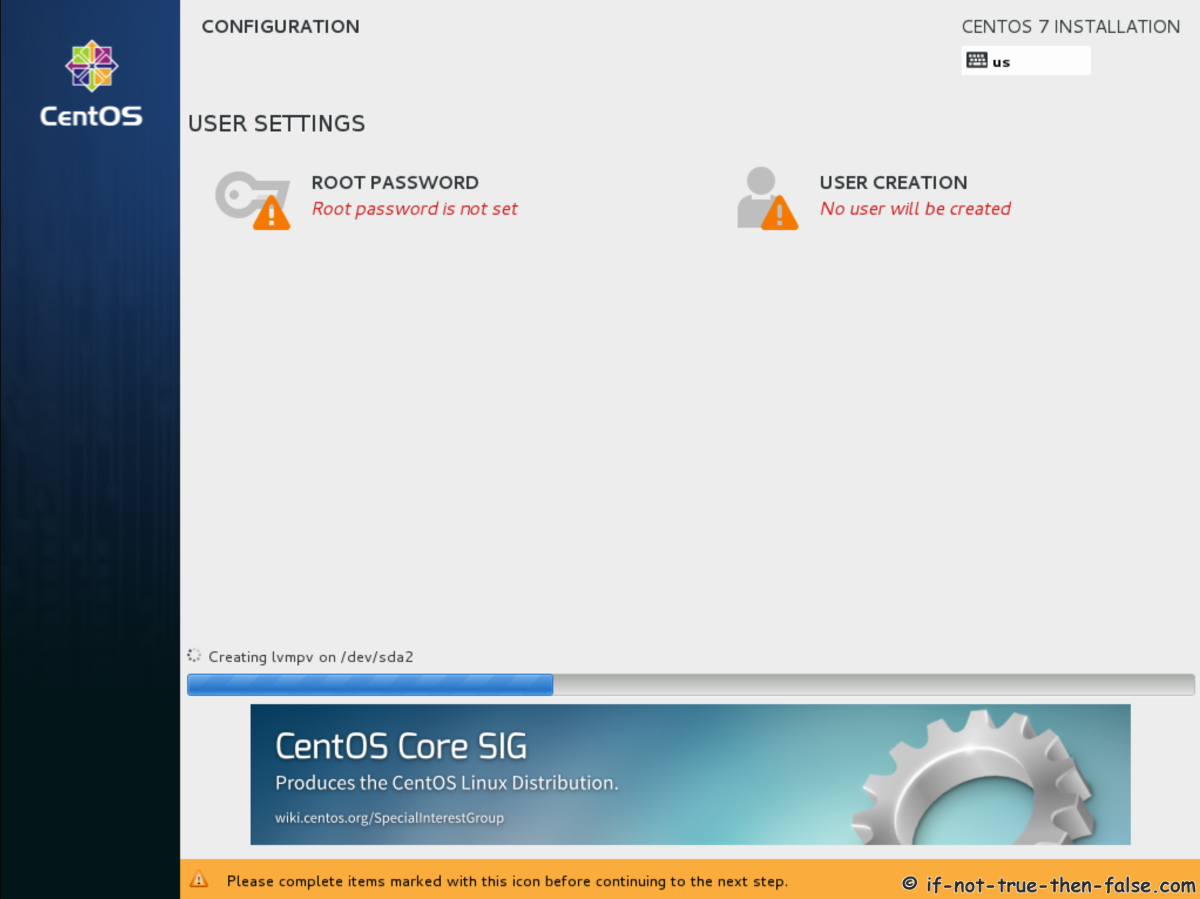
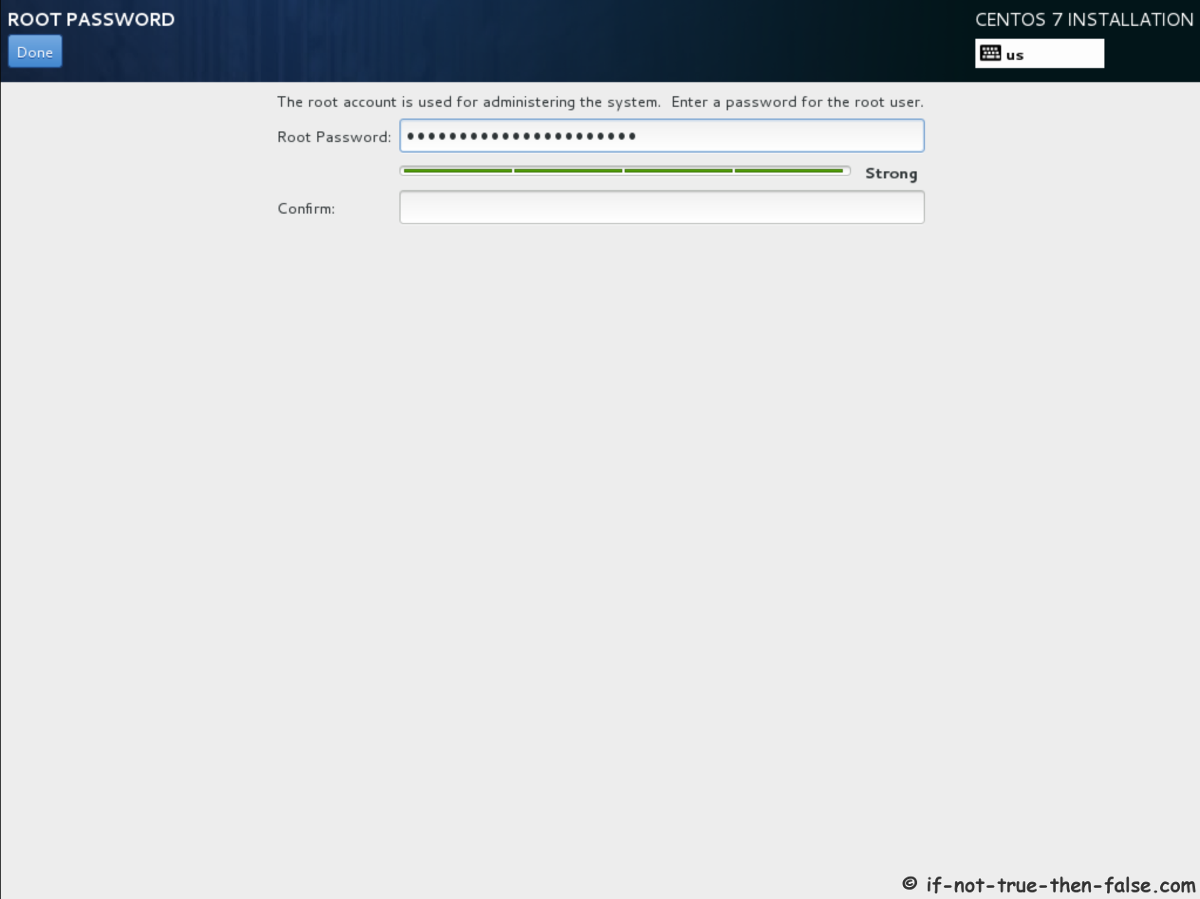
Set root Password
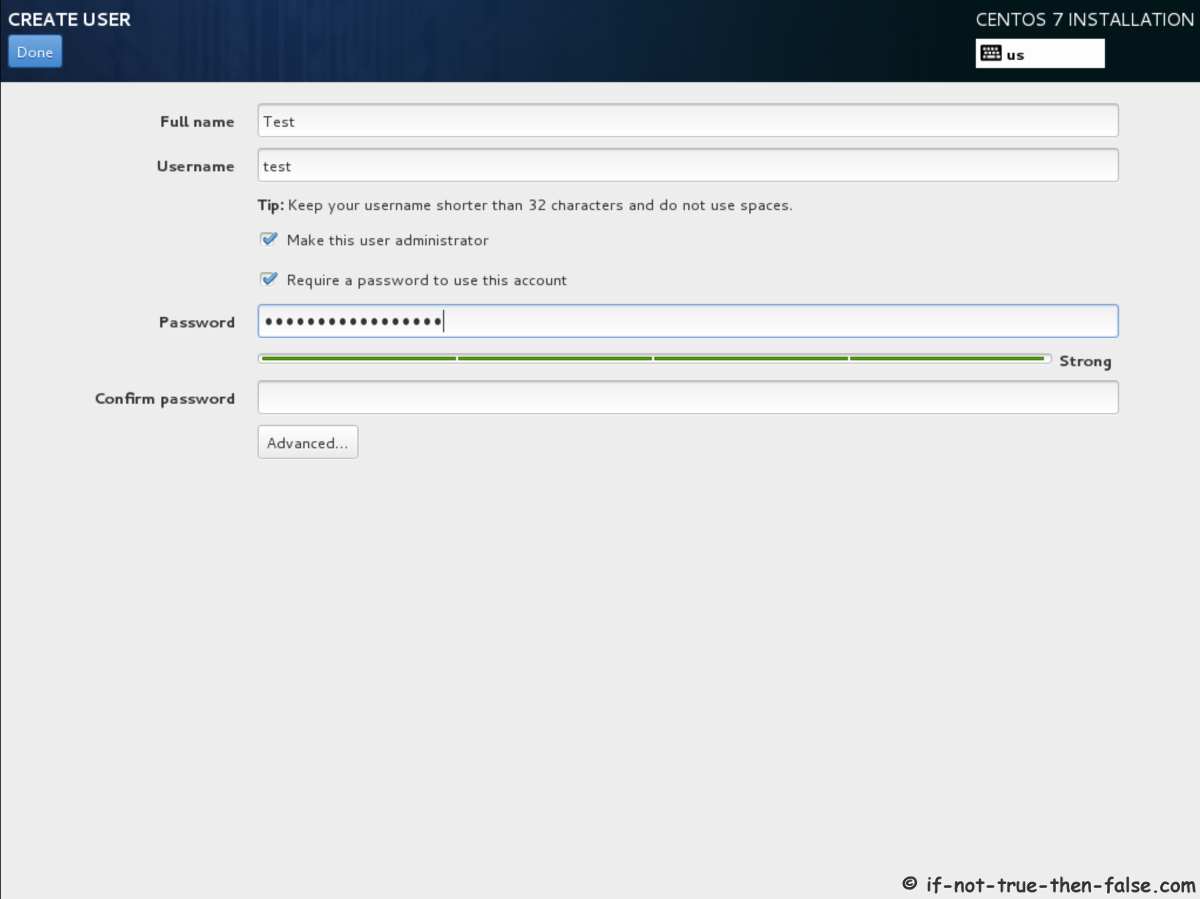
Create User Account
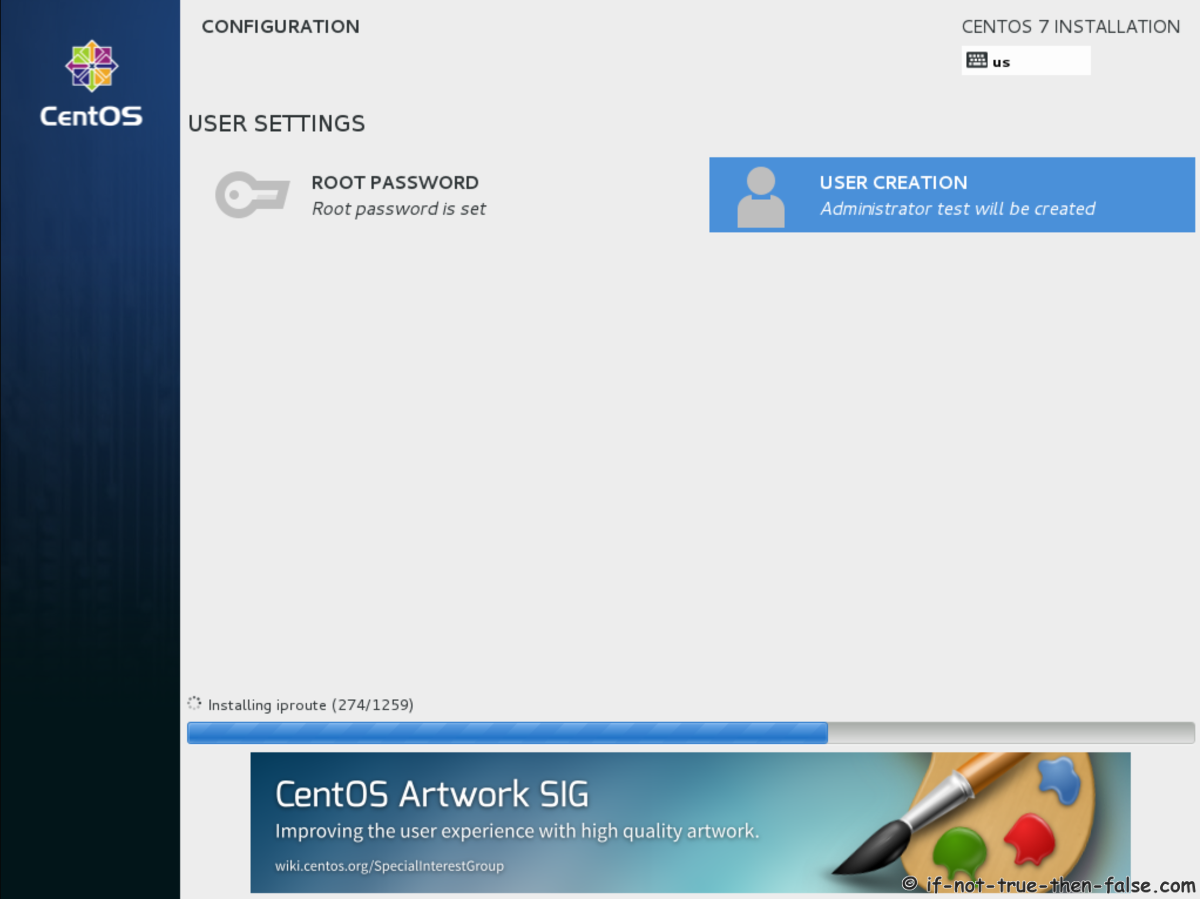
Configuration Done
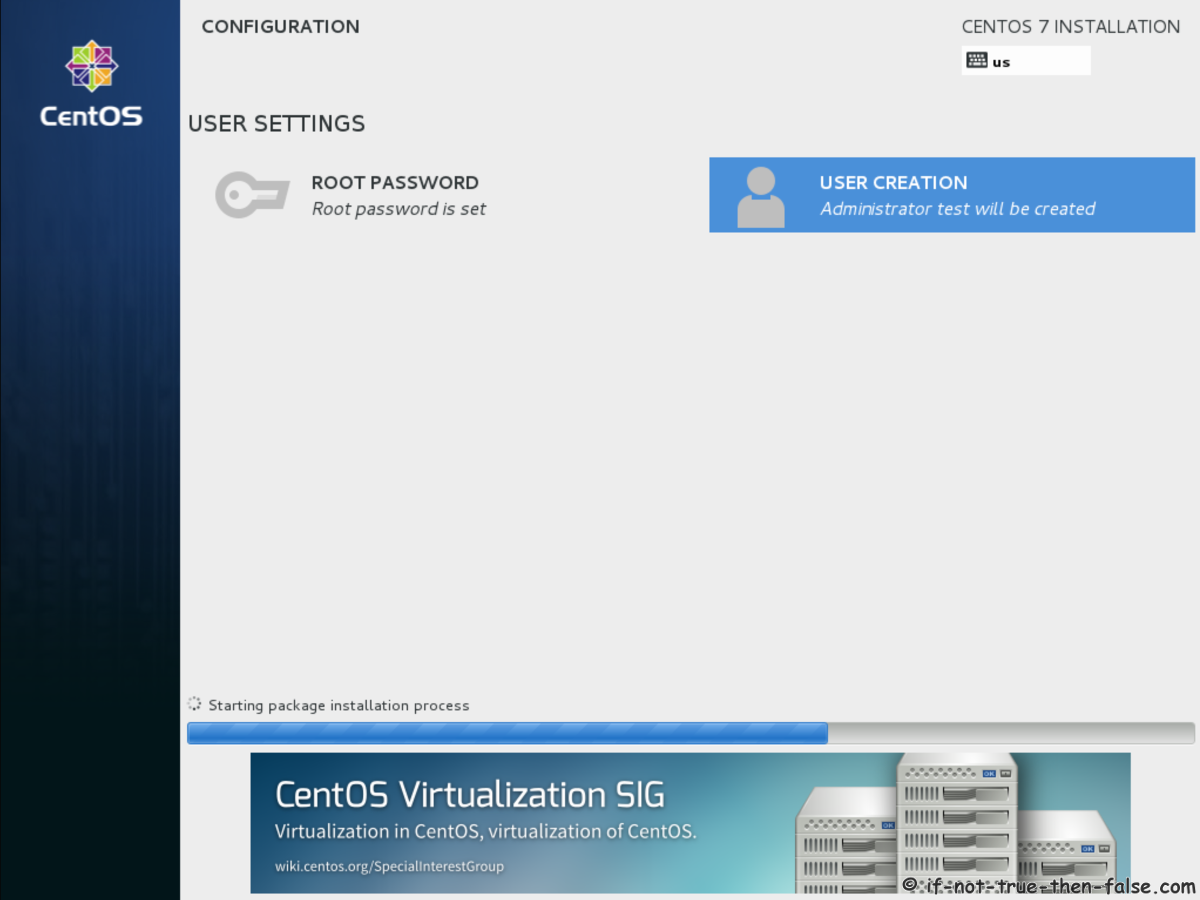
3.17 CentOS 7.7 Installing Packages⌗
3.18 CentOS 7.7 Installation Completed⌗
3.19 CentOS 7.7 Grub2⌗
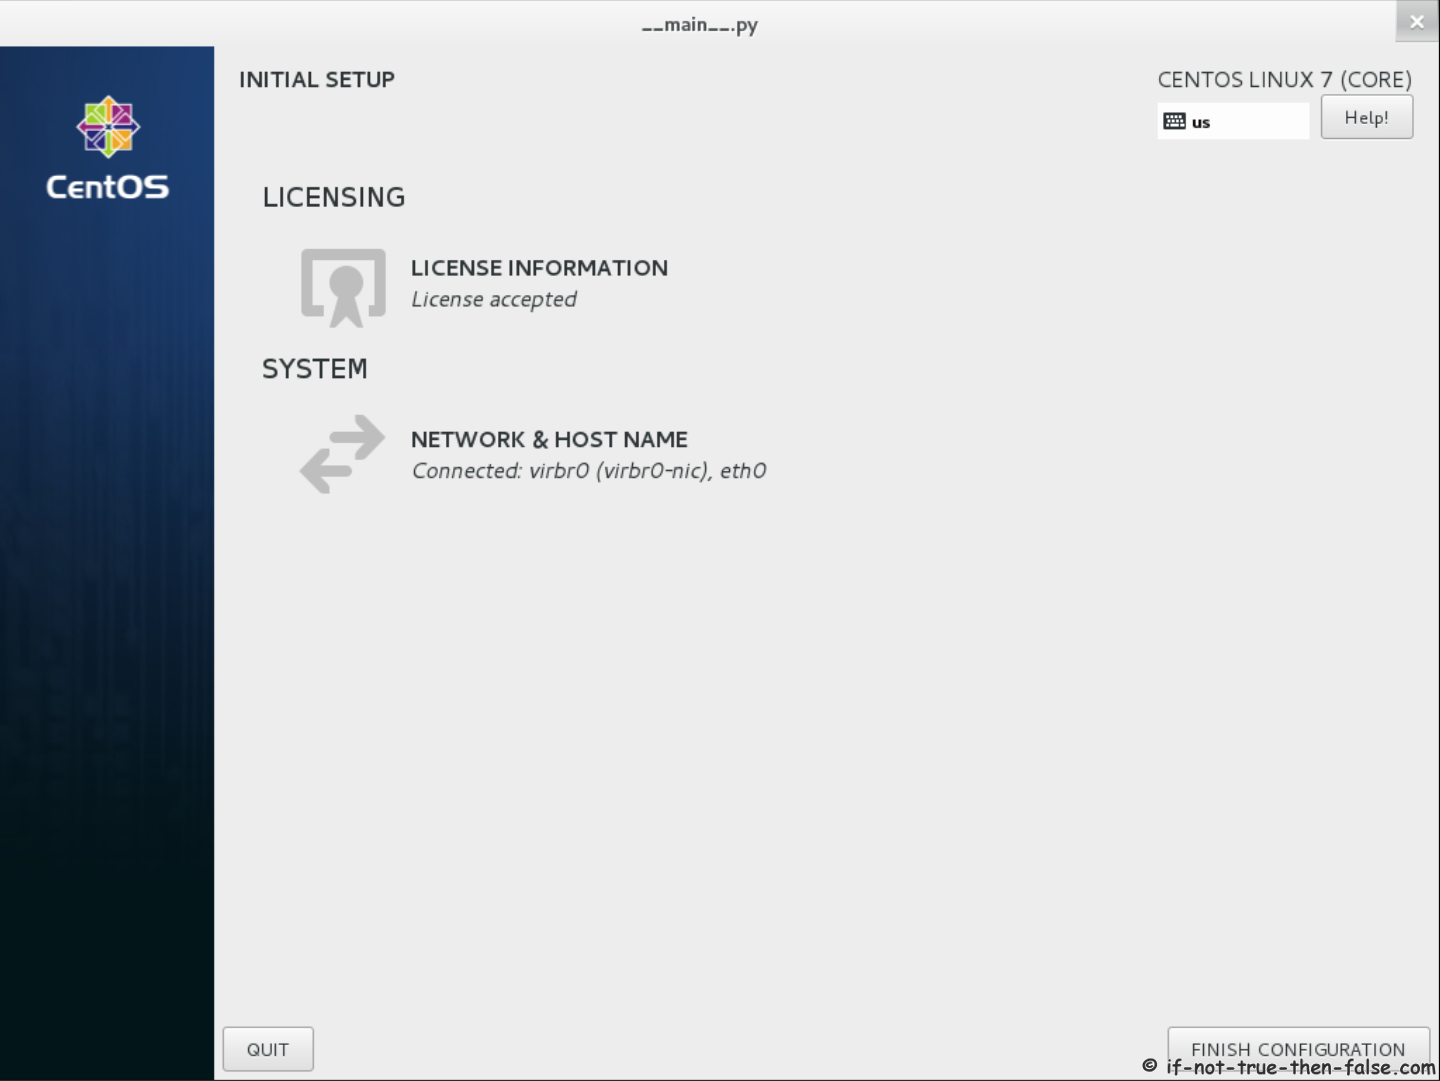
3.20 Accept License Information⌗
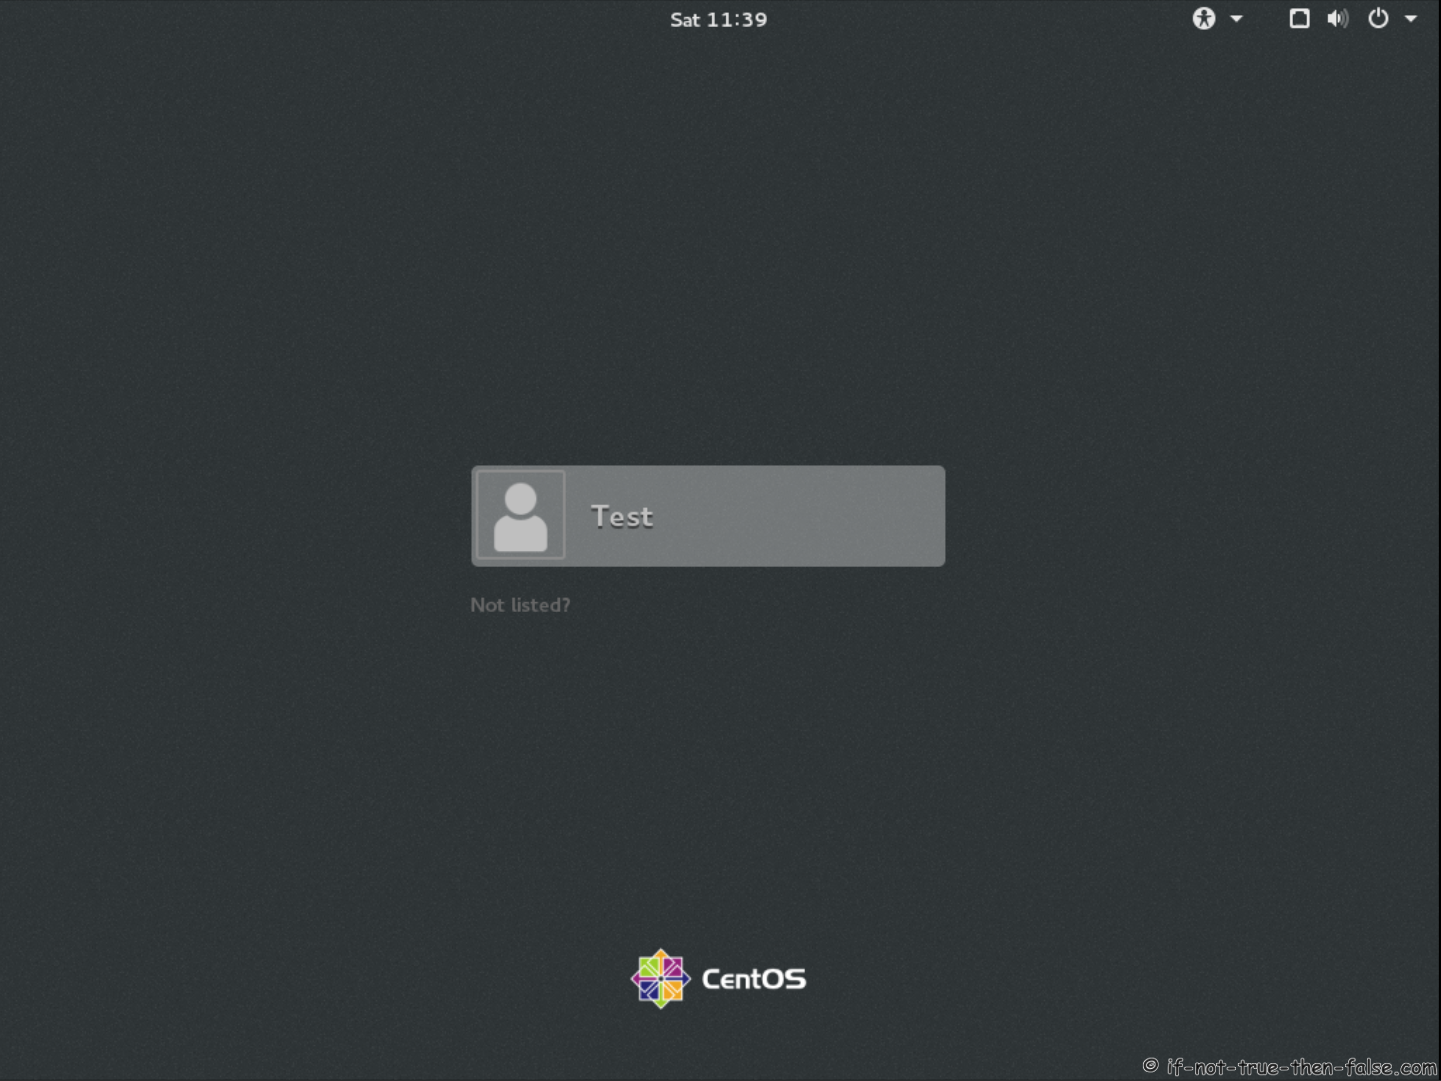
3.20 CentOS 7.7 Login Screen (GDM)⌗
4. CentOS 7.7 Gnome 3 Setup and Desktop Screenshots⌗
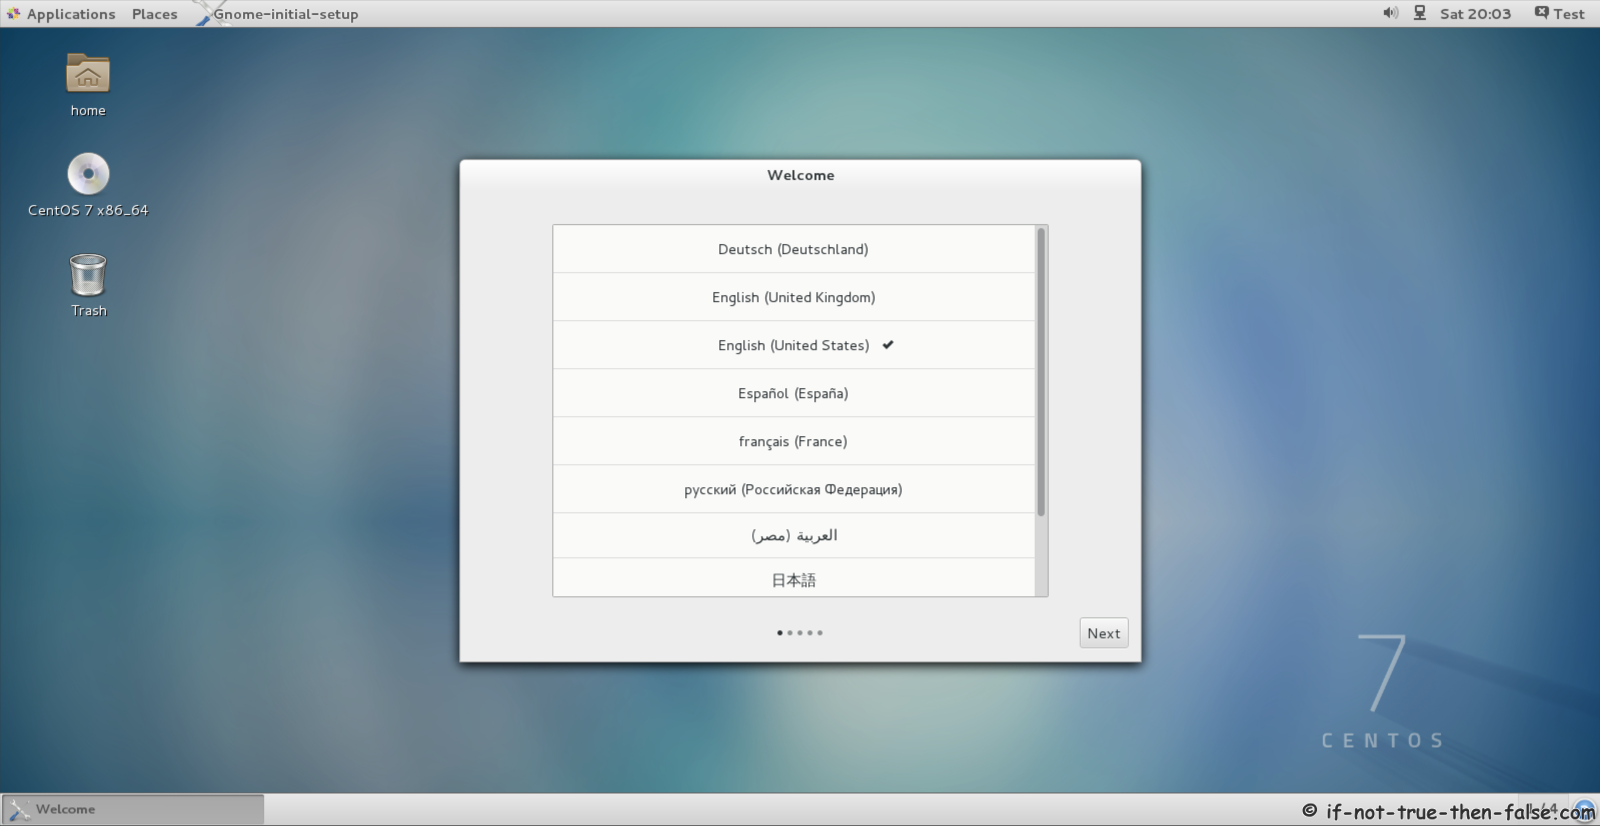
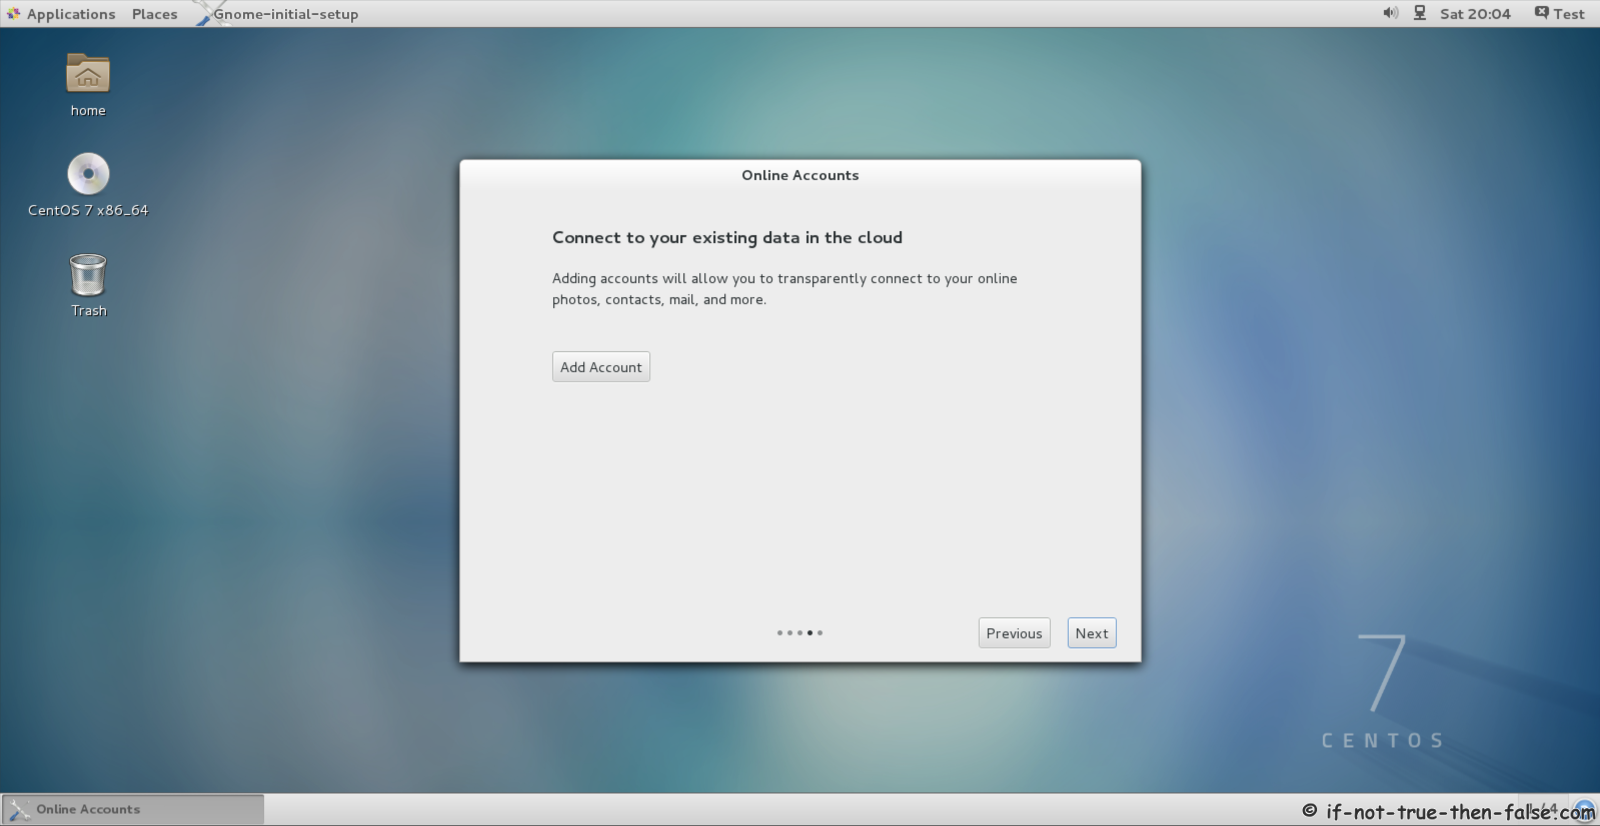
4.1 Gnome 3 Setup⌗
Welcome
Input Sources

Cloud Connect
Start Using CentOS 7.7

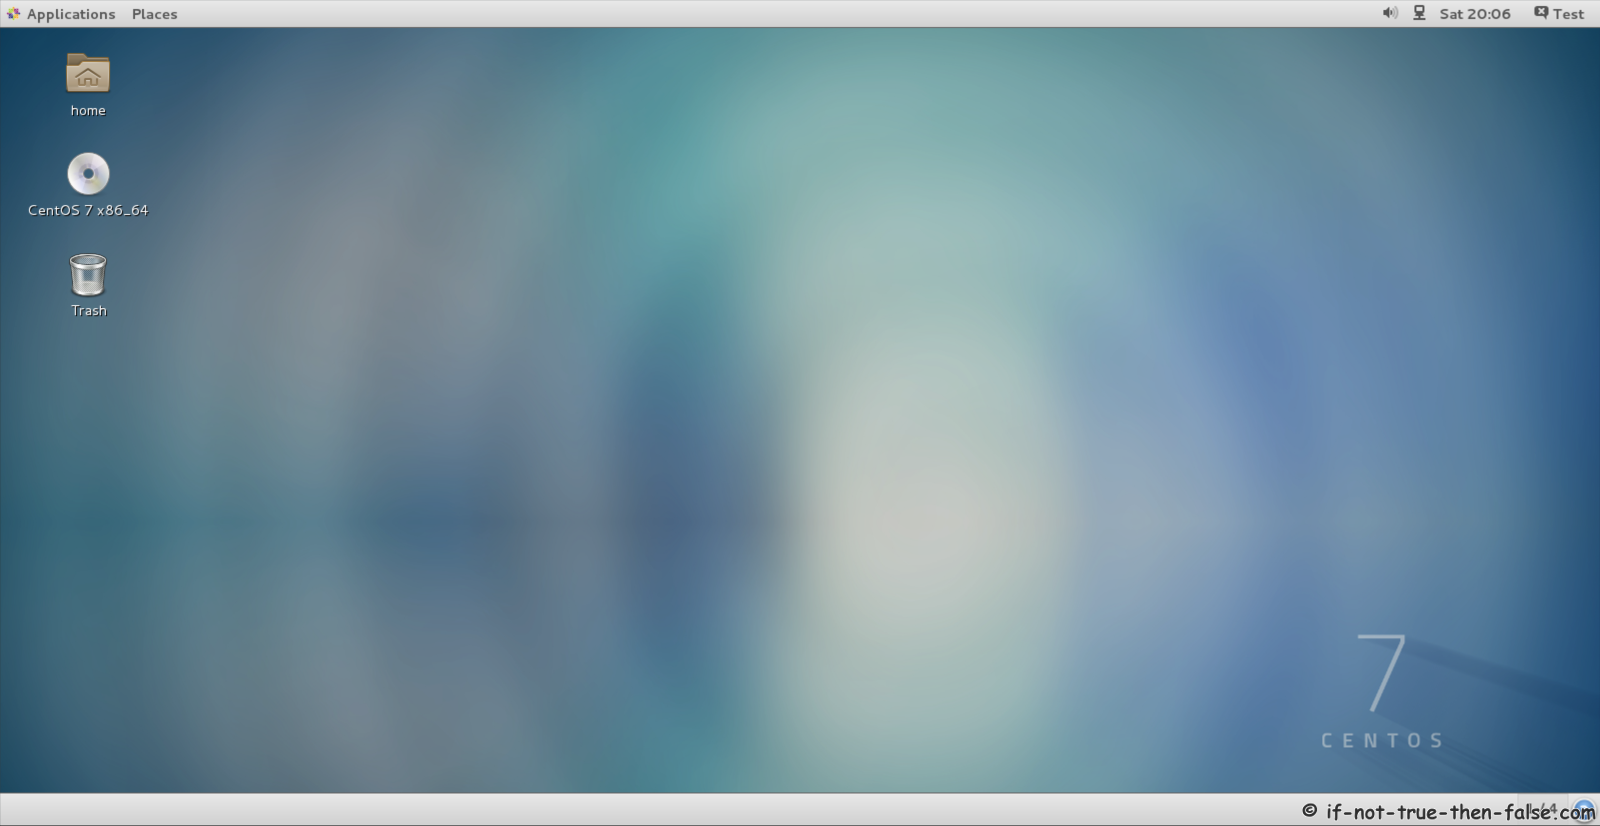
4.2 CentOS 7 Gnome Desktop Screenshots⌗
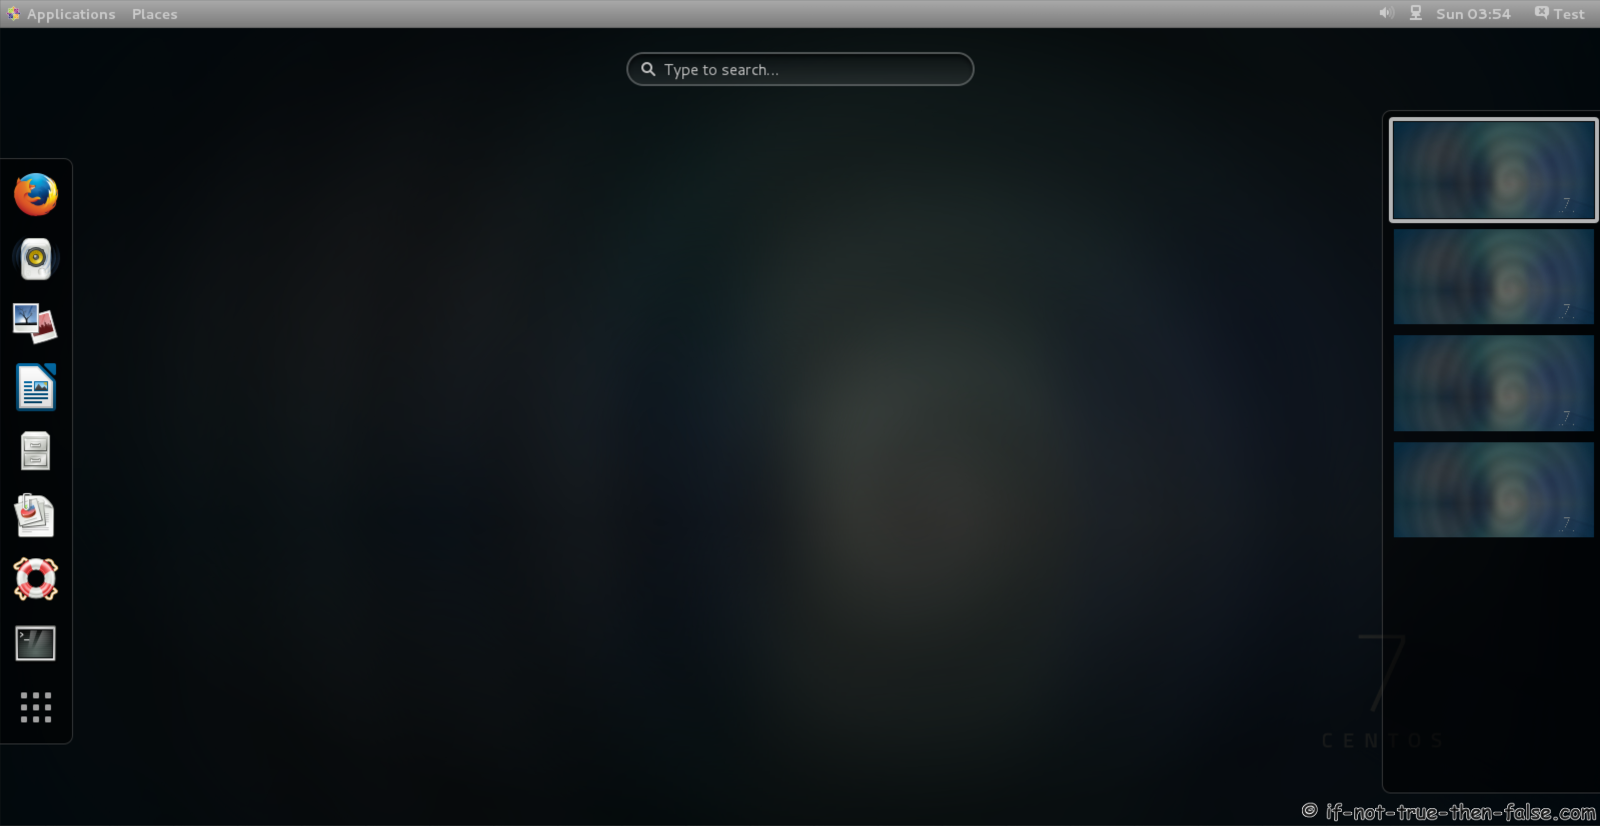
CentOS 7 Plain Gnome 3 Desktop
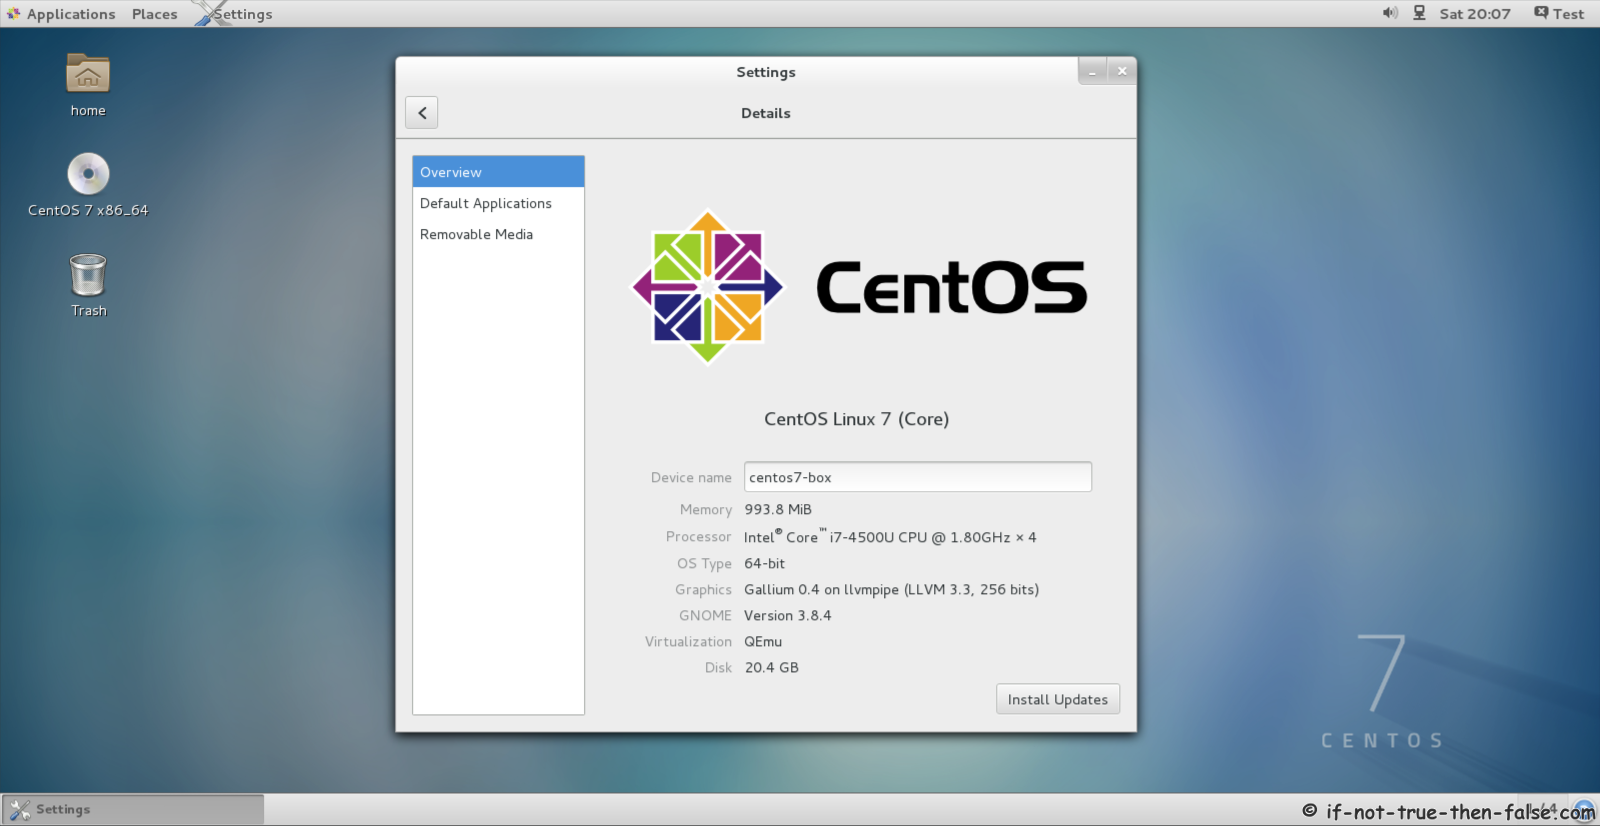
CentOS 7 Details
CentOS 7 Kernel and Release

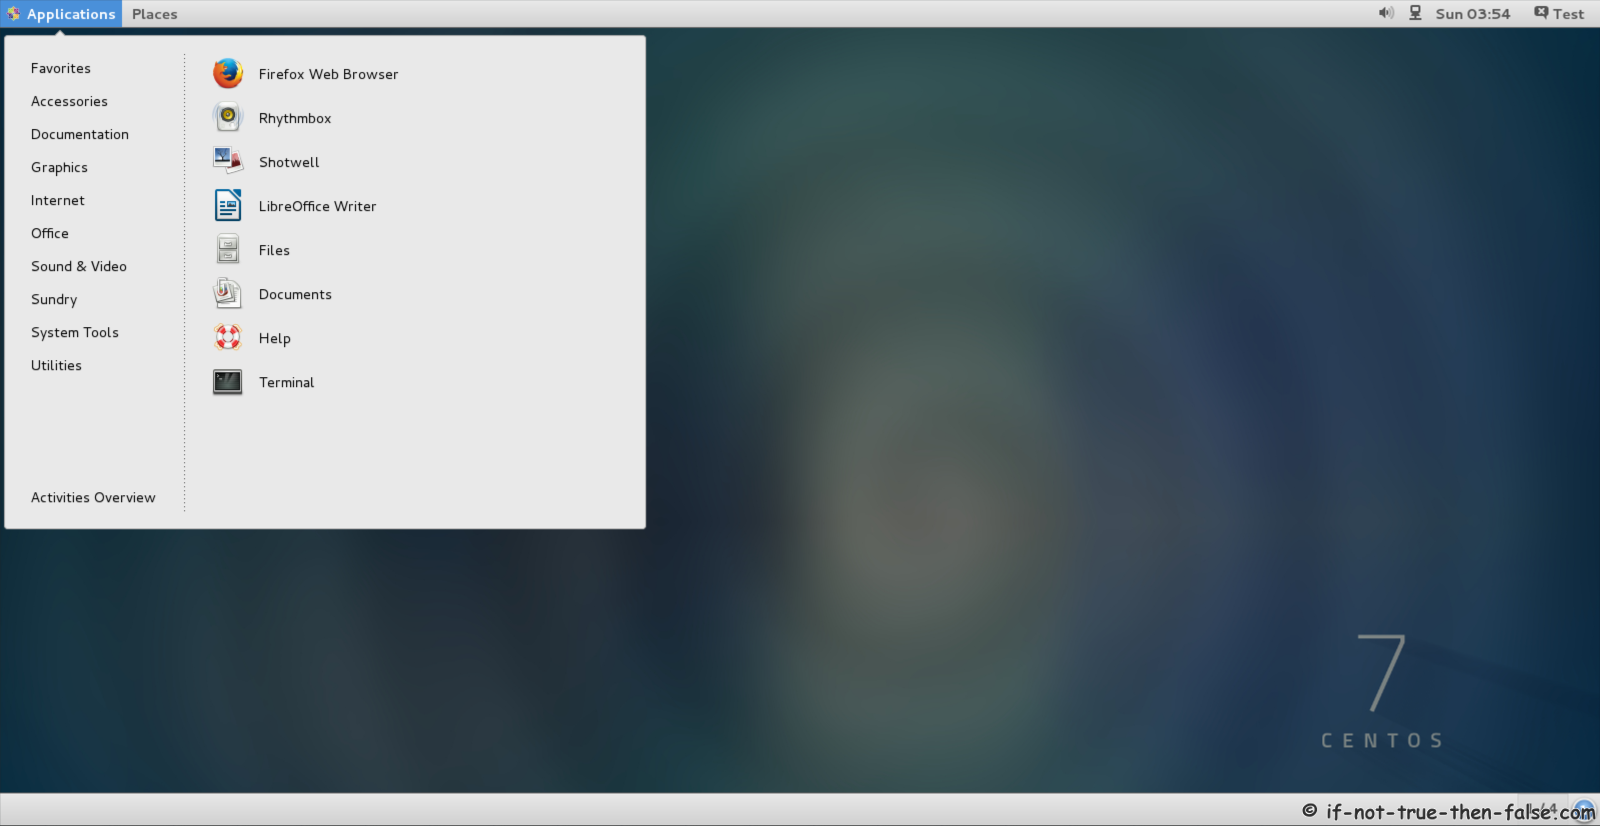
CentOS 7 Gnome 3 Desktop Menu