Fedora 23 Install Guide
Comments
Table of Contents
![]()
This is guide with screenshots, howto install Fedora 23 (F23) using Live DVD or Live USB. Fedora 23 Installation can be done also with using Fedora NetInstall (Net Install) with gPXE and BFO (boot.fedoraproject.org).
1. Before Fedora 23 Installation⌗
1.1 Download Fedora 23 Live DVD/USB Image⌗
Select your version, Fedora 23 Workstation, Fedora 23 Server or Fedora 23 Cloud. On this guide I use Fedora 23 Workstation 64-bit.
1.2 Burn Fedora 23 Image to DVD, Create Live USB or use image directly and Boot Computer Using Fedora 23 Installation Media⌗
Remember to check Fedora 23 image MD5 sum and then burn image to DVD, create Live USB example with liveusb-creator, dd or use directly on virtual environment. And boot computer using Fedora 23 Installation Media.
2. Fedora 23 Installation⌗
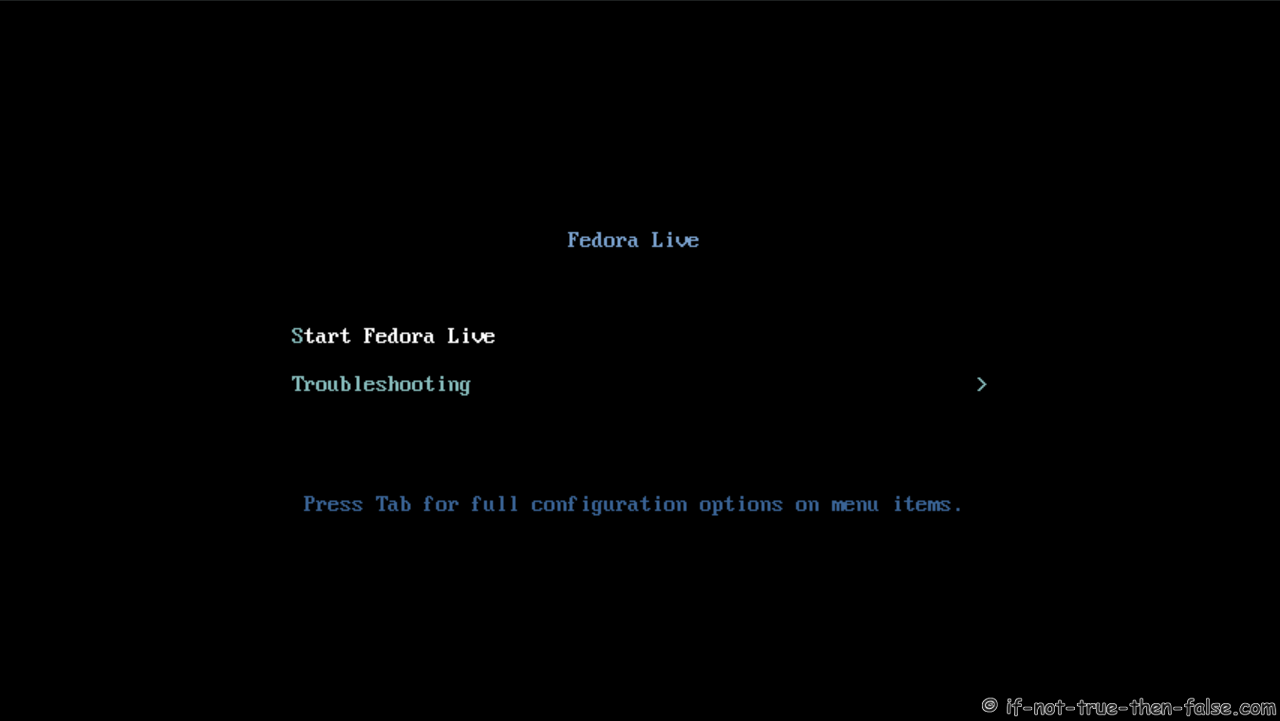
2.1 Fedora 23 Boot Option Menu⌗
2.2 Fedora 23 Live Media Booting⌗
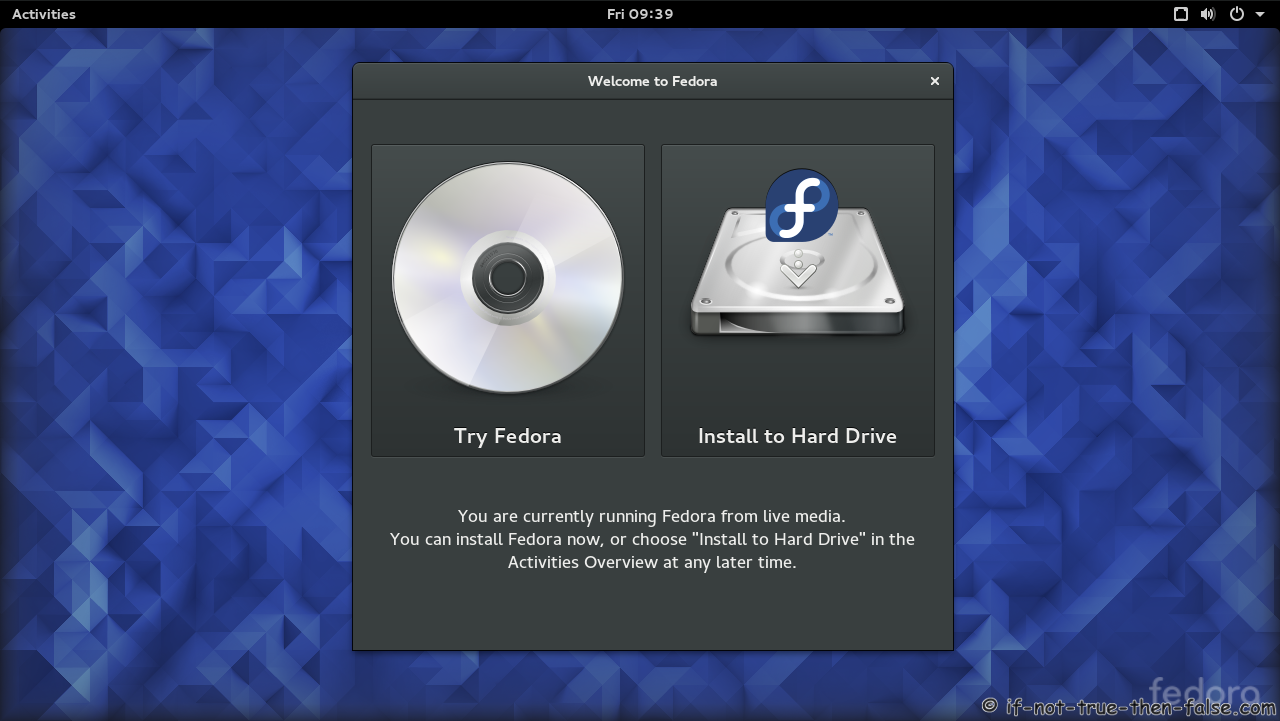
2.3 Start Fedora 23 Installation Click Install to Hard Drive⌗
2.4 Select Language⌗

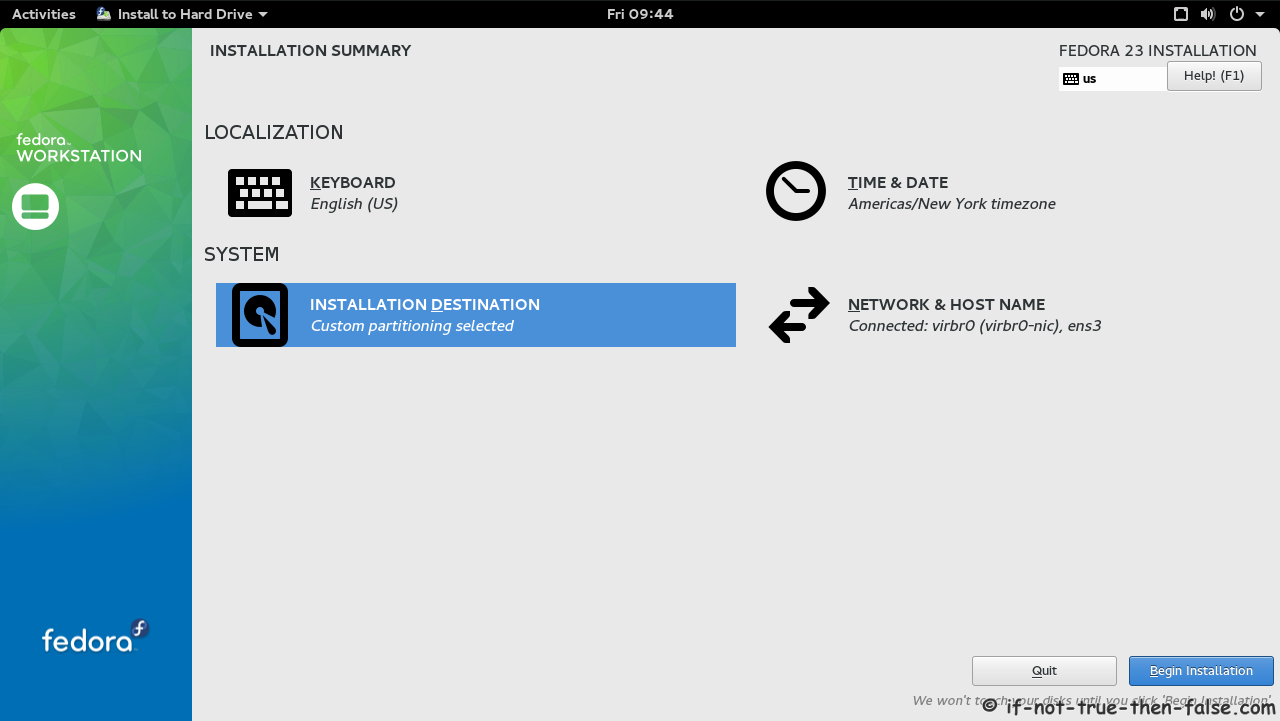
2.5 Fedora 23 Installation Summary Window⌗

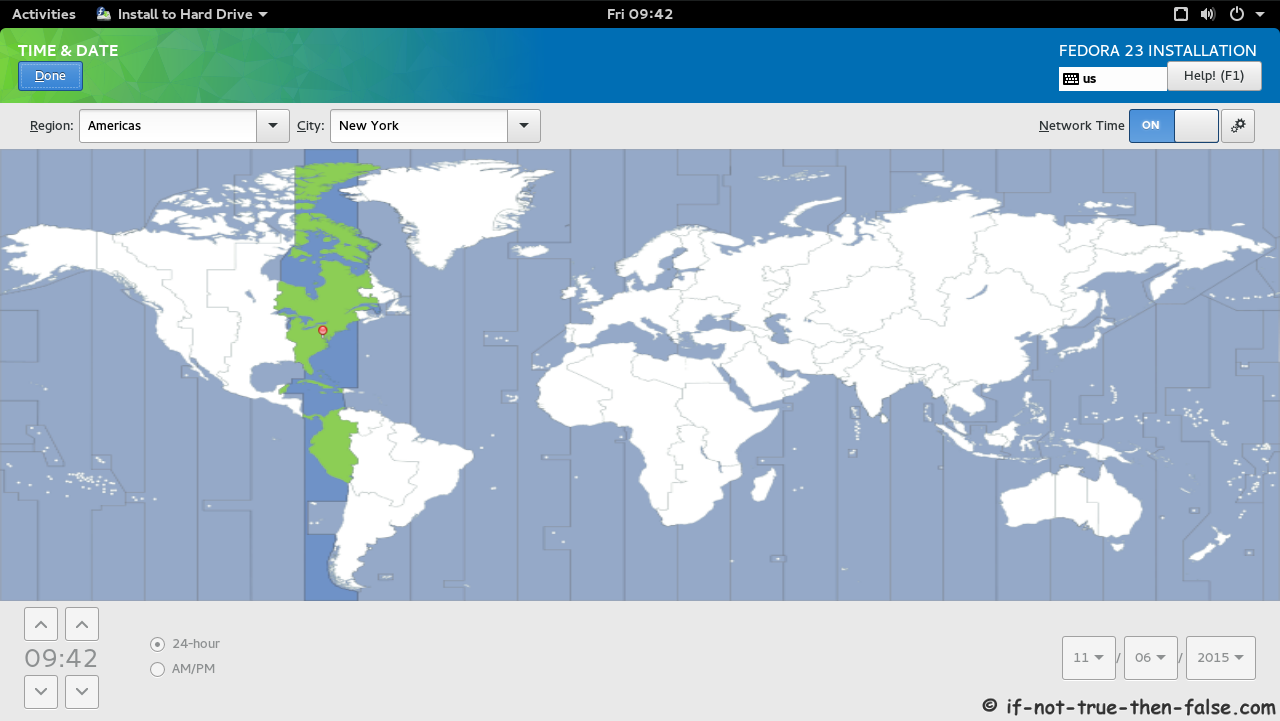
2.6 Setup Date and Time⌗
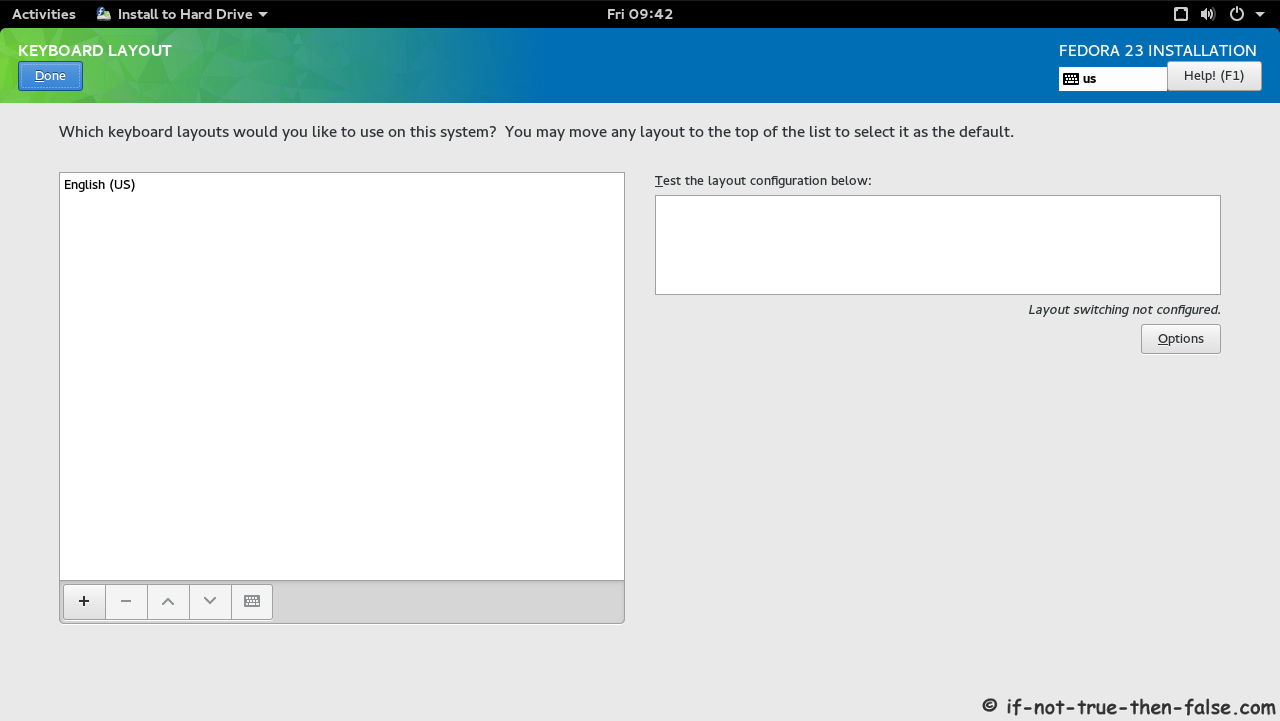
2.7 Setup Keyboard Layout⌗
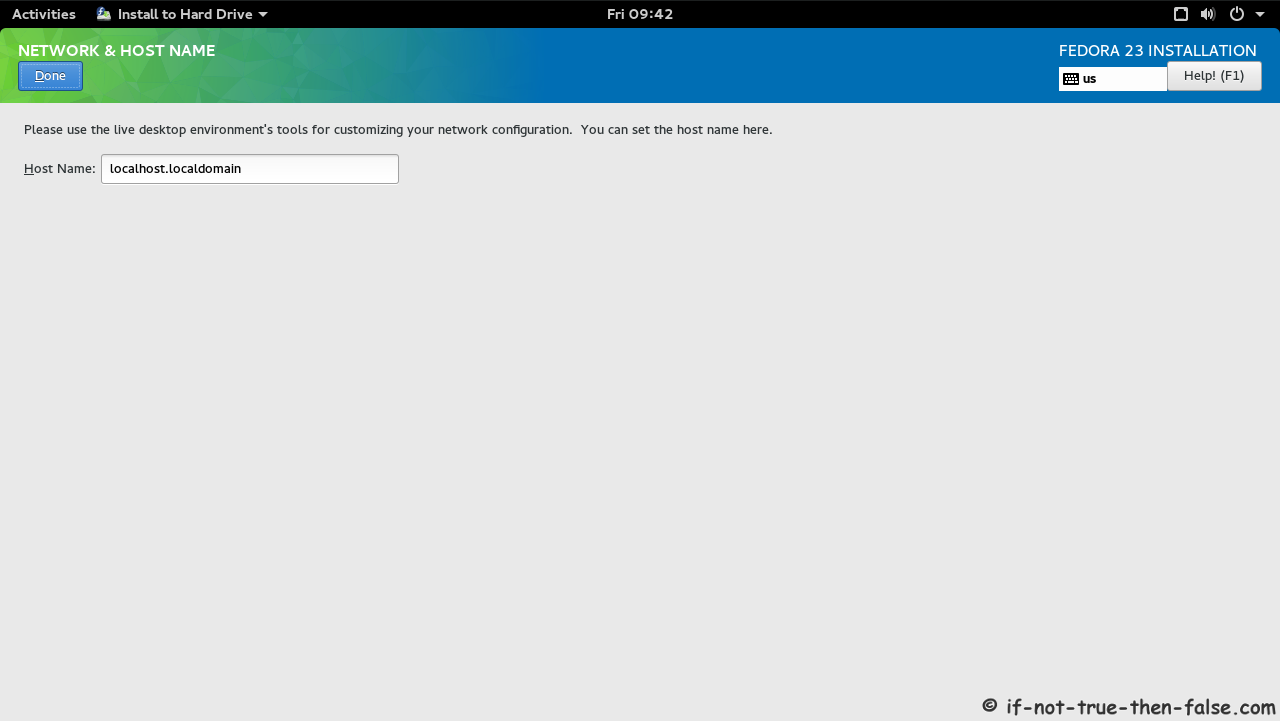
2.8 Setup Network and Hostname⌗
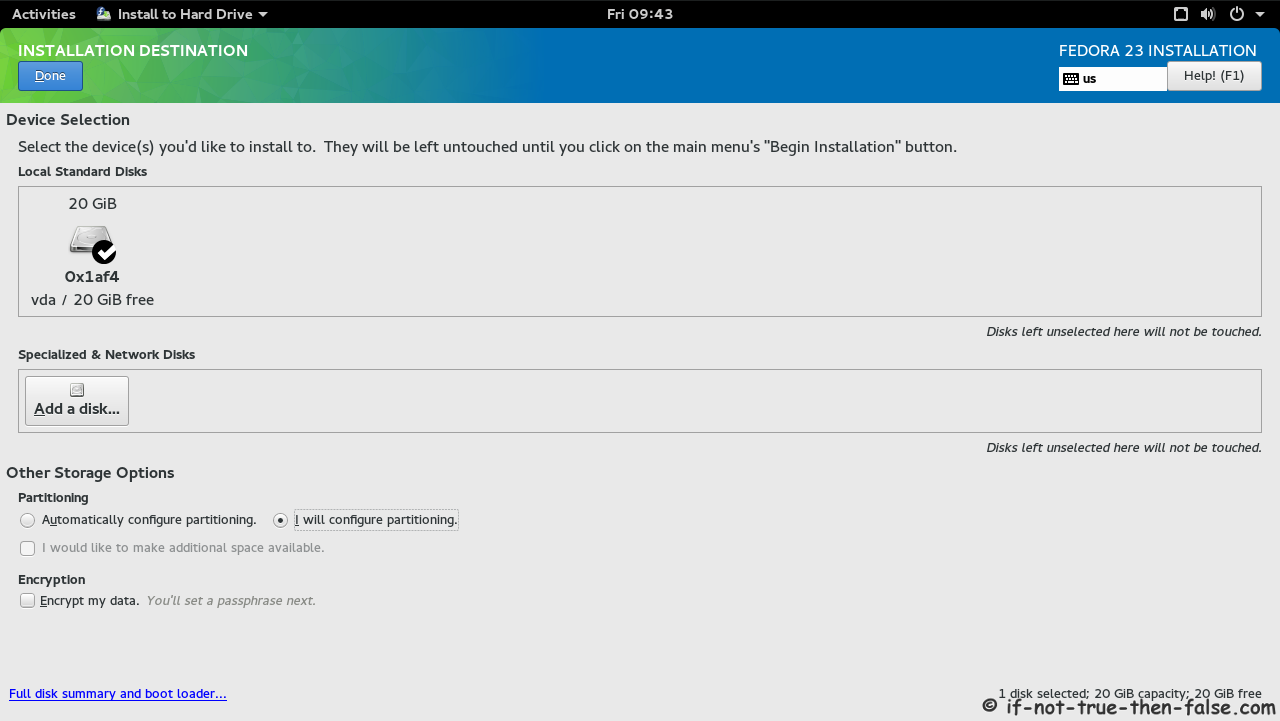
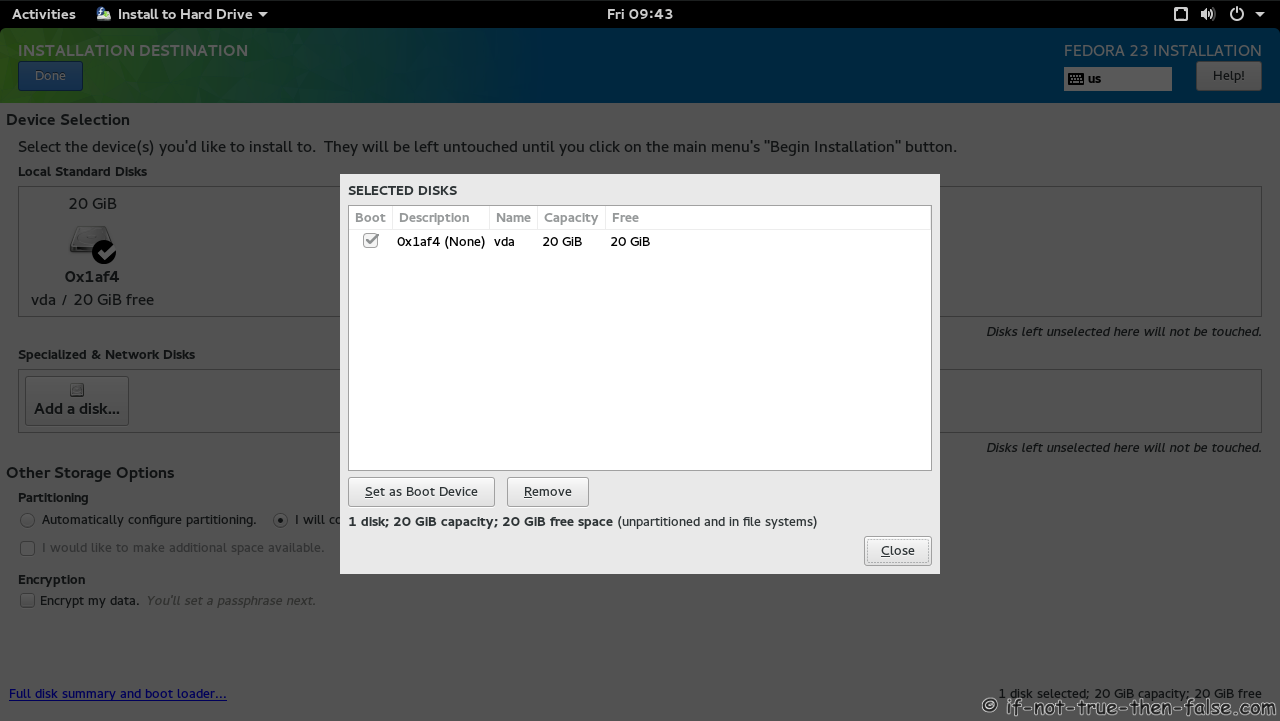
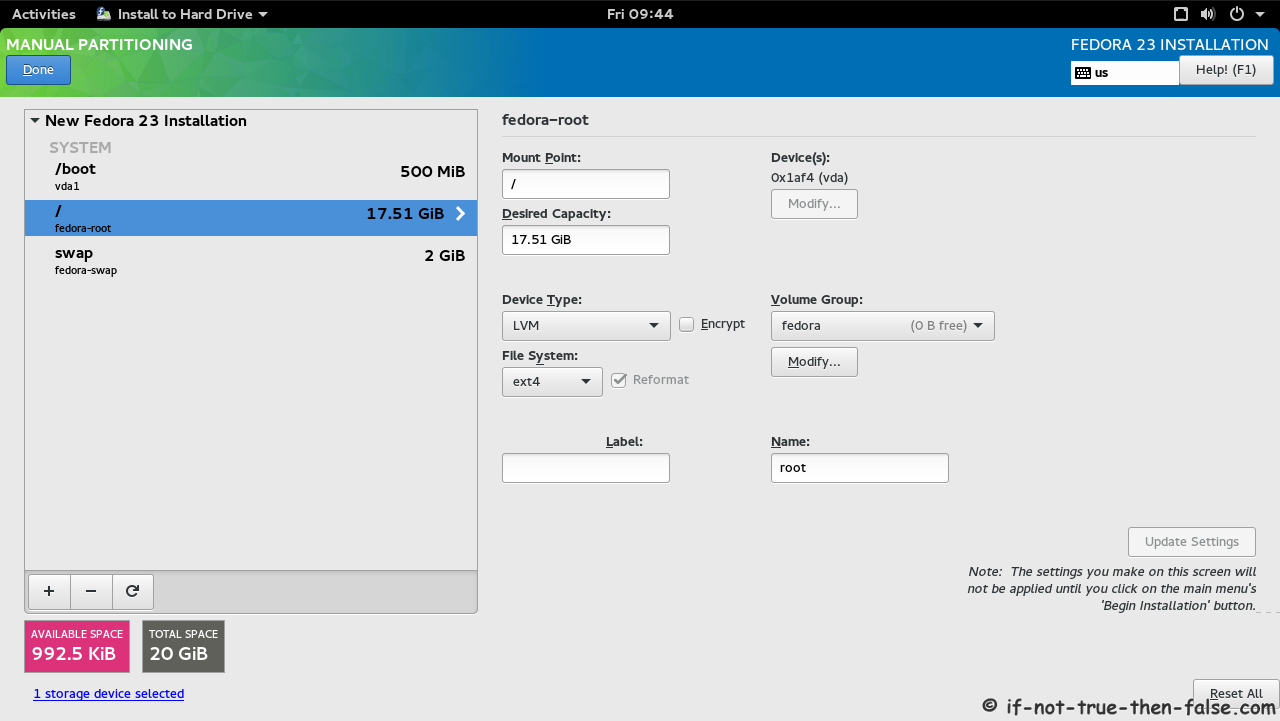
2.9 Select installation Destination and Partition Type⌗
2.10 Full Disk Summary and Bootloader Configuration⌗
2.11 Modify Partitions Manually⌗
2.12 Accept Changes⌗

2.13 Begin Fedora 23 installation⌗
2.14 Package Installation and Setup⌗
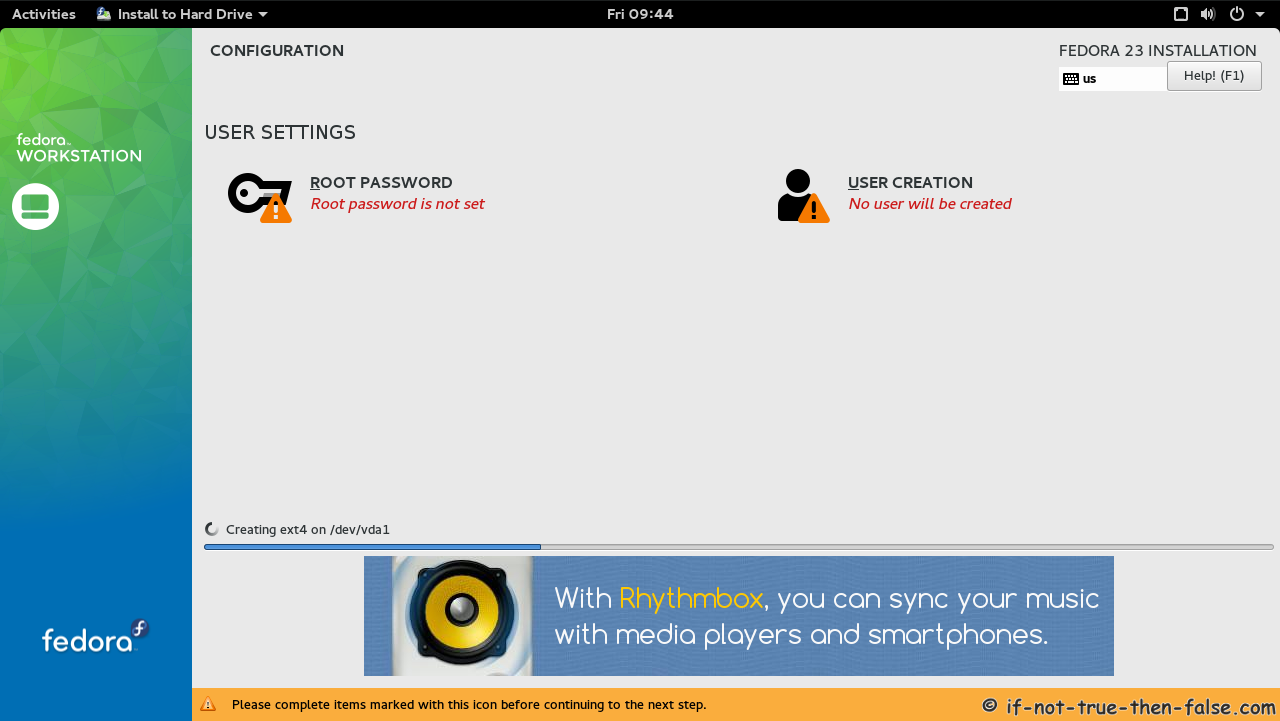
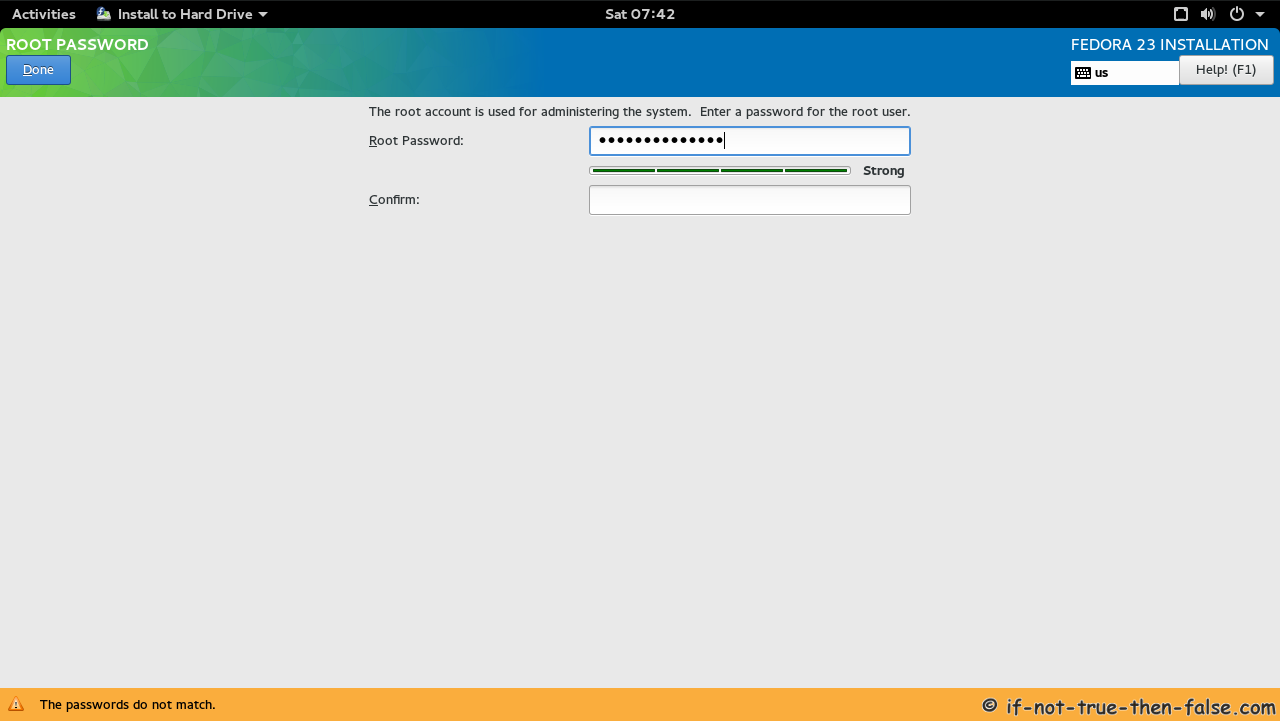
2.15 Setup root Password⌗
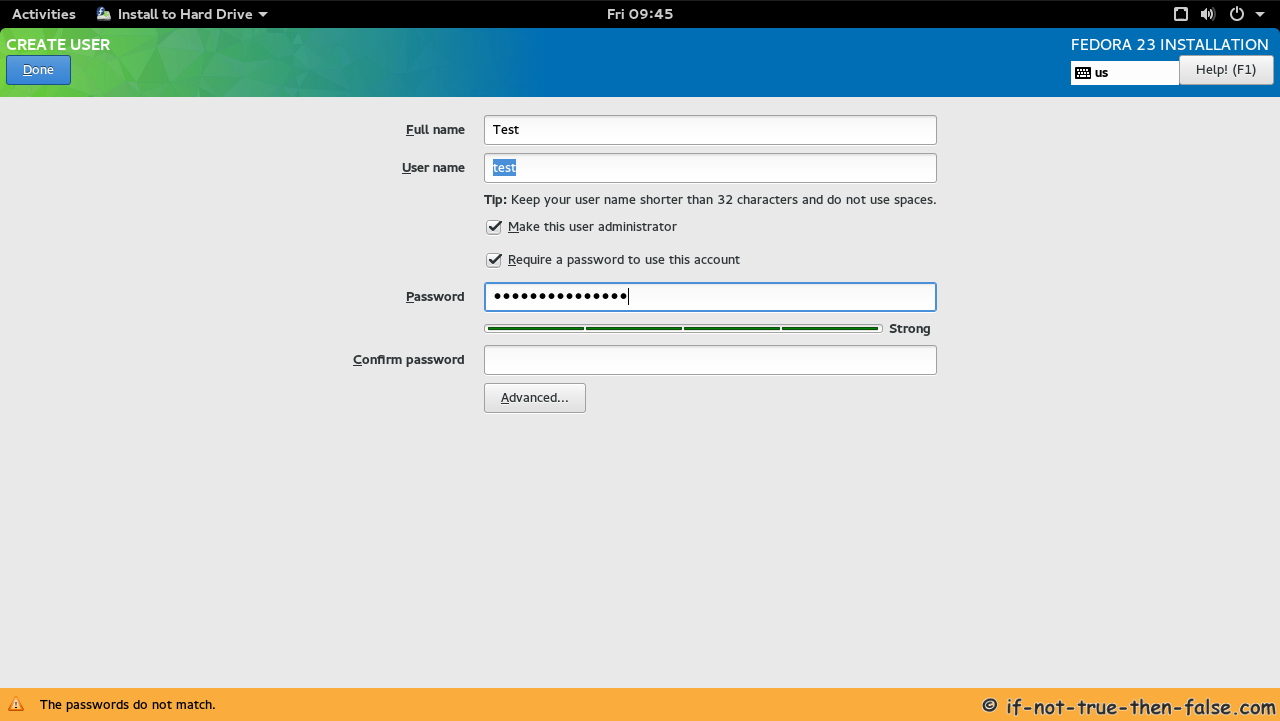
2.16 Create User Account⌗
Select “Create User Account” and create user.
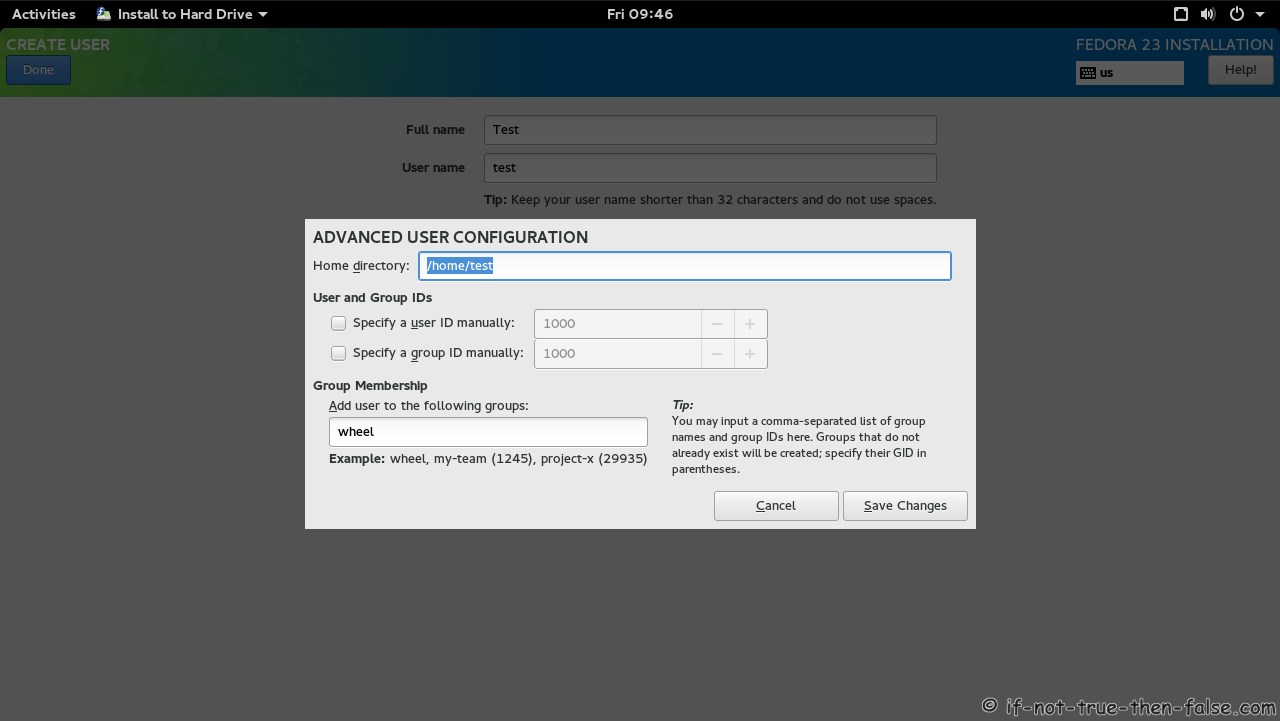
Fedora 23 User Account Advanced Options Screen
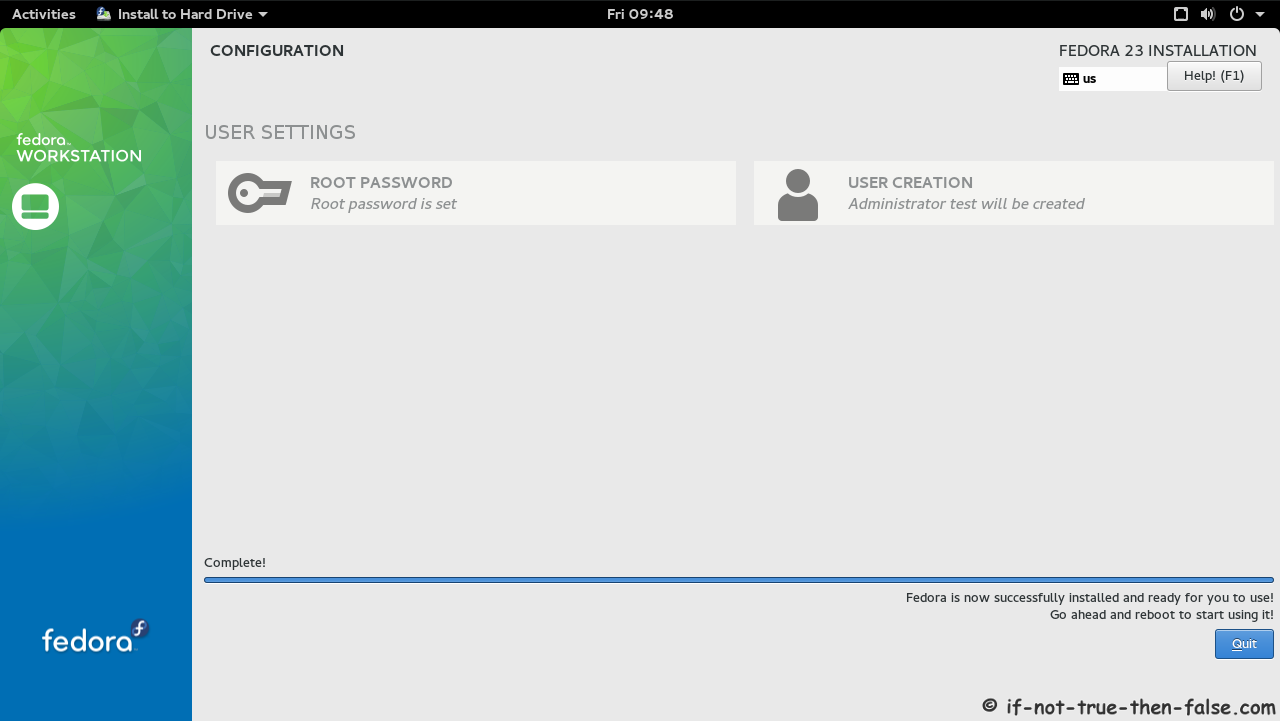
2.17 Fedora 23 Installation Done⌗
Then simply reboot computer and remove installation media.
3. Finishing Fedora 23 Installation⌗
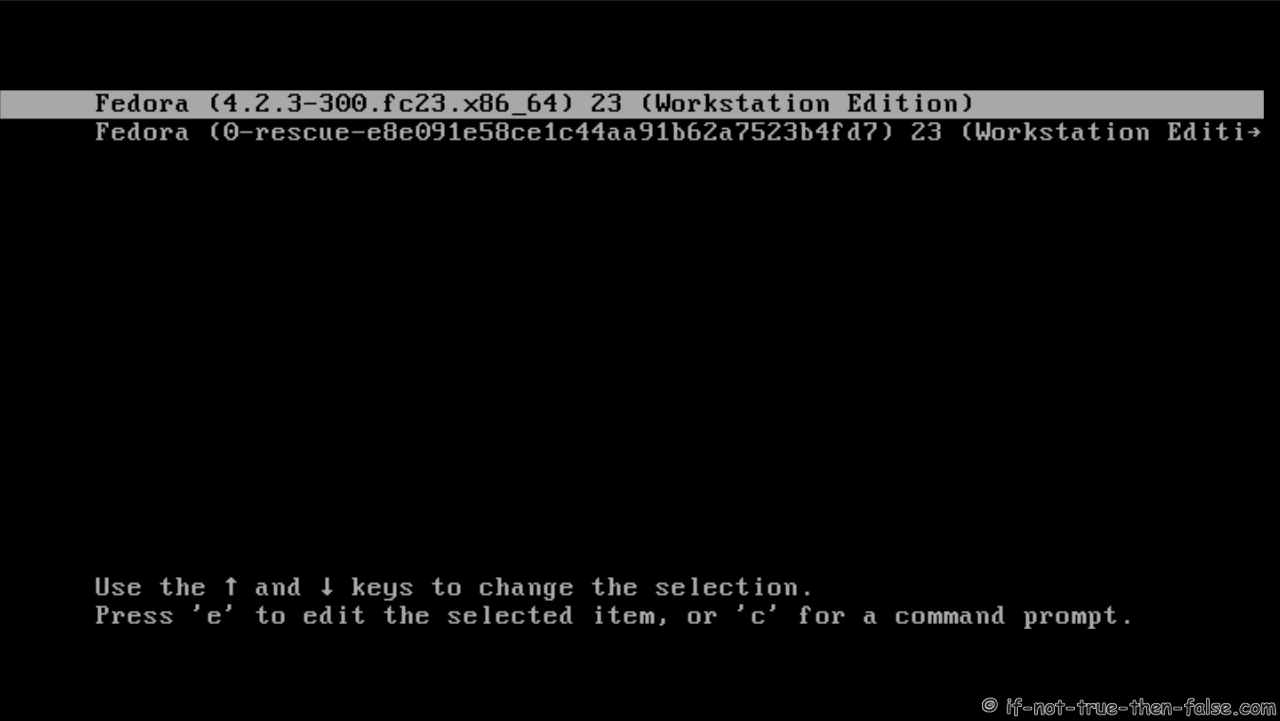
3.1 Fedora 23 Boot Menu (Grub 2)⌗
3.2 Booting Fedora 23⌗

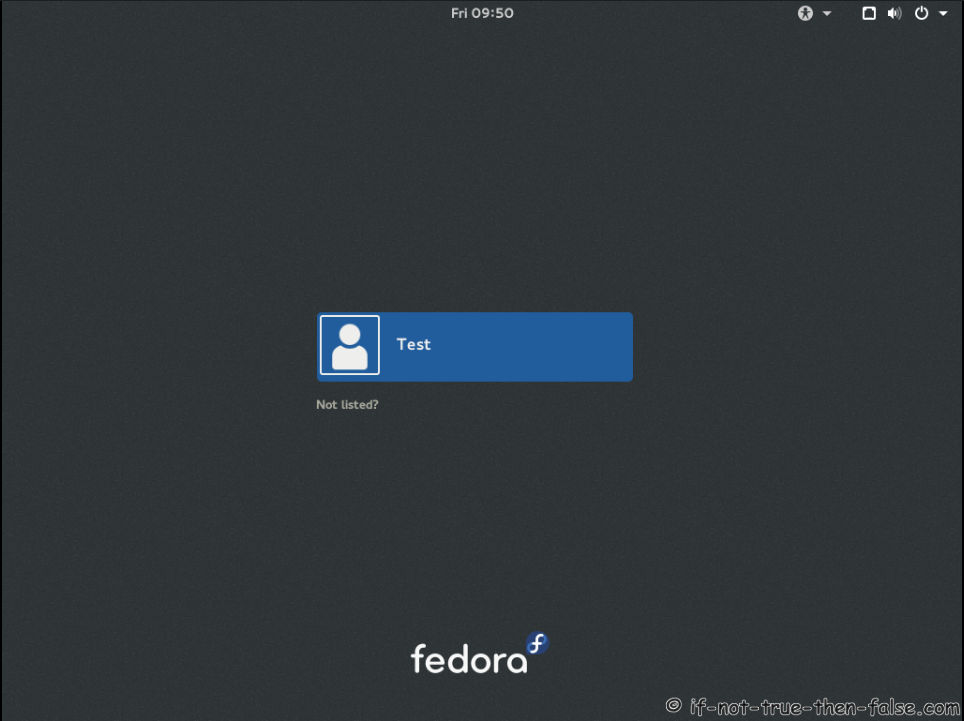
3.3 Fedora 23 GDM Login Window⌗
3.4 Fedora 23 Gnome 3.18.1 Welcome Screen⌗

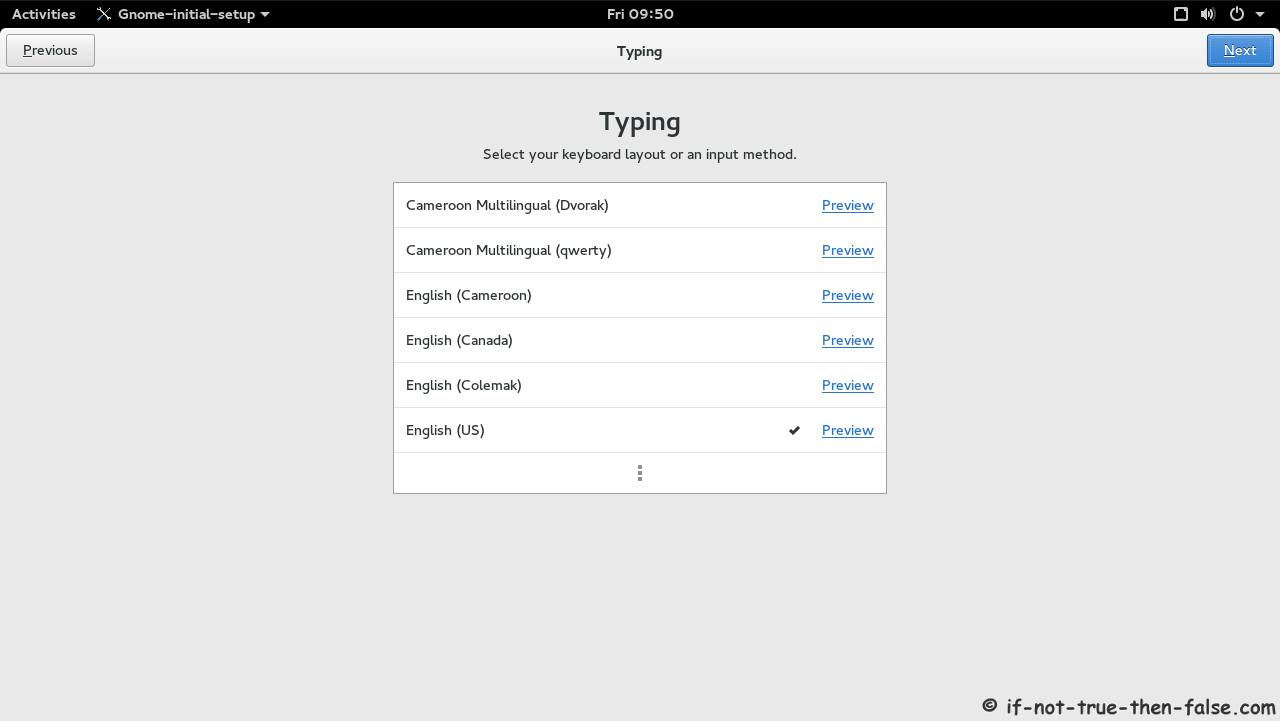
3.5 Select Input Sources⌗
3.6 Privacy Settings⌗

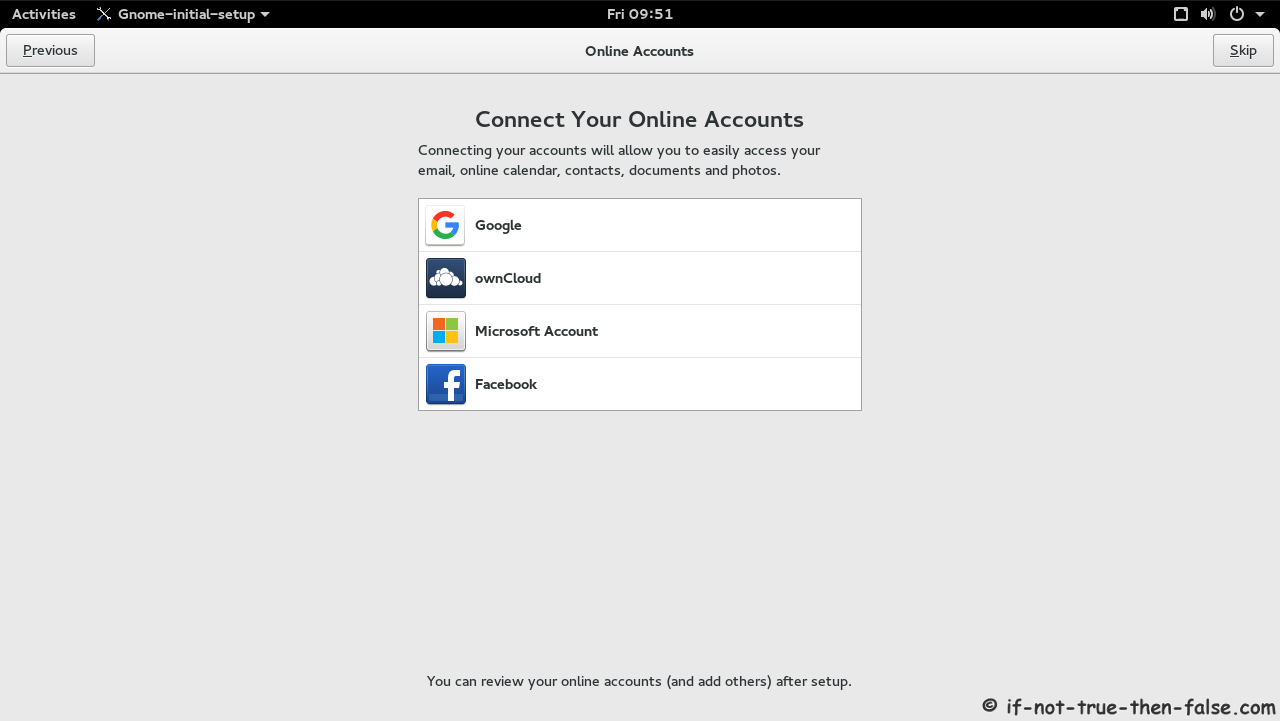
3.7 Add Cloud Account⌗
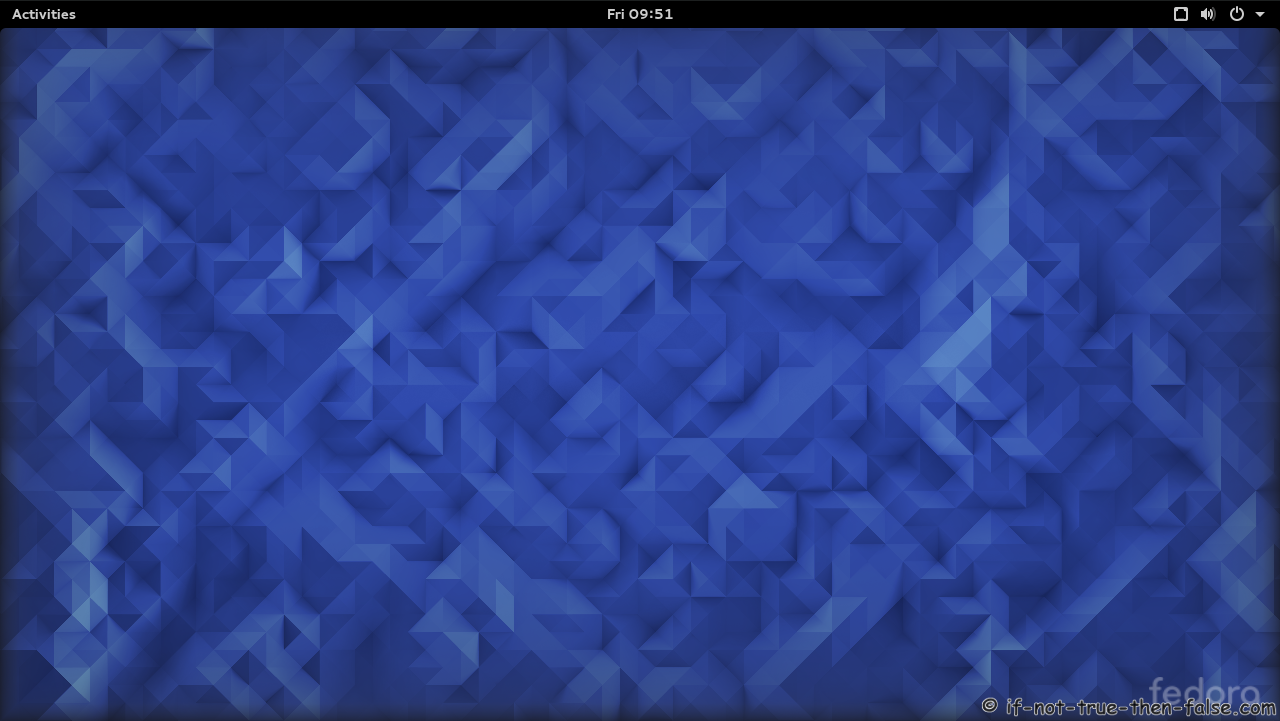
3.8 Start Using Gnome 3.18⌗

3.9 Fedora 23 Desktop Screenshots⌗
Gnome Shell 3.16.2 Plain⌗
Gnome 3.18.1 Details⌗
